Fire Sprinklers!
It seems most sub-contractors are having a busy summer. Building is definitely picking up by talking to everyone in the industry. Because of this, my regular electrician couldn’t get to my project right away so I brought in a new crew.
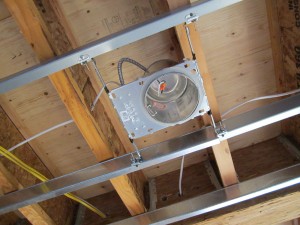
These guys are new construction, not messin’ around, real-deal electricians. 5 guys showed up on Saturday and by Sunday at 4pm the whole house was 90% done including 200 amp service, riser, all 24 branch circuits, home runs, under cabinet lighting, multiple 3-way switching and 24 can lights.
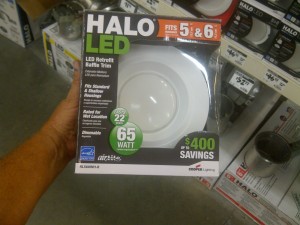
I went with LED recessed lighting for energy savings, having just used it on a customers kitchen remodel I was surprised that the light quality is far superior to the florescent cans we were using last year to conform to Title 24 requirements. For only 9 watts of power usage you get 65 watts of clean lighting, a huge savings on your electric bill. Just another green feature on this project.
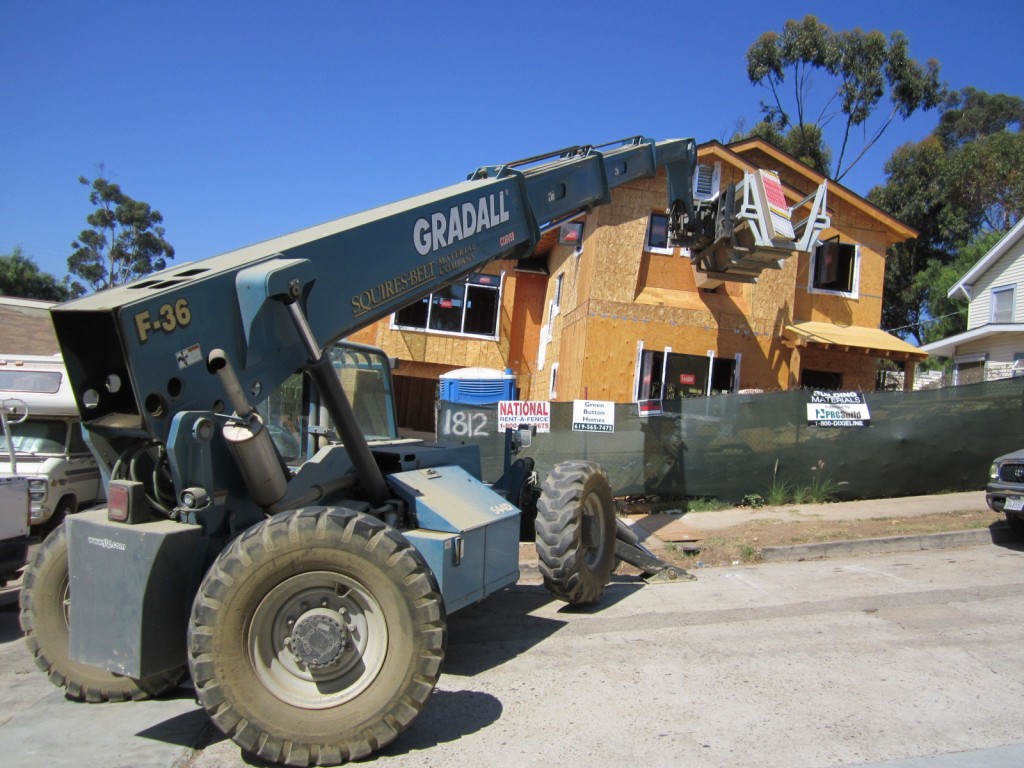
We took the drywall delivery this week, too. I like to get it in the house and stacked in all the rooms ready to go before we close everything up outside. It would have been impossible to carry the 12′ sheets upstairs later so this is essentially planning ahead.
I measured 160 12′ 1/2″ sheets of drywall for the house and 5/8″ for the garage and under the stairwell per City Code. Material cost was $2021.00 not including tape, mud and corner bead.
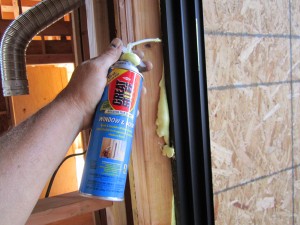
For more energy savings we always foam the doors and windows before drywall. Some guys still wont do this because they think it will warp the window frames, but its the only way to get a complete seal after the new construction windows go in. We learned this in the hot Texas climate.
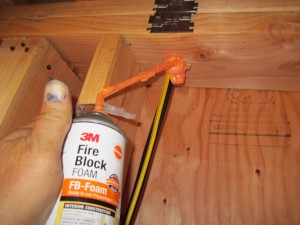
After it dries you just remove the excess that comes out and then you have a great energy seal. Per Building Code you also have to use the Fire Block foam on all the holes you drilled through the top plate for mechanicals. The inspector will look for this at my insulation inspection.
After the electrician was done I brought in my last and final mechanical sub-contractor, the Fire Sprinkler guy. Fire sprinklers on all San Diego residential new construction, and some addition/remodels in fact, has been mandatory since 2007 after we had the big Cedar and Witch Fires.
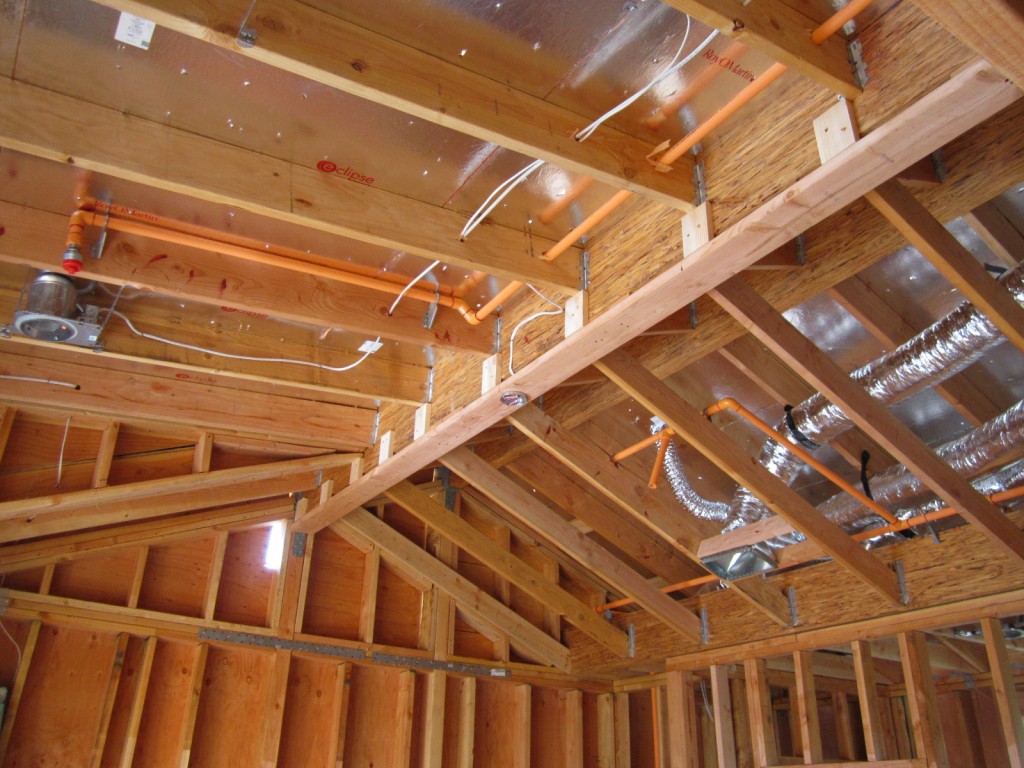
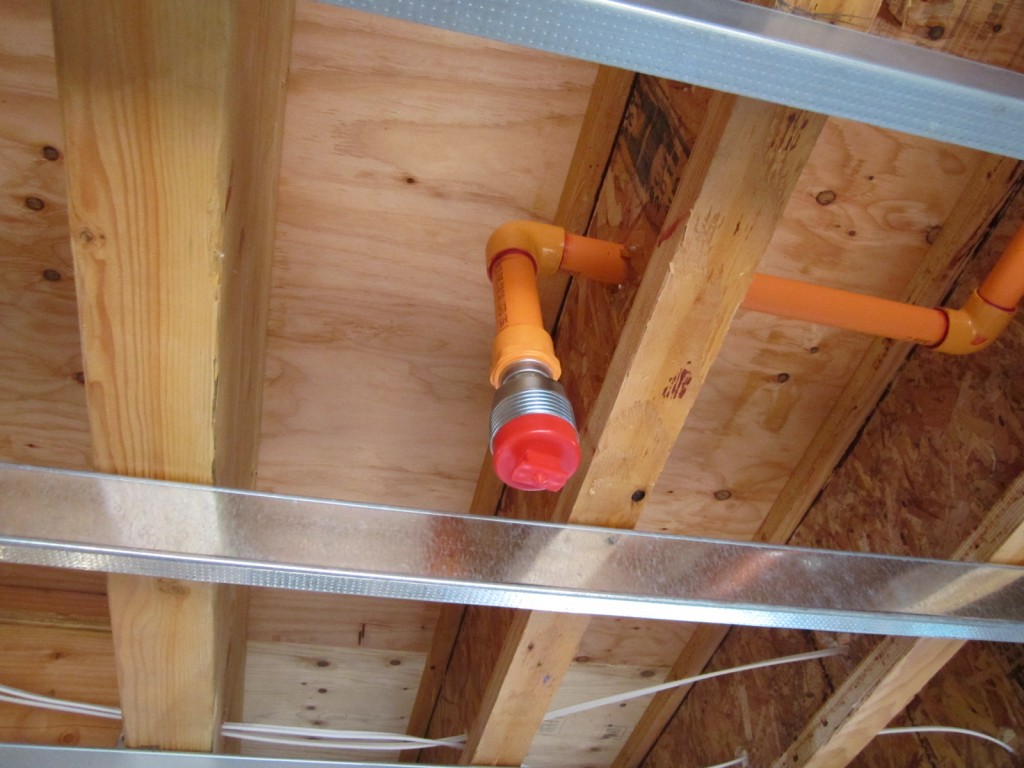
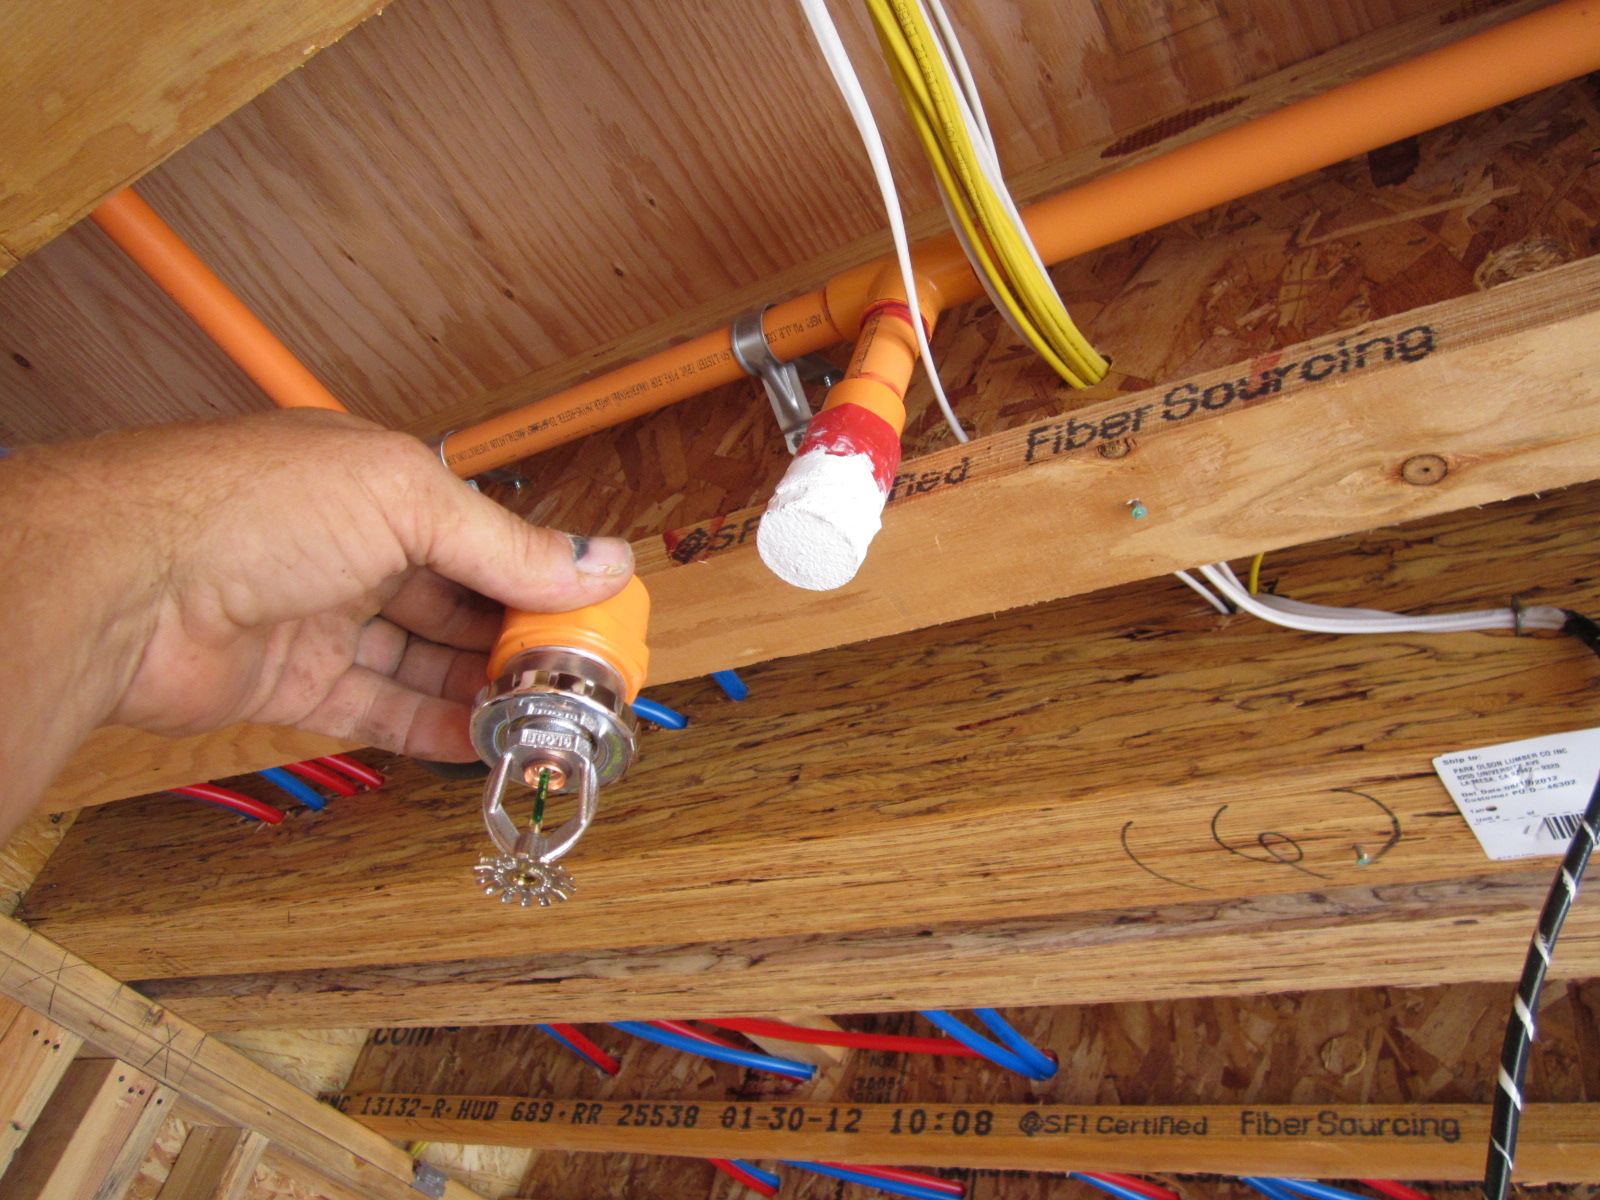
The supply lines come from a panel location near your water service. To handle the increased volume, water supply size is stepped up to 1 1/4″ to the house and 1″ at the cut off. The fire sprinkler lines are 1″ CVPC that is orange in color, its ran throughout the entire house keeping heads around 8 feet apart and away from A/C registers and lighting, and the calculations call for a certain number of sprinkler heads per room size.
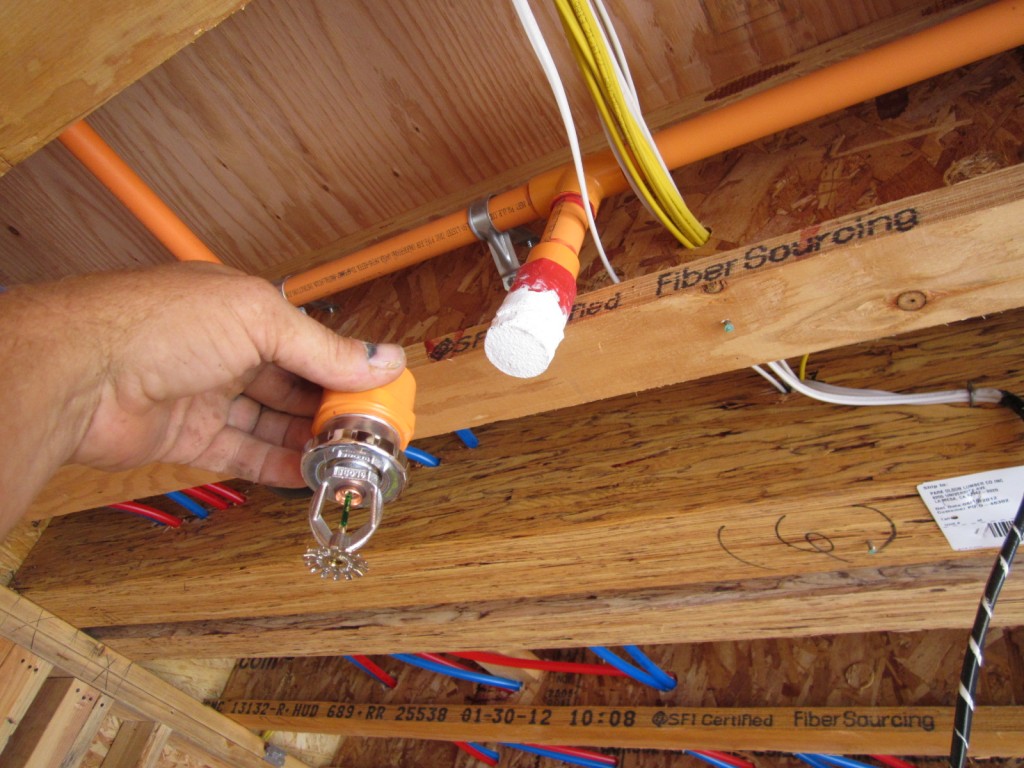
Per his City permitted design, my sub-contractor has 4 heads in the great room, 1 in each bedroom and bathroom, and even 1 in the walk-in closet, water heater closet and HVAC closet. The master bedroom got 2 heads. The fire sprinkler heads will not be visible in the living areas and look like flush mounted white discs after trim out.
The fire sprinklers in the garage go by different calculations and are a bit different, visible sprinkler heads will be in place after drywall. The requirement is 1 head for every 150 s.f. of garage space.
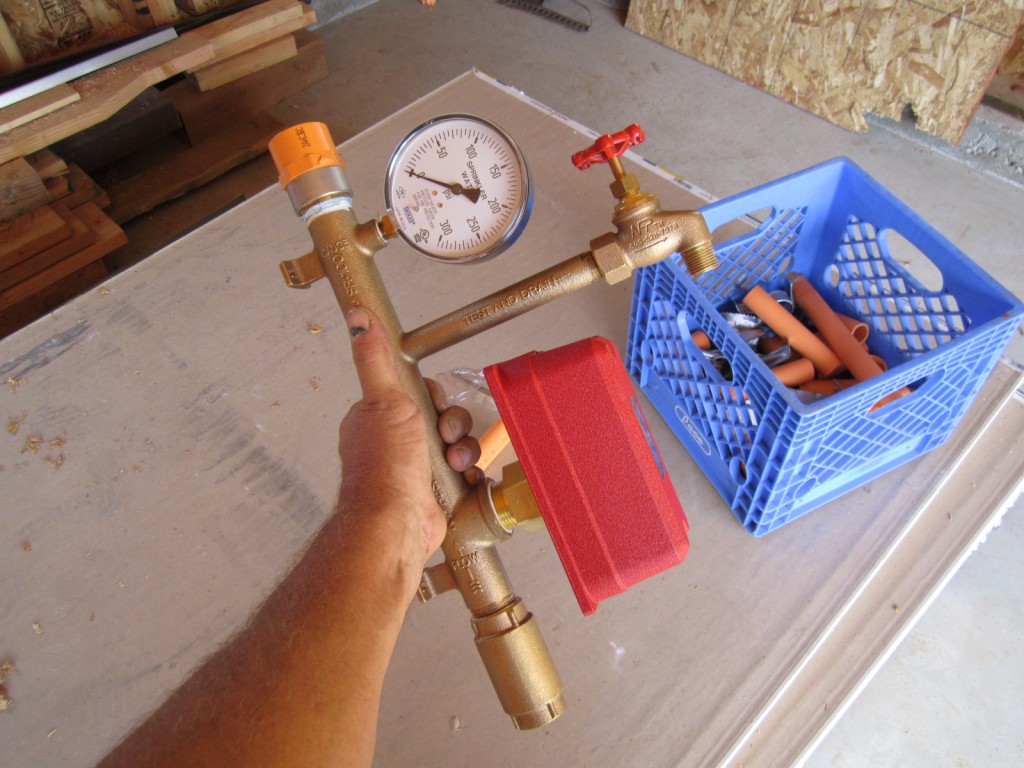
This is the fire sprinkler riser that is located in a panel accessible from the outside of my house near the water service. It also feeds the bell box which gets mounted high on the house in an area where bedrooms can hear it easily.
Once the system is pressurized with water the Fire Marshall will come inspect it and give me a card, which in turn I will give to the City Inspector at the Frame and Rough inspection this week. The cost for this complete fire sprinkler system installed, with design and permits was $2,200.00. I’m ready for this big monumental inspection this week, its all going to be downhill after we get to start insulating and hanging drywall, stay tuned!

