Allied Gardens is Live!
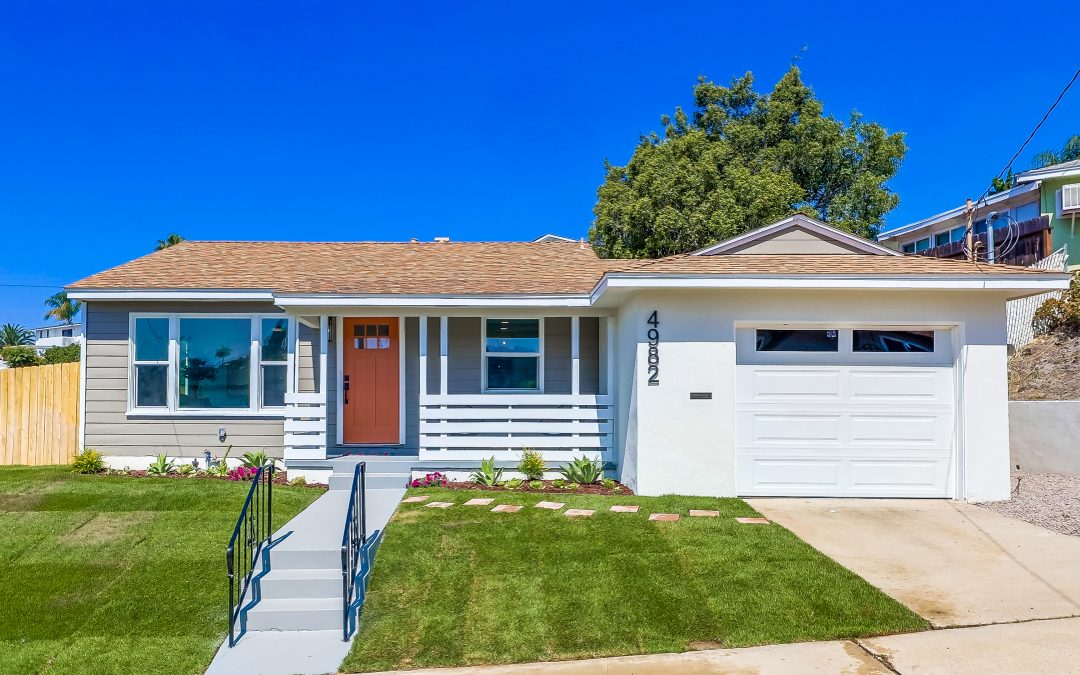
Our newly completed Allied Gardens bungalow is so cute! We are certainly loving the transformation on this house flipping project. This unique property with great elevation is located on a very private and quiet Allied Gardens street with surrounding views. The inviting front porch just makes you want to take a seat and relax after work while seeing your neighbors out and about walking their dogs. The vertical large house numbers and the horizontal porch rail design gives it a beachy coastal vibe. Just listed for $899,900 and now on the market. MLS# 220011058


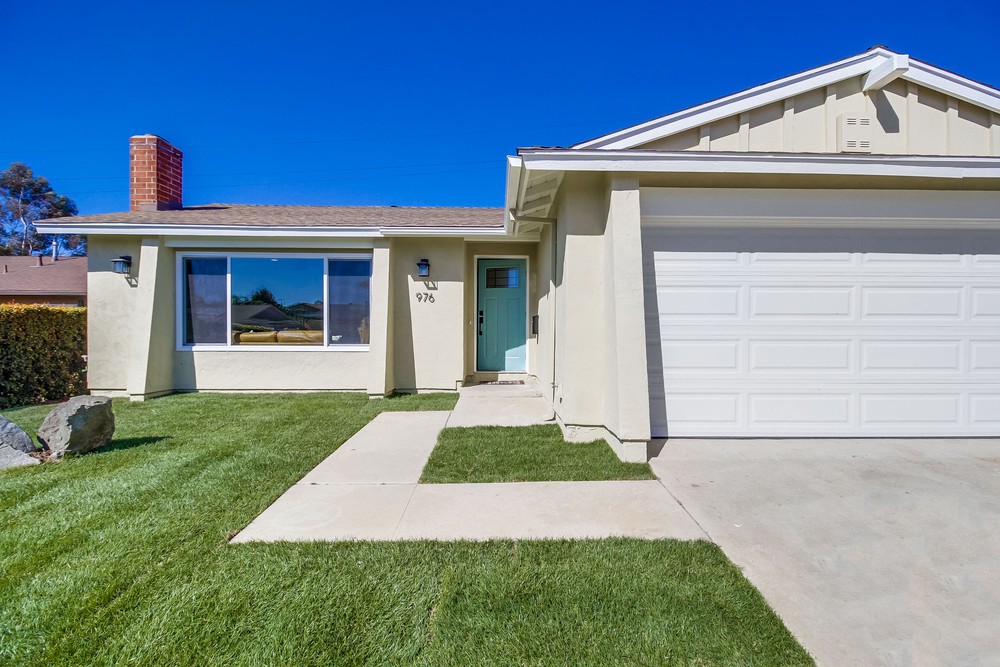
The front door color is SW 7701 Cavern Clay. This is a play on a traditional red front door but modernized to fit our palette. Leaning more terra cotta, it has brown undertones and really went well with the existing brown roof. Keep in mind these real estate photos are shot in HDR. In person this color is not so orange.
My accent siding choice is SW 7046 Anonymous. It also is a greyish-brown to tie into the brown roof. This is my first time using this Sherwin Williams color on a house we bought to flip, I wanted something bold for this siding panel and it makes a great statement. Picking exterior house colors to go with a brown roof can be tricky, I am very happy with what we pulled off here.
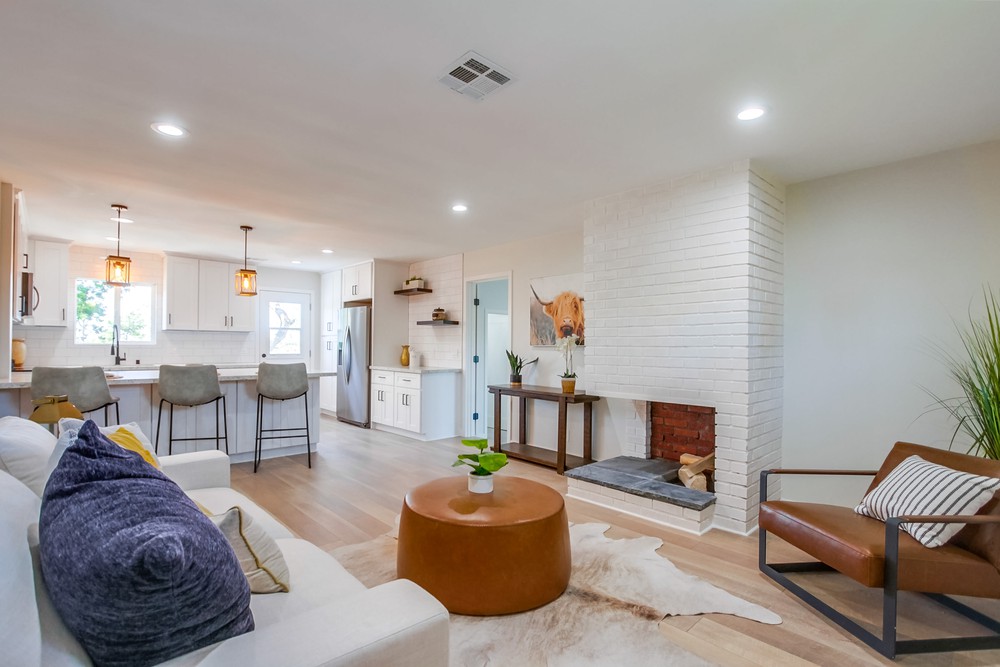
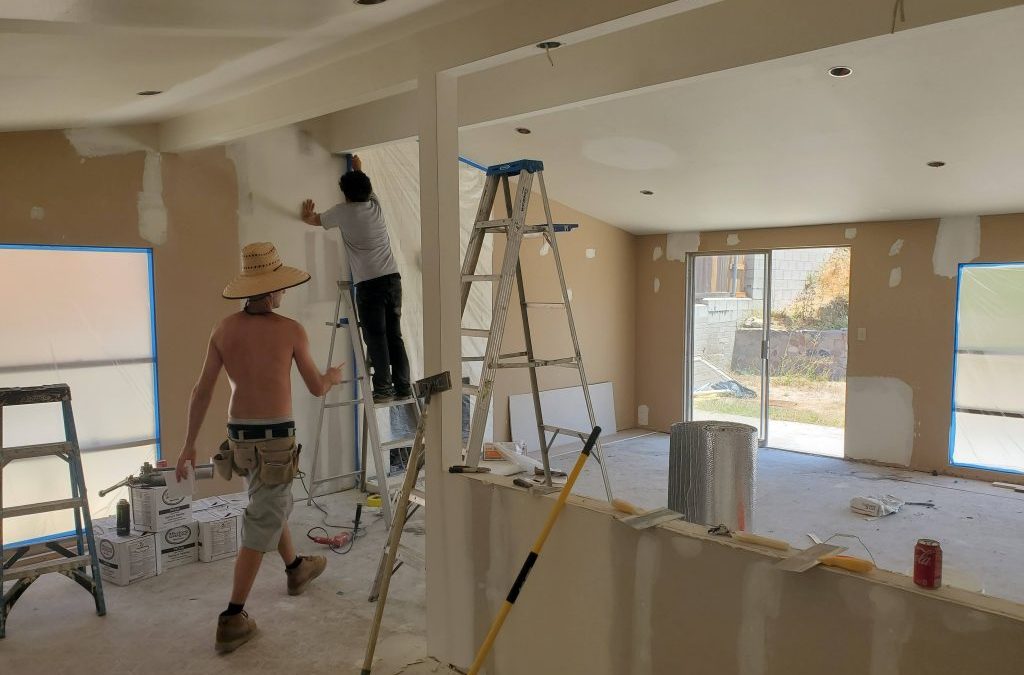
We really made this floorplan work by opening up the wall and rearranging the kitchen layout with a small island, walking into this home you would never feel it is only just over 1000 square feet. The original kitchen had the sink in the corner under the window, this definitely wasn’t going to work so we moved it to the island along with the dishwasher as our only choice.
Tons of light comes in and makes this space feel very welcoming. I went lighter than we normally do also on the waterproof flooring material to make the space feel larger. Using a LVP material or waterproof flooring allows us to seamlessly run the flooring through the wet area being the kitchen. We even managed to squeeze in a pantry with the new configuration as well as leave a generous allowance of space for a dining room table.