This week I spent a lot of time sanding and mudding to get the drywall ready for texture. After taping the baseboards and door casings off yesterday I sprayed a light pattern of orange peel texture with my hopper on the entire interior of the house, walls and ceiling.
We’re ready tomorrow to go in there and spray a good coat of primer on everything and then spray the ceilings only with flat white ceiling paint. I’ll use a brush and roller for all the rest of the interior walls a little later in the project.
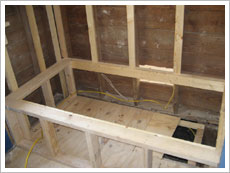
I also put a lot of work into the bathroom this week. I started out by putting in a new plywood subfloor and a toilet ring. I also framed out a box for the new jetted tub.
This tub requires a designated 110 circuit so we pulled a wire from under the house into the tub box. Code calls for a GFI protection but you don’t want to use a receptacle underneath the tub where the motor plugs in becuase if it trips you won’t be able to get in there to reset it.
We’ll obtain our protection from a GFCI breaker on the panel instead. I had to go under the house to remove the old lead drum trap and change the system over to PVC with a P-trap.
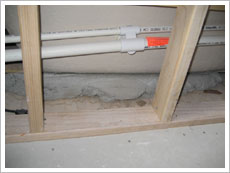
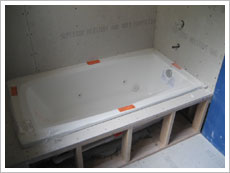
After tying in the plumbing I mixed up 2 bags of mortar and dumped it into the tub box as a big blob. I then dropped in the tub and while doing so I pushed down gently and it squeezed the mortar bed out to a perfect thickness to fill the gap between the bottom of the tub and the subfloor.
This is really important so when you’re standing in the tub and using it as a shower the bottom won’t flex and all the weight of the water and the person isn’t supported by the outer rim of the tub. This is the correct way to install a jetted tub as per the manufacturer’s instructions.
I’ve seen other people use spray foam as a fill but it doesn’t provide as much support. I dropped in the tub unit and used hardibacker for the surround as well as the floor. For the walls in the bathroom I used blue board tile backer since these aren’t in direct wet areas. Now the bathroom is completely ready for tile.


