Modern Garage Door and Countertops – South Park

Modern Garage Door and Countertops – South Park

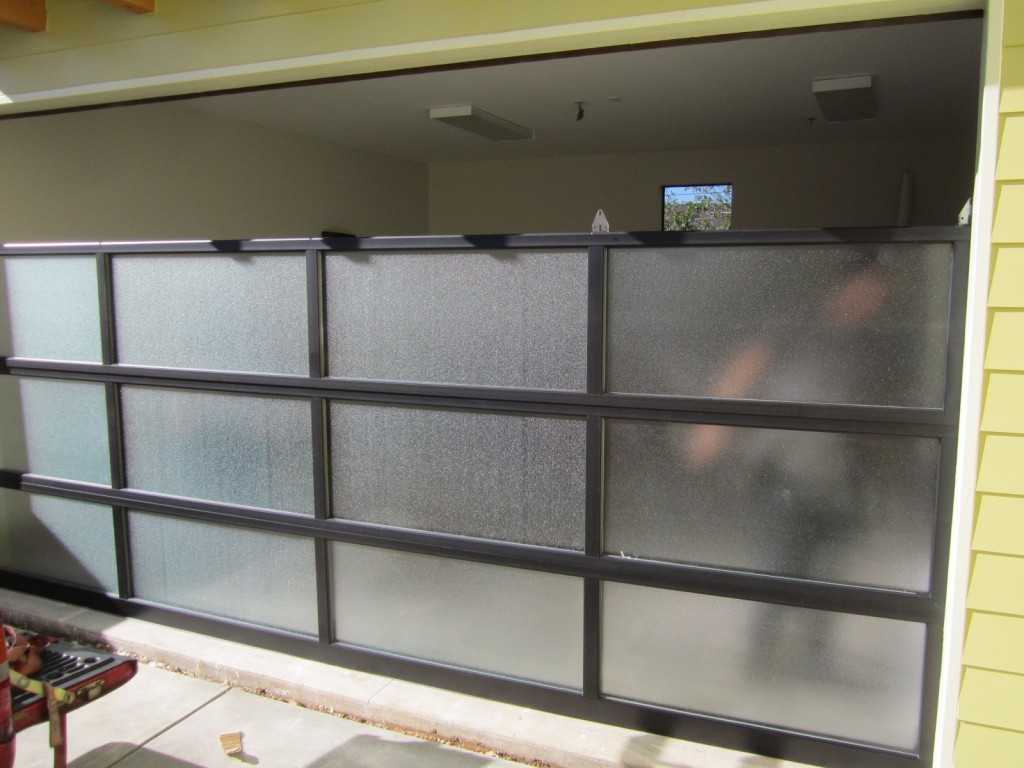
We are winding things up in South Park on our Modern Bungalow. The modern garage door got installed this week, its an Amarr full view door in dark bronze with obscure glass.

I didn’t want the glass to look white-ish like my last project so I didn’t get the frosted, the obscure lets more light in and overall was a way better choice for this project. The dark bronze aluminum ties in with the Milgard aluminum window color perfectly.

The door looks massive because its 8 feet high so the glass panels are larger, way cooler than the 7 foot Amarr door we installed earlier this year on a house we flipped.

In the master bath wet room I finally dropped in the jacuzzi tub. You can see that the heavy glass frame-less doors are also installed, I tried something new this time and did saloon doors.

You can leave them open when taking a bath and they lay on the walls out of the way. The opening is 4’0″ so each door is around 24″ Hey Honey, if I don’t come home from work one night you know where to find me.

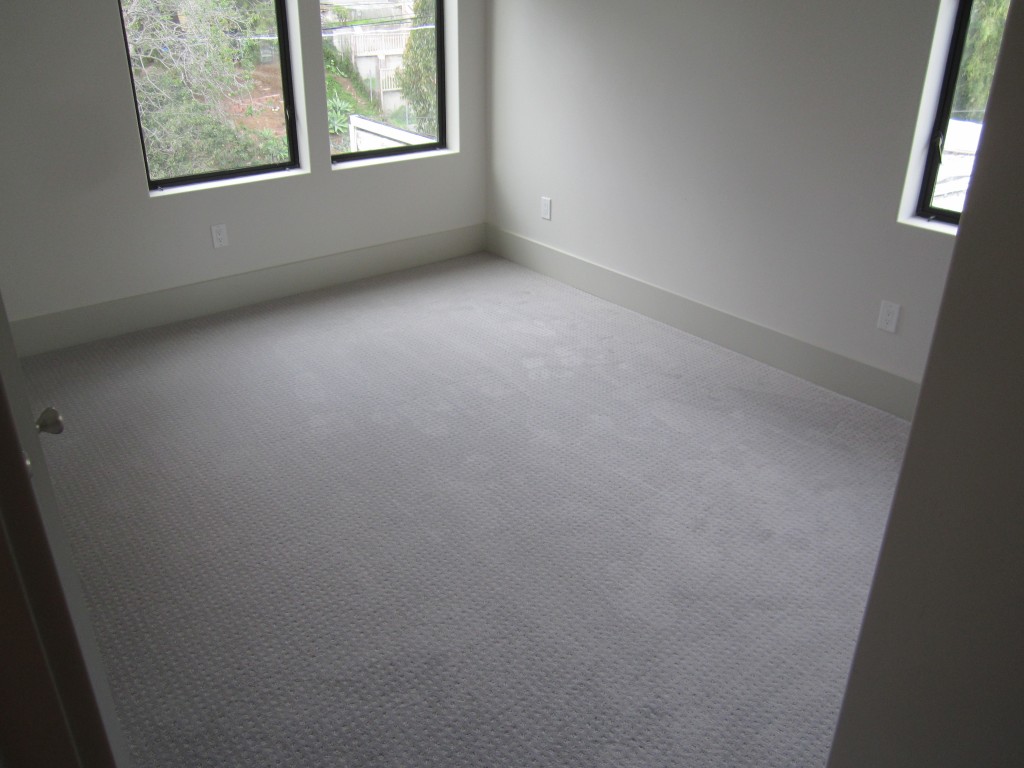
Carpet got installed in the 2 secondary bedrooms. I went with a designer textured close loop Stainmaster with upgraded pad because we like carpet in kids rooms. The grey ties in well with interior finishes.

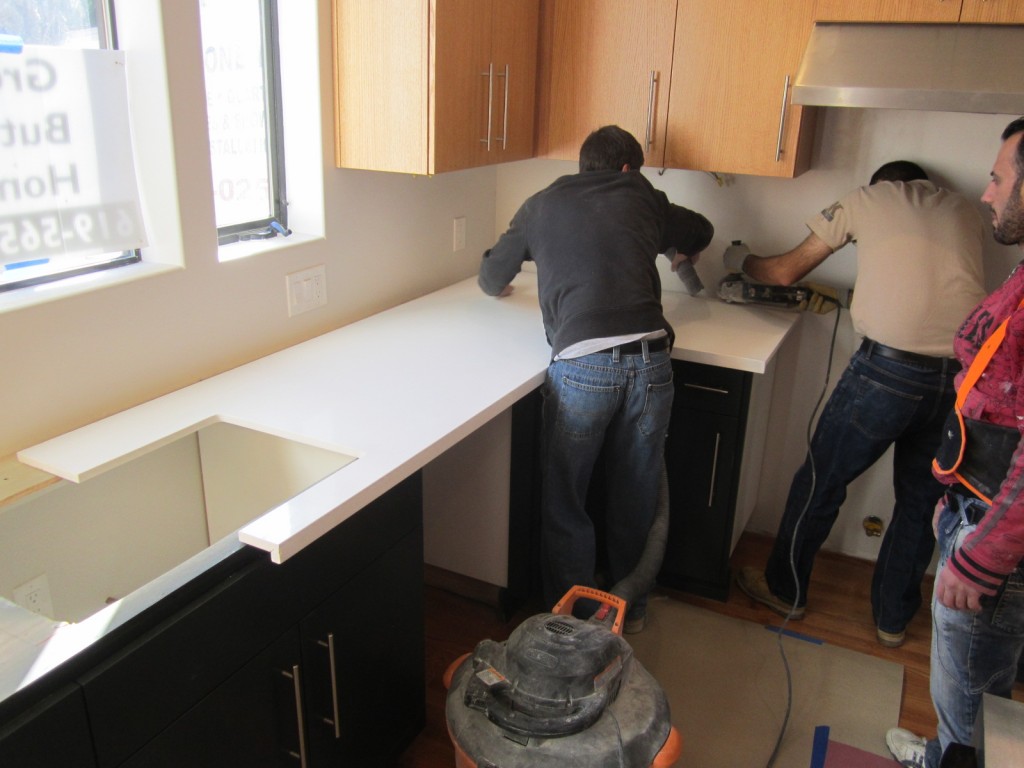
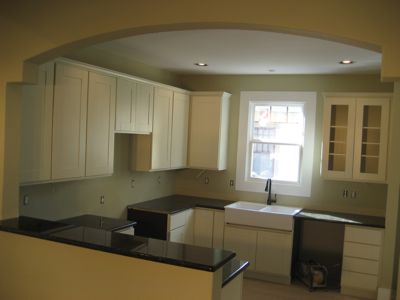
The big milestone we passed this week was the counter tops. The kitchen and both bathrooms are all Ceasarstone Arctic White with a square profile and eased edge. Ceasarstone is quartz so its a little trickier to work with when fabricating the edge detail.

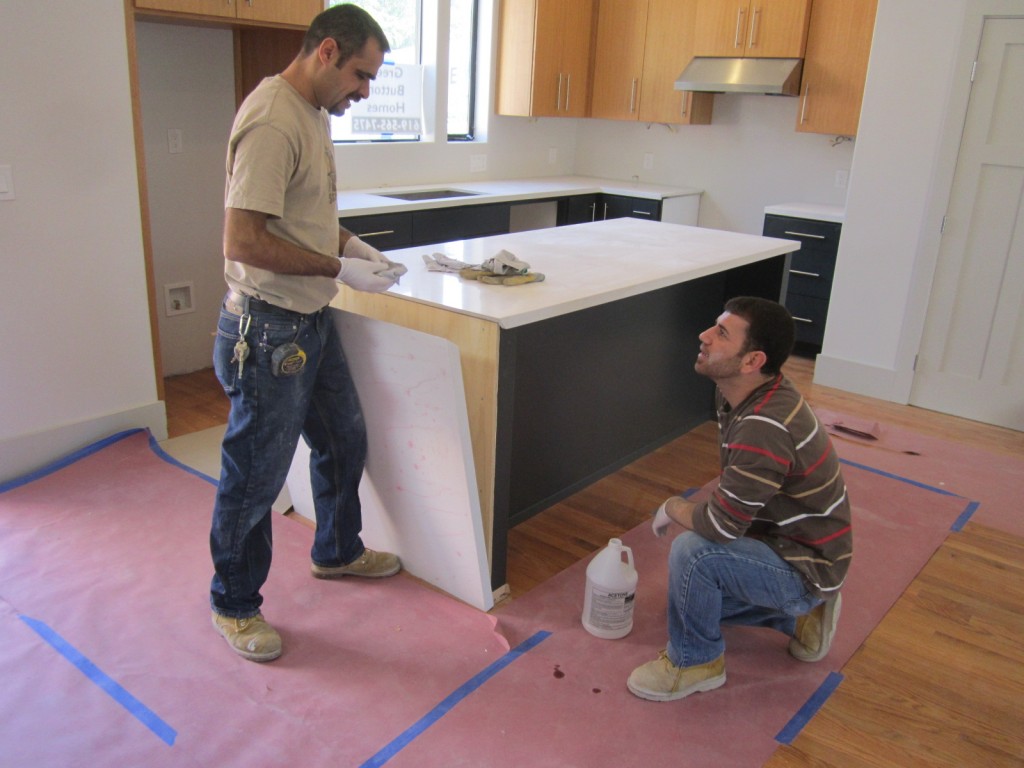
Not only is the pure white unforgiving but quartz in general has to be miter cut so you wont see the lamination on the bullnose. This is the first time I’ve gone this white, its so fresh, clean and looks very modern, contrasting my dark greyish blue base cabinet color well.

The huge sink is a single bowl zero radius stainless steel. I ended up going with white 3×6 ceramic tile for the back splash (not shown) and installed it in a running bond pattern to keep it looking more contemporary and matching the upstairs bathroom.

The 3’x7′ kitchen island has a waterfall on one side. this is a new technique usually reserved for high end modern homes where the counter top actually wraps down the island and touches the floor. You can also see in this pic how the seams are miter cut.

One neat feature (also not shown) is the microwave drawer in the island, more pics to come after I get appliances in.  We Buy Houses in San Diego, if you know anyone looking to sell please contact us as we are always searching for our next renovation project.

Black Subway & Clear Fir

Black Subway & Clear Fir

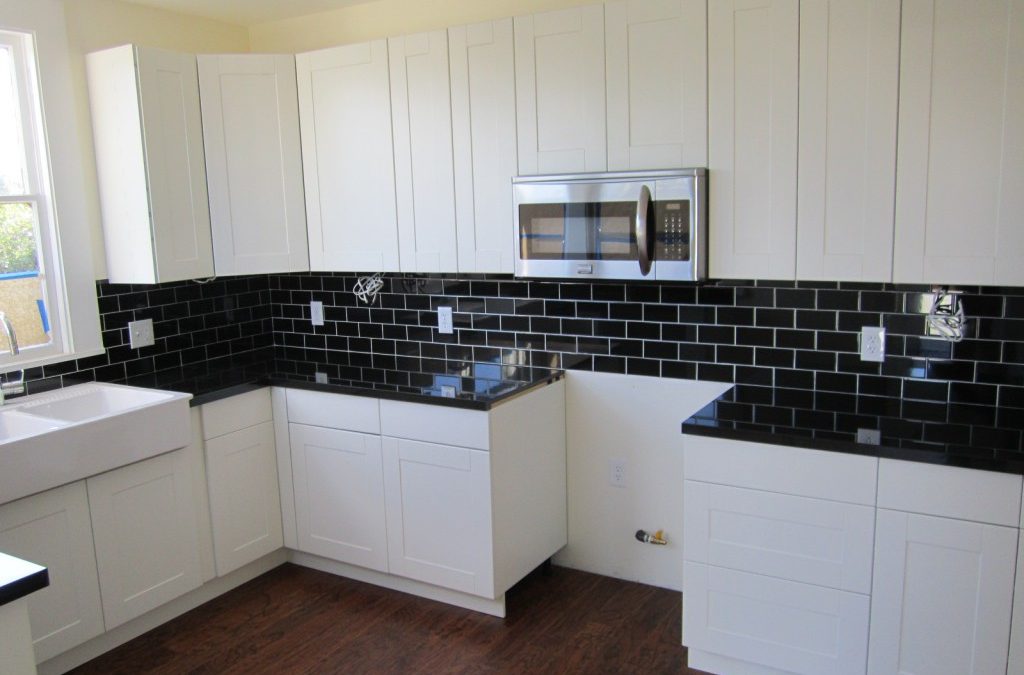
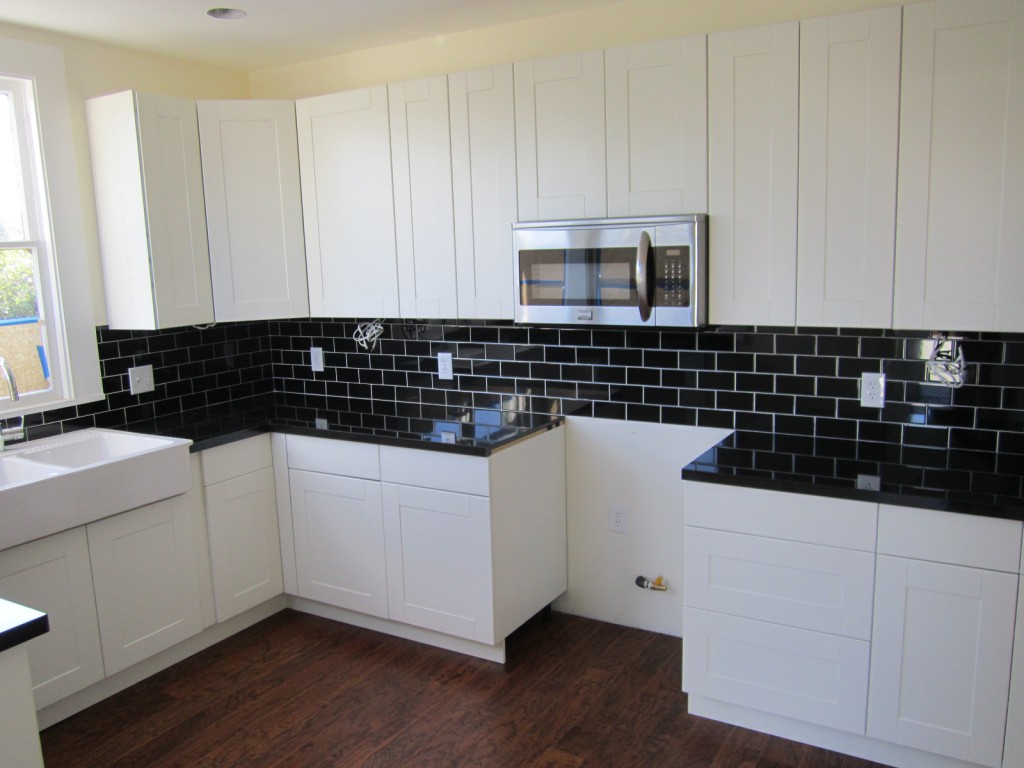
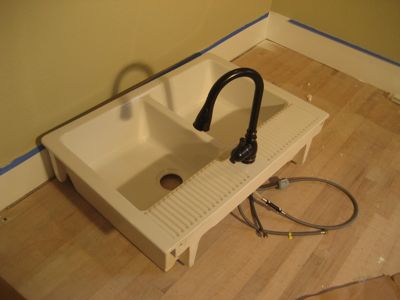
All I have to say is go with your first instincts. I really wanted to do the backsplash in black ceramic 3″ x 6″ subway tile to match the absolute black granite countertops but white would have been a safer bet for resale. I came real close to chickening out and doing white, but am glad I took the chance and got to try something new in the kitchen.  I’m really happy with how it came out and I got the look I was going for. I’m planning on switching out the plugs, switches and cover plates to black as well. For me, the white grout and the square profile on the granite slabs really makes it.  Once I get the under cabinet lights in there going to be quite the neat reflection going on. I used the Domsjo Farmhouse apron sink from Ikea again, and as you regular blog followers know we’ve put them in all of our historic renovations. You cant beat the price at $299.

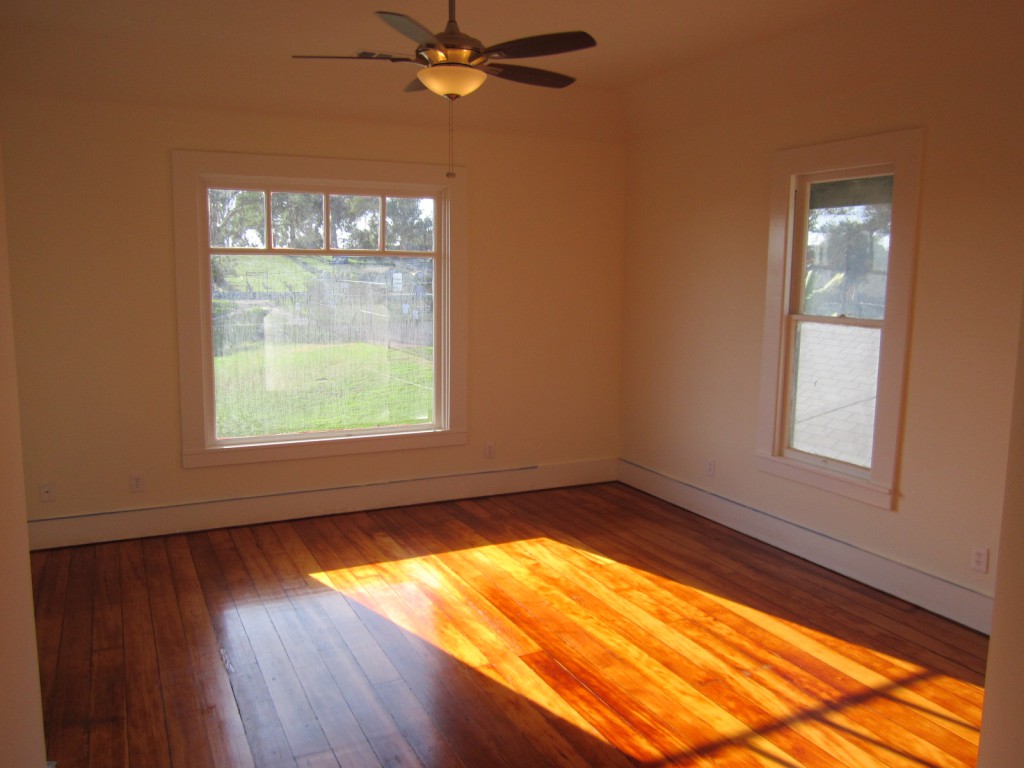
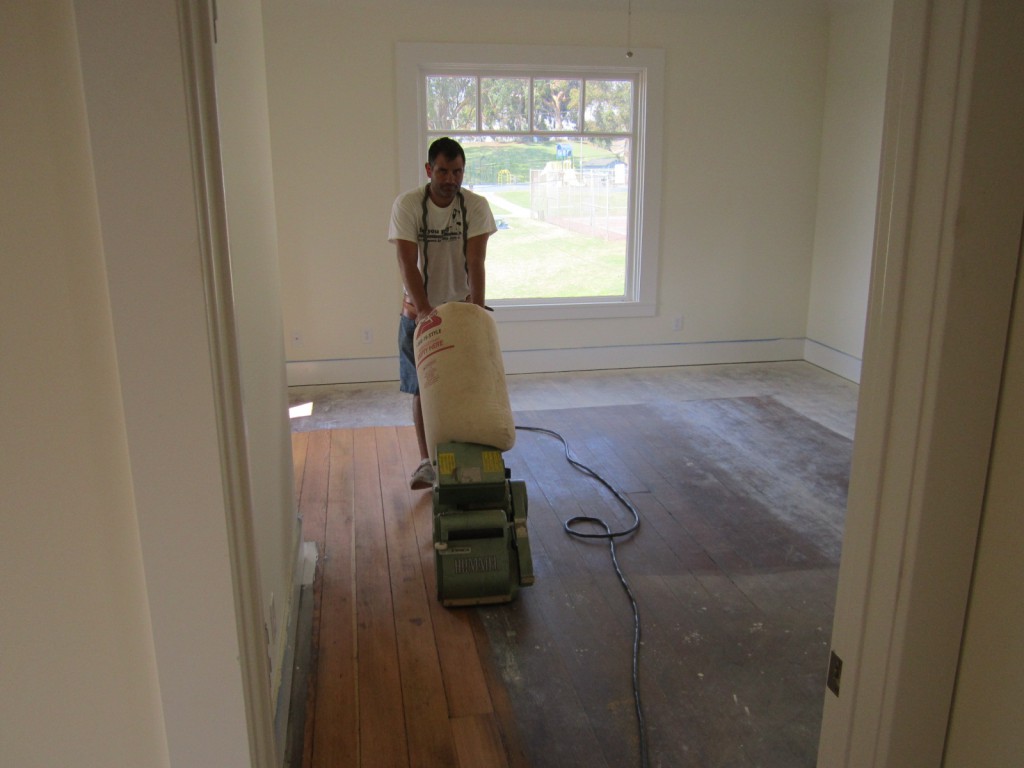
We shopped around this week for hardwood floor refinishers and ended up going with Geary Floors here in San Diego. They are charging $2.50/ s.f. for a pretty nice job. I found slightly less expensive prices but knew these guys do good work and its pretty important to me that we get a good job upstairs so I didn’t want to take any chances. You can see the 100-year-old Douglas Fir floors upstairs came out way better than I expected. I decided to not add any stain color and go “clear” with the refinishing job. The distressed look matches well with the house and adds a lot of character. This wood is the old 5″ wide long leaf style with standing grain. We are staining the stairs however to try and get them close to matching my hand scraped and distressed engineered wood floors downstairs. I’m officially now over budget, not bad considering the scope of work and the appliances are already paid for and standing by for delivery. Most of whats left now is outside which we plan on attacking this week. Stay tuned as we button her up and really add the missing small touches…

Countertop Envy

Countertop Envy

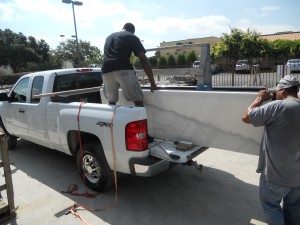
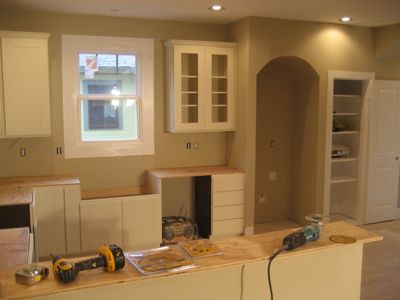
Another sweet milestone..On Saturday with the help of a friend we picked up and installed the granite and marble slab countertops in the kitchen and both baths. You can see in the pic I still need to install the backsplashes, but we got all the tops in and the bar top server on the kitchen pass-through. I went with Absolute Black for the kitchen to contrast the white cabinets. As a general design rule in rehabbing you always go dark, light, dark or the opposite in the kitchen meaning: dark floors, light cabinets then back to dark counters. The opposite would be light floors, dark wood cabinets then light colored counters. I think the black and white with grey walls looks real crisp and modern while still period sensitive, you can’t go wrong with this combo. Any future homeowner could switch out the wall colors and anything would still look good. Another flip tip to keep in mind is that you must have good lighting in the kitchen if you want to do black counters, but in this case we have under cabinet lights pre wired and with recessed lighting, abundant natural light and the pendants I’ll be hanging over the bar it won’t be an issue. Black counters can make a room look small as well but since I’ve opened everything up it works for me. I chose White Carrera Marble for the bathrooms, it looks a little more feminine and with the grey veining through it, ties in perfectly with our wall color. This is the first time I’ve used the white marble and I’m loving the way it looks. I cant wait to see it with the white sinks and chrome hardware.

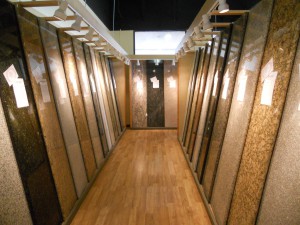
I’ve received a lot of reader mail over the years asking about how I get my granite for so cheap. We started doing this method back in California, the granite industry has been revolutionized for people in the know. Yea, you can still pay $40/s.f. to the big dogs in town or mid $30’s to the big box stores for granite slab but this method gets er’ done for under $12.00 per square foot. These 8′ x 24″ slabs are pre-fabricated in China where labor is cheap and then shipped to the states. The material still comes from all around the world but it’s sent to China to get cut down, polished and bull nosed. For an 8 foot section I am paying $160.00. That’s $10/ square foot, then add a couple more bucks for materials and it still ends up pretty inexpensive.

Ask around for “pre fabricated” or “pre bullnosed” granite slabs. They always come from China. When we first moved to San Antonio you couldn’t get them here so we’d drive to Houston to pick then up. Here in San Antonio the company who carries them is called Builders Mark . They have about 30 colors in stock to pick from as well as bar tops, peninsulas, backsplashes and islands. You still have to put them in yourself, maybe I’ll do a “how to” video for the DIY’ers out there one day. They sell to the public but also give contractor discounts. Real stone slab counters boost the resale value of your rehab, along with stainless steel appliances, granite countertops are top of the wish list for homebuyers in today’s market.

Paint, Cabinets and Granite

Paint, Cabinets and Granite

The “Neighbor’s House” is now painted inside minus some small touch ups. Additionally I got the cabinets in and countertops installed this week. I buy the pre-bullnosed granite slabs fabricated in China and with the help of a friend we put them in ourselves saving big money. It ends up costing me $12.00/s.f. for what everyone else charges $50/s.f. for. I intended to post a “how to install granite countertops” video for everyone but my memory card was full yesterday when we were installing so I had to settle for a few single images. Maybe next time I’ll get to film the install for everyone as it’s really not that hard to do. As you can see we also dropped in the farmhouse sink from Ikea. It’s easy to retrofit any 36” sink base cabinet to accept it, you just have to do some measuring and cutting. All the tile is done and the glass company came and measured for the frameless heavy glass door for the master shower. All that’s left now are some small projects before I can get the floors refinished after the holiday weekend. I’ll be going really dark again on the stain since the floors got such great reviews on our last project next door. The concrete guys are showing up weather permitting this week to start on the driveway. The house itself should be done soon but we still have the landscaping and light renovation of the rear guesthouse to do before the project is complete. Last week we bought another historic house for a big renovation, we close on it this Wednesday so at that time we’ll get over there and do a walk through video to show you what we have planned. Stay tuned and Happy Holidays!

Cabinets

Sink

Kitchen

Taking Care of Business

I had a big week on the project. Monday morning I dragged the whole family up to Ikea in Austin to buy the cool farmhouse sink for $299. After getting back I went and picked up 6 pre bull-nosed granite slabs and with the help of a friend we got all the counter tops installed by 11 pm. This is the way to do your granite counters for about $10/s.f.

I used the color Verde Butterfly this time. I had to alter my sink base cabinet to accept the farmhouse sink from Ikea but with some simple cutting out on the front and back it fit perfectly. I also got all the bathroom sinks and faucets in and the hot water heater installed.

The A/C guy finally showed up and installed the condenser so we can call in for HVAC final inspection this week. We started sanding the hardwood floors Friday and I was pleased to see that most of the problem areas are disappearing. Once we come back with the dark Walnut stain they should end up looking fantastic.

The wrought iron driveway gate is also installed now and adds a great touch. The floor refinishing guys will work through next week, while I switch gears to the landscape. My “Coming Soon” sign is in the yard now so stay tuned.