
by Tom | Oct 14, 2012 | Craftsman Bungalow, Drywall and Texture, Hardwood Flooring, Marketing, South Park Modern Bungalow
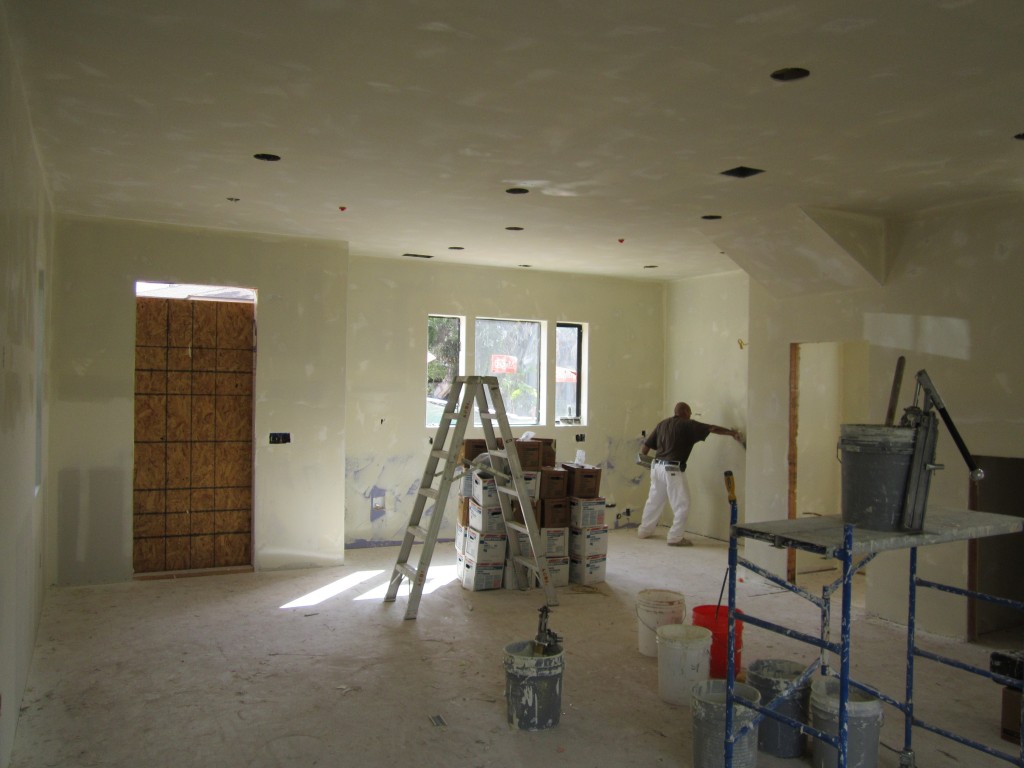
Outside we are now into the second week of the siding job while the drywall crew finished up on the inside of our Modern South Park Bungalow. I ended up going with a 90% smooth, hand-troweled texture on the entire house and garage. It took 165 sheets of drywall, a case of tape and 30 boxes of mud for the entire job on this 1850 s.f. house. My guys do an incredible flawless job so I’m happy once again.
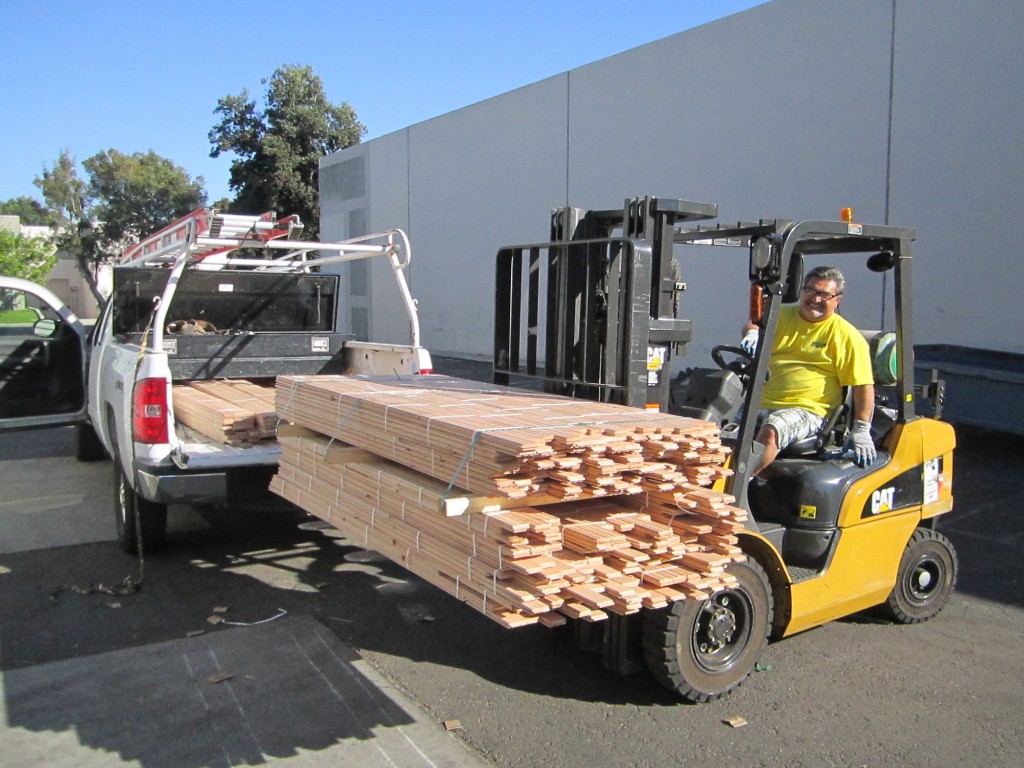
Now that the drywall is done, we are going straight into laying the hardwood floors this week. These are the real deal, 2 1/4″ x 3/4″ Red Oak unfinished hardwood.
Once the house is all done, one of the last things we’ll do is then sand and stain them. These are the best hardwood floors you could ask for, they’ll last 100 years and you can refinish them many times and always change the stain color.
Laying unfinished Red Oak hardwoods and then paying someone to refinish it, is a little more expensive than just laying a pre-finished engineered hardwood, but the quality is second to none. After the hardwoods go in, I’ll then trim out the house on top of them.
What you see here is about half of the red oak hardwood I bought, I am doing 1200 of the 1850 s.f., which is the whole house minus the two secondary bedrooms.
by Tom | Feb 19, 2012 | Bathrooms, Hardwood Flooring, Tile, Tubs and Showers
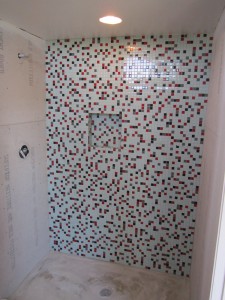

Finally some fun stuff is going in the house. To stay in the Mid Century Modern theme I did mosaic in the master shower, but an updated spin on what was there originally. Glass mosaic tile is really hot right now for MCM house design and there are fun new retro patterns available if you search. After looking around at my local tile stores nothing really fit the bill because I wanted this new trendy, spacey-looking random pattern. You definitely wont see these materials in any other rehabs locally. I found this glass mosaic in LA for $5.99/sf so I drove up and bought everything this week. I’m using another new product for grout on the glass called Star Glass, its actually recycled crushed glass in a urethane base. It’s a flexible, non-cement, non-porous grout and wont ever fade or stain.
It’s real expensive and was primarily reserved for commercial applications until recently discovered by interior designers. Its translucent and reflective and seems to disappear when applied to glass tiles instead of contrasting heavily like even a normal white grout would do. Using glass tile like this is great, what I don’t like anymore is seeing when just a glass mosaic 4″ strip is used as a shower or tub surround accent liner. Look at some of my older bathroom remodels if you don’t know what I’m referring to!
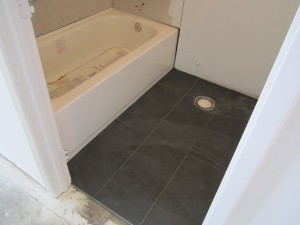 In the hall bath above I went with a frosted 3×6 glass tile but set it in a stacked pattern which looks more modern than subway pattern. I ran it all the way up to my new vaulted ceiling lid for a more expansive feel in what is really a modest bathroom size. I also laid a 12×24 charcoal grey porcelain tile for both bathroom floors which is very popular in modern bathroom design right now.
This grey will go with anything and basically just disappear when the bathrooms are done and all the chrome hardware goes in. I set the floors butt-joint also to look cleaner and eliminate grout lines. The glass mosaic in the master also has grey in it so it tied in perfectly. The floating vanities you’ll see go in soon are also high gloss grey.
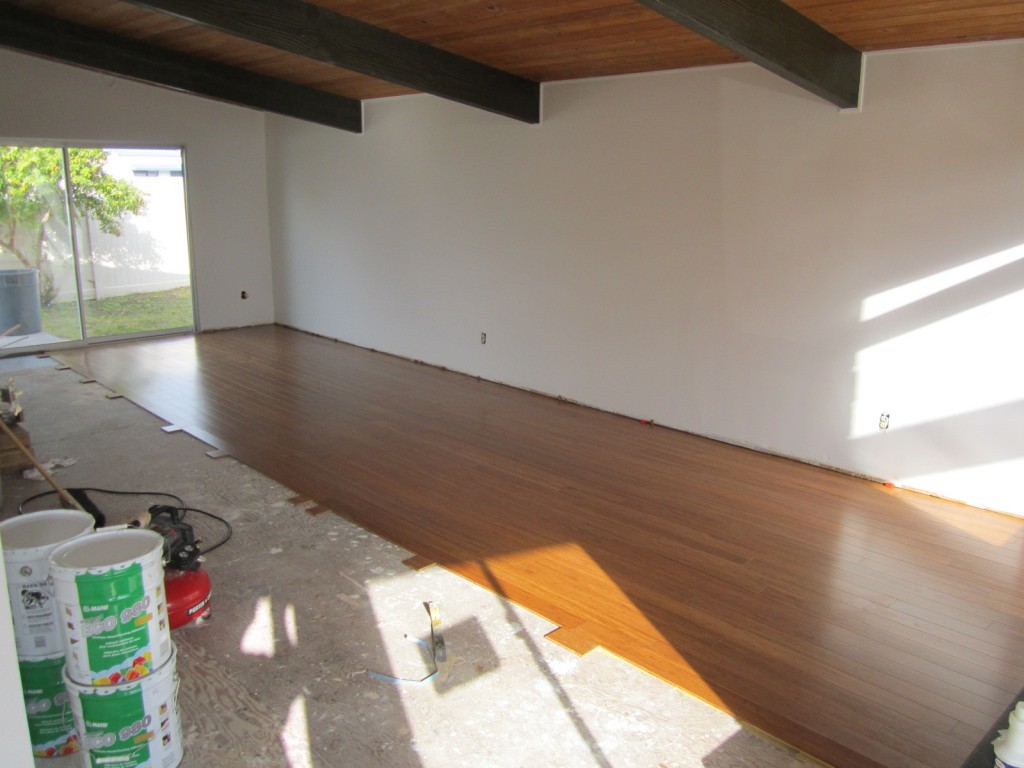
We also got started installing the hardwood floors. I wanted to go with Bamboo for this house for its durable nature and the fact that’s its 100% renewable and considered a Green building product by LEED standards. Bamboo is harvested every 5-6 years while normal trees in a forest take 40-60 years to mature. We are San Diego’s Best cash home buyer.
This product is also of the newer version of Bamboos that has been stranded and carbonized. You don’t see the old cheap style bamboo pattern and there is no wear layer, its the same material all the way through. I bought it at Simple Floors for $3.15 s.f. and decided on paying a sub contractor another $2/sf to install it to speed up my project. This Bamboo requires glue down installation because its so hard that you will bend nails trying to nail it.
The color I found is as close to my cedar ceilings as possible, and I laid it the long way to match the tongue and groove ceiling direction. The white walls are totally working now that I’ve obtained so much warmth and color from the surrounding natural materials.
by Tom | Sep 18, 2011 | Hardwood Floor Refinishing, Hardwood Flooring, Kitchens, Painted Lady
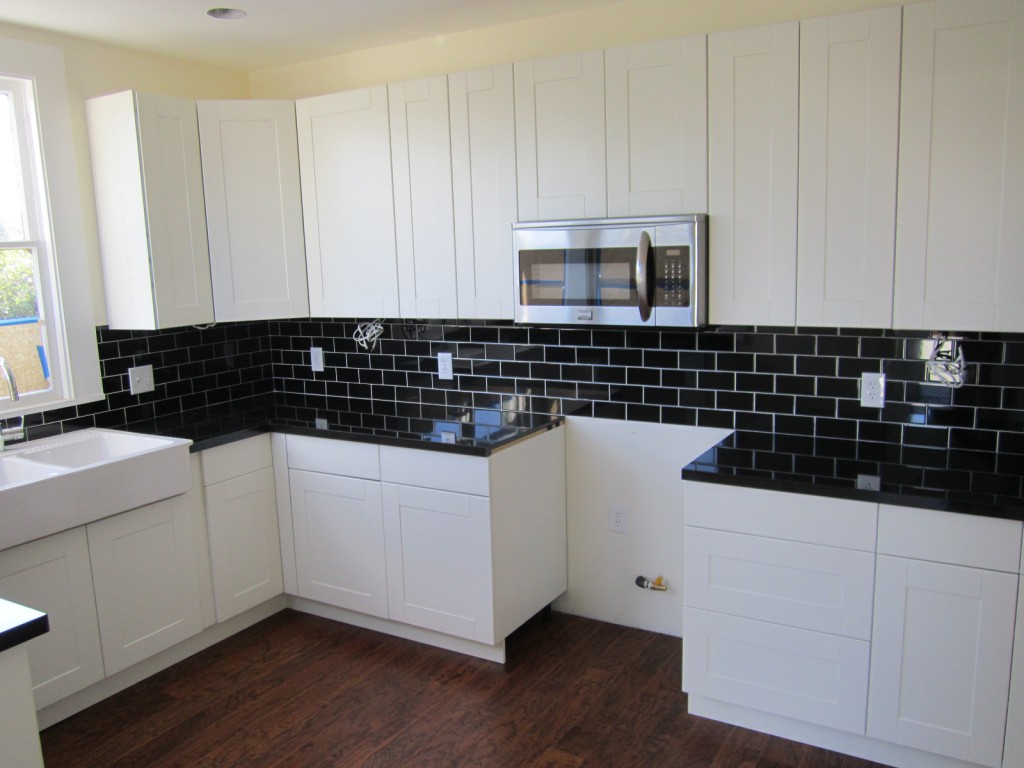
All I have to say is go with your first instincts. I really wanted to do the backsplash in black ceramic 3″ x 6″ subway tile to match the absolute black granite countertops but white would have been a safer bet for resale. I came real close to chickening out and doing white, but am glad I took the chance and got to try something new in the kitchen. I’m really happy with how it came out and I got the look I was going for. I’m planning on switching out the plugs, switches and cover plates to black as well. For me, the white grout and the square profile on the granite slabs really makes it. Once I get the under cabinet lights in there going to be quite the neat reflection going on. I used the Domsjo Farmhouse apron sink from Ikea again, and as you regular blog followers know we’ve put them in all of our historic renovations. You cant beat the price at $299.
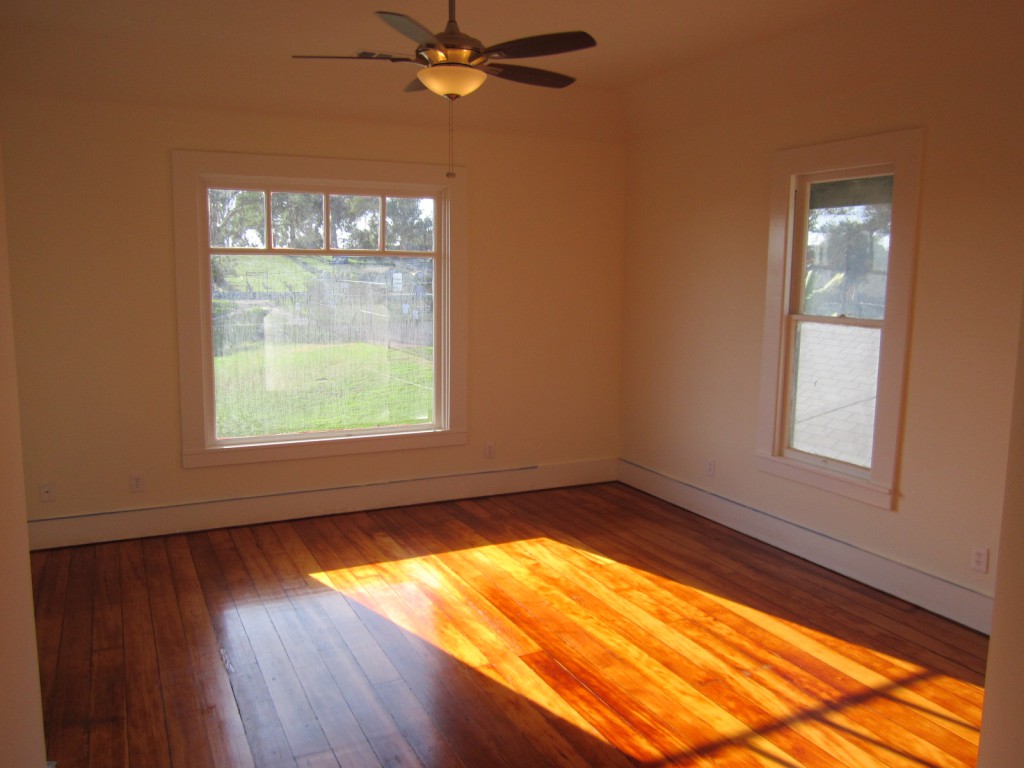
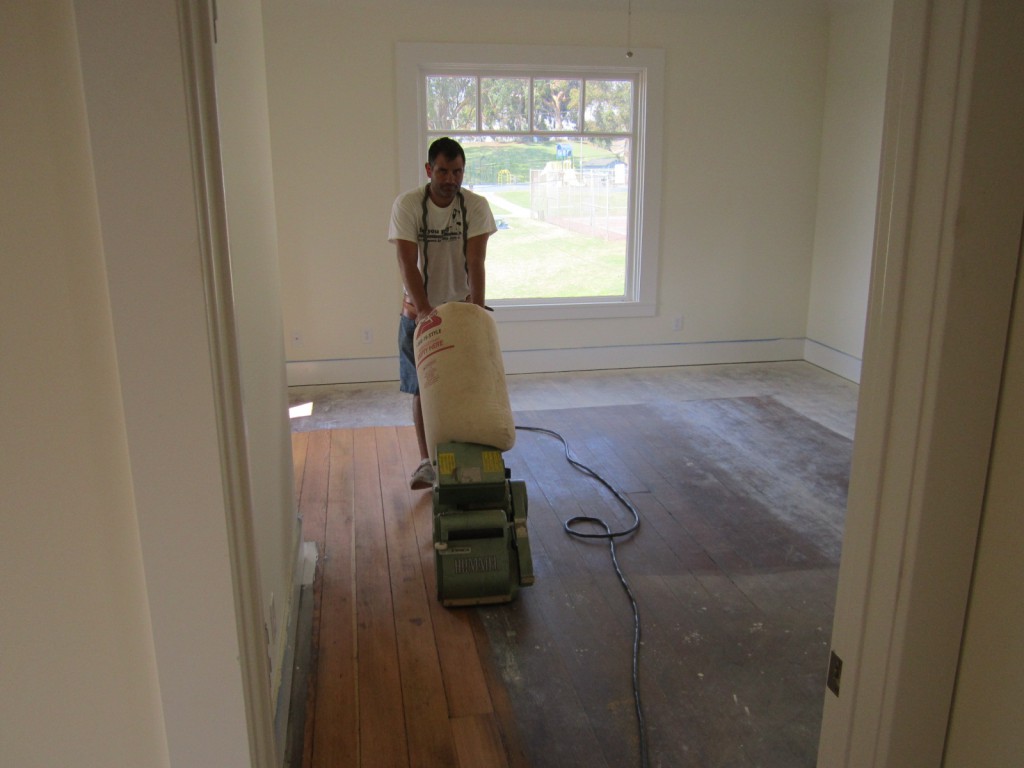
We shopped around this week for hardwood floor refinishers and ended up going with Geary Floors here in San Diego. They are charging $2.50/ s.f. for a pretty nice job. I found slightly less expensive prices but knew these guys do good work and its pretty important to me that we get a good job upstairs so I didn’t want to take any chances. You can see the 100-year-old Douglas Fir floors upstairs came out way better than I expected. I decided to not add any stain color and go “clear” with the refinishing job. The distressed look matches well with the house and adds a lot of character. This wood is the old 5″ wide long leaf style with standing grain. We are staining the stairs however to try and get them close to matching my hand scraped and distressed engineered wood floors downstairs. I’m officially now over budget, not bad considering the scope of work and the appliances are already paid for and standing by for delivery. Most of whats left now is outside which we plan on attacking this week. Stay tuned as we button her up and really add the missing small touches…
by Tom | Aug 10, 2011 | Hardwood Flooring, Painted Lady, San Diego Real Estate Market, Victorian House
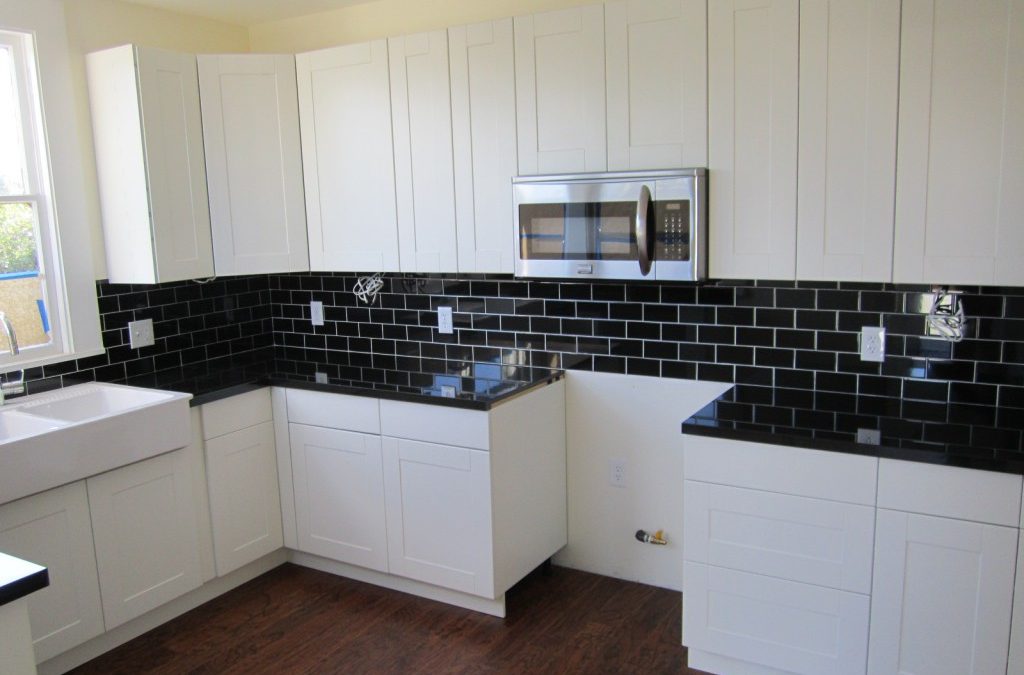
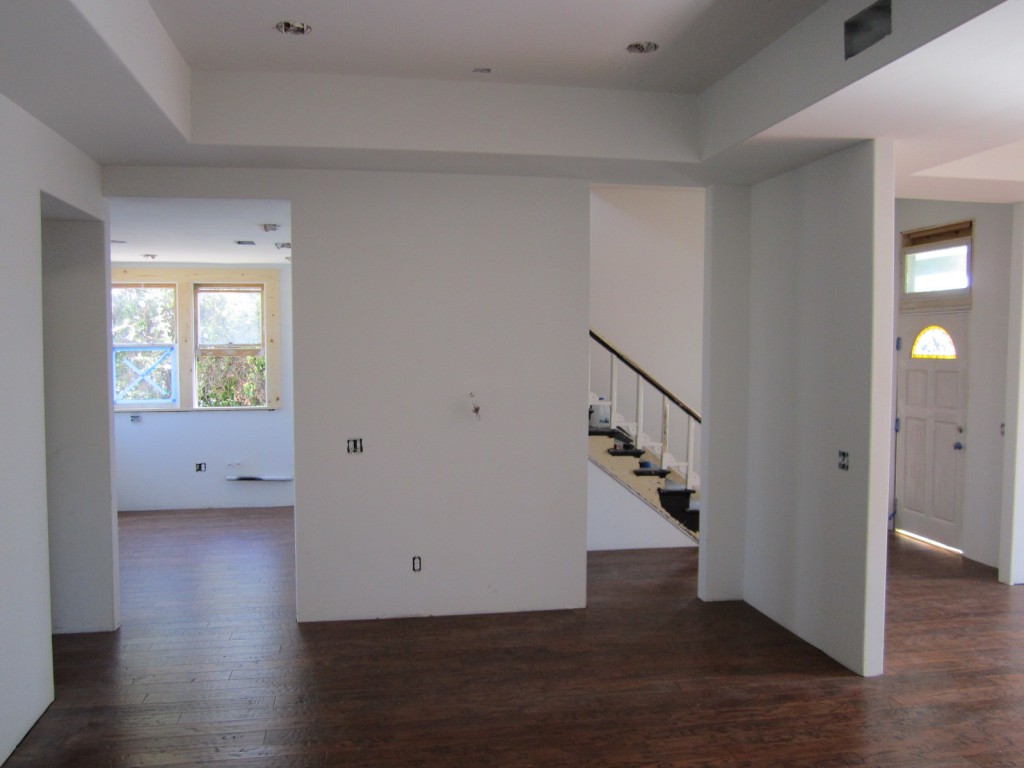
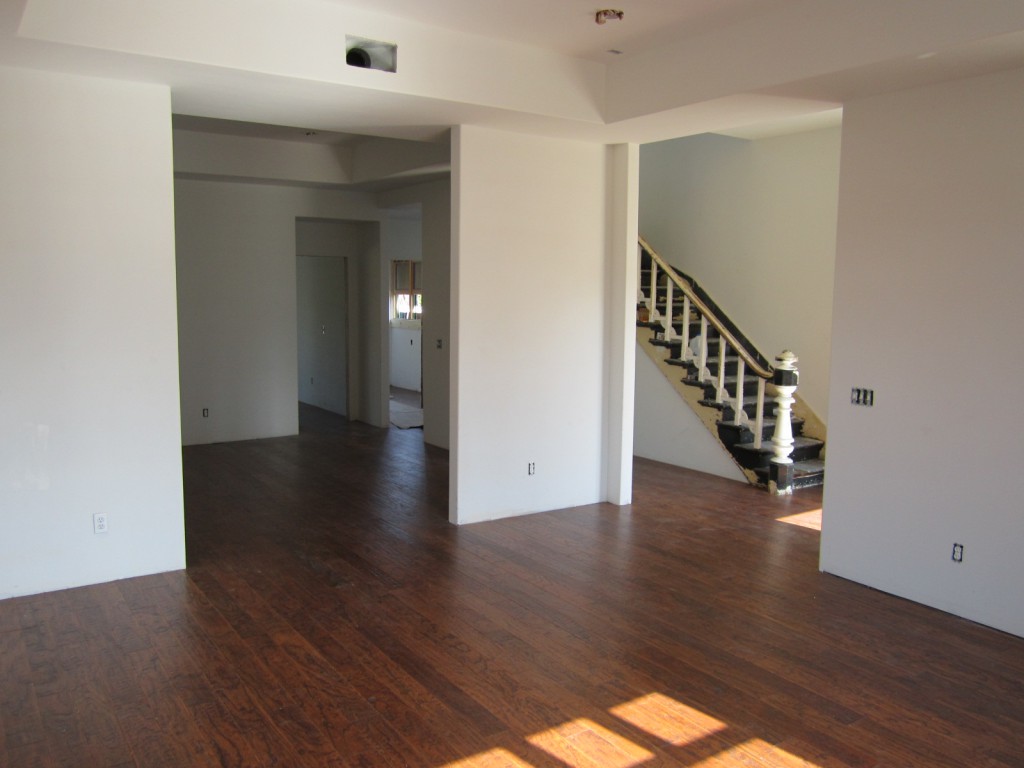
 It’s really nice to be able to try new materials when you are flipping houses, I’m really happy with the hand scraped and distressed hardwoods as an alternative to what style I usually use. In the big expansive space they look bold and fresh. With the large rooms and white walls I still get the expansive feel but with the warmth of the darker wood. Before nailing down the wood you can see I put down 15 pound felt paper as a moisture barrier. With one helper I installed 1400 s.f. in 3 days. Sub contractors were charging $2-3 bucks a foot so by doing this myself I shaved 3k in expenses. The walls are primer now so you can start to visualize how the white interior paint will look. I chose Benjamin Moore Cloud White and hopefully will get it put up soon.
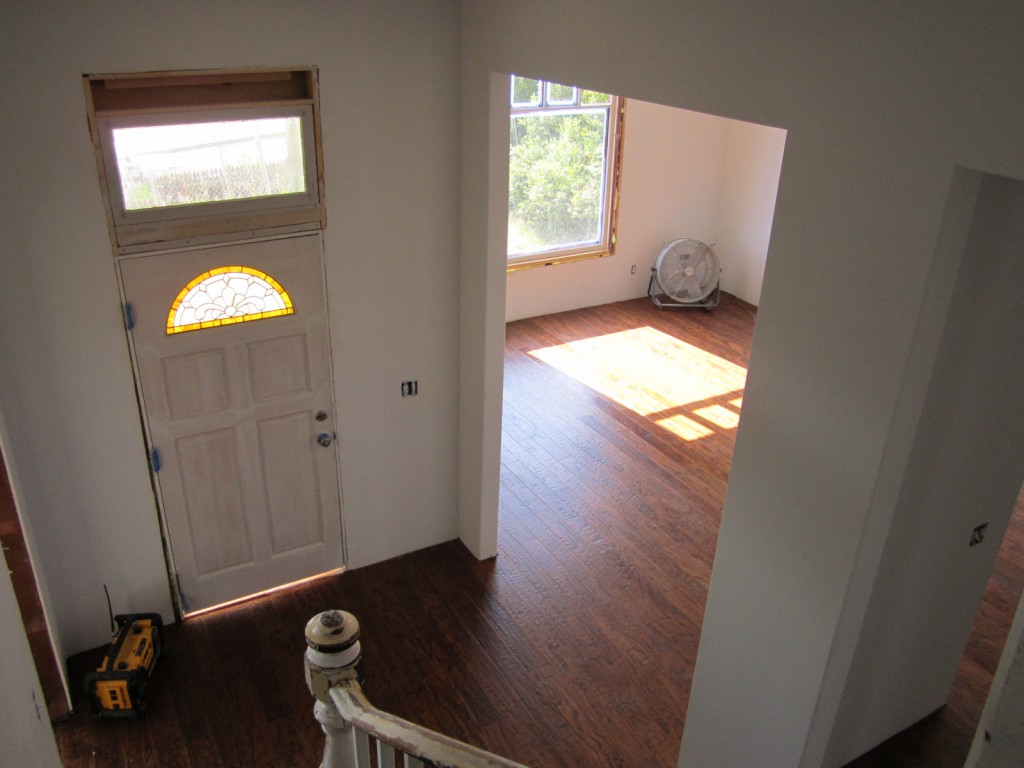
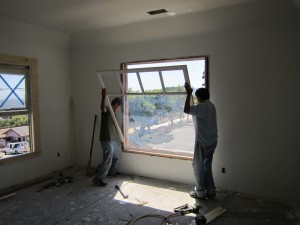 We also installed the 2 new front fixed windows. I made some historic replicas with the mullion across the top. Now the house is finally aluminum window free and all evidence of the former owners 1980 remodel are removed except for the black interior paint on the staircase handrail which will disappear soon enough. My electrician stopped by and made up all the switches and receptacles so now I can have light inside while we paint. We also spent the majority of last week still re-hanging the original windows and trimming them out, there is so much little stuff to do it really seems like its slowing down but I cant pull in a bunch of subs because it will blow the budget so with the help of my right hand man we are tackling everything ourselves. I ordered the interior pre-hung doors so hopefully next week I can get them in and trim out the whole house with casings and baseboards.
Currently up on deck I’m planning on interior paint, tile and kitchen cabinets. From what I’m noticing on the streets it seems like the market is slowing down and inventory is not moving as quickly, I’m not really bothered by it because we have such a specialty project but if I was one of the high volume, run-of-the- mill San Diego house flippers I would be careful. Home prices are down 8% from last year so its extremely important to use recent comps when looking at investing in San Diego real estate. This is when quality over quantity pays off. We buy houses in San Diego and do the renovations ourself. Let us know if you are thinking of selling.
.
by Tom | Aug 1, 2011 | Exterior Paint, Hardwood Flooring, Painted Lady, Victorian House
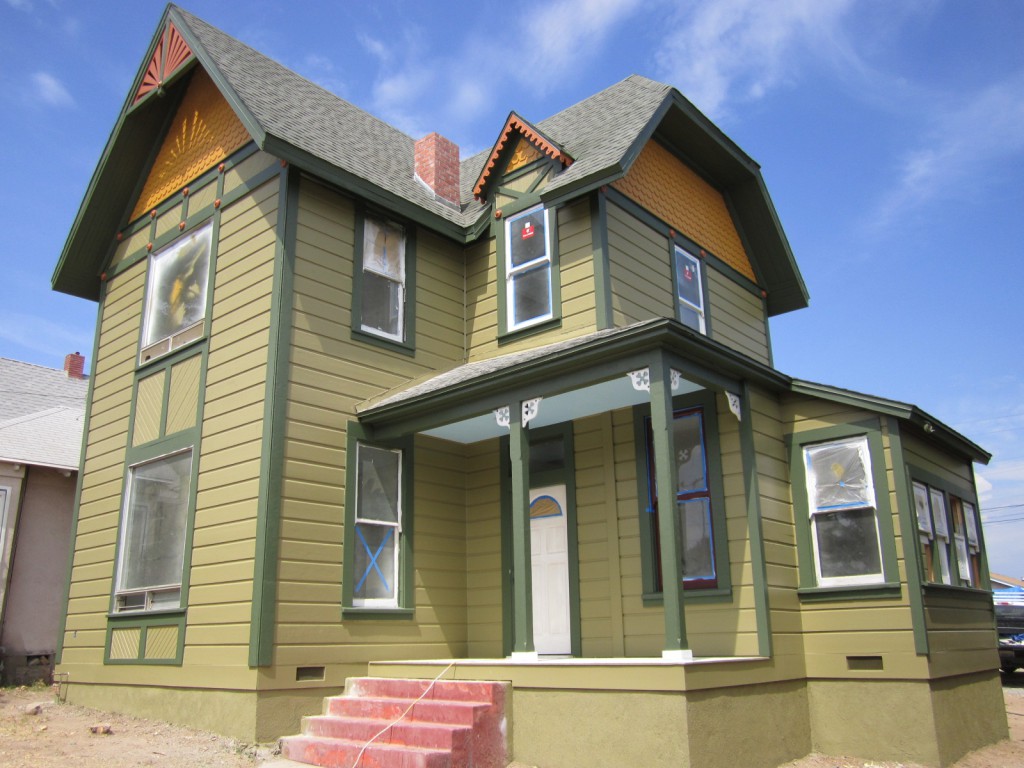
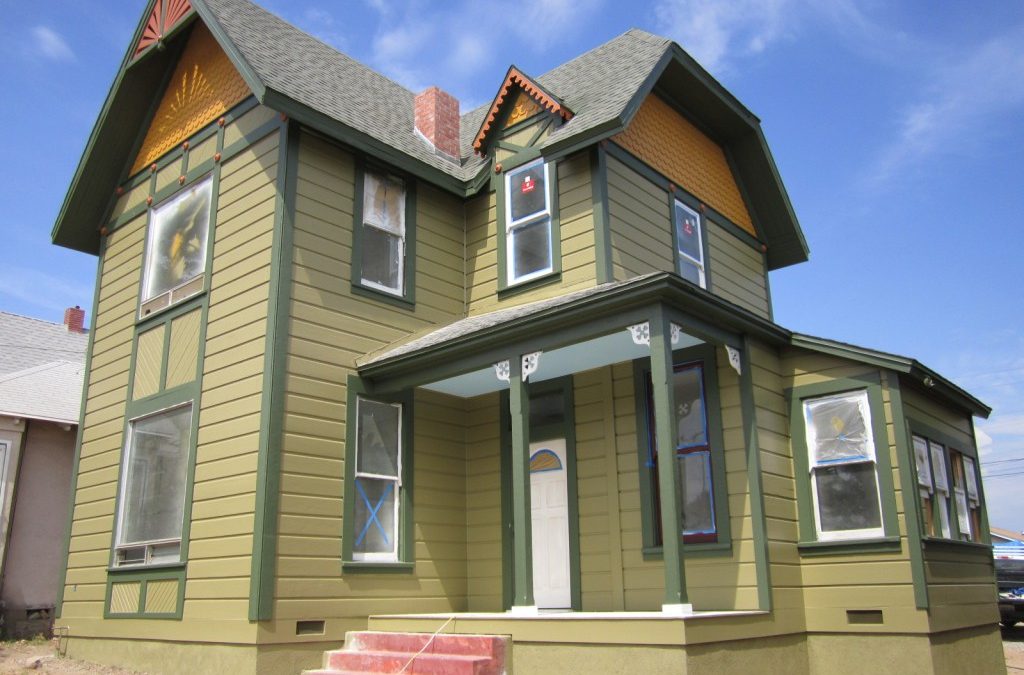
Of course its not done yet but we’re 90% there on our Victorian paint job and its really looking good. The steps and front porch will be green and all the windows are still missing the plum color but if you look closely you can see we put it up on one of the porch windows to get a visual. I still have to figure out which color I’ll bring down to the front door, the decorative brackets as well as the two-toned porch railing I’m still going to make. The last 2 remaining big aluminum windows on the front of the house are also getting changed out this week which will complete the package. I’ve got a guy hand making 2 custom big wood frame plate glass windows with mullions on the top. I honestly thought this color scheme might be too crazy but once it went up it didn’t look that loud at all. They are all rich tones and together work perfectly. The missing plum on the windows is really going to give it the finishing accent it needs. I love the way the sunburst, scalloped shingles and gingerbread all contrast on the green body and trim colors and the light blue front porch ceiling looks great with the greens as well. All the little details I fixed are really standing out now. Here are the 6 colors I used, all from Sherwin Williams Victorian House palette:
1. Body: Renwick Olive SW2815
2. Trim: Rookwood Dark Green SW2816
3. Accent 1 (gable shingles, front door) Rookwood Amber SW2817
4. Accent 2 (sunburst, brackets, porch, rosettes, porch detail) Rookwood Terra Cotta SW 2803
5. Accent 3 (windows) Rookwood dark Red SW 2801
6. Accent 3 (porch ceiling) Bluebird
EDIT 11/2011 If you want to see how the finished house looks here’s a link https://tomtarrant.com/wp-content/uploads/2011/10/painted-lady1-1024×751.jpg
I bought the floors this week as well, they will be delivered Thursday and we’ll start installing them. I’m doing something different this time and mixing it up. I went with a more modern 5″ wide hand-scraped and distressed hardwood, kinda Jeff Lewis style from Flipping Out, and on my wall color I’m going to keep it white and clean, just softened up enough to make the white trim contrast. With the smooth hand troweled wall texture its going to look really modern and high end. I think that with the size of the rooms and the abundance of light coming in that these floors are going to be killer even though normally they are reserved for Tuscan or Old World interior designs. Your typical Red Oak flooring with the expansiveness of the space just wouldn’t have given me what I’m looking for. And, at $2.60 / s.f. its more budget friendly compared to unfinished Red Oak at $1.99 plus another $2.00 to finish it. After all, the name of the game is to keep the exterior historic but have the inside modern and up to date. What do you guys think of the colors?
by Tom | Jun 6, 2010 | Bathrooms, Hardwood Flooring, Tile, Tubs and Showers

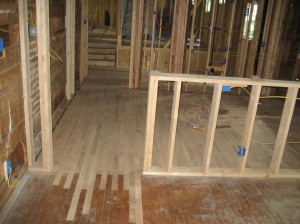
I picked up 1200 s.f. of hardwood flooring last week from Home Depot and we got started putting it down. On a full gut rehab I always put down the new wood floors before hanging drywall (if they are unfinished).
We patched into the dining room, staggering the joints and have run the new 2 1/4″ unfinished Red Oak all the way through the kitchen, utility room and we are half way through the master bedroom. In the old portion of the house the wood nails right to the floor joists but in my new addition it nails to the plywood sub floor with some felt paper in between as a moisture barrier.
Most of the Craftsman Homes in San Antonio originally have Red Oak flooring but occasionally you’ll see Long Leaf Pine used and especially in kitchens. After some deliberation I decided to have all hardwoods in my master suite instead of using high end carpet for the bedroom and tile for the bath floor.
On the last couple of houses I used carpet and didn’t really hear any complaints but these Arts and Crafts style homes are really all about having hardwoods throughout. By the time I looked at what I would spend on the carpet, tile and installation it made more sense to just put down all wood and I’ll end up with a way finer product.
Like the last house, I’ll even run the hardwood floors through the master bathroom which got great feedback and will really give my new addition some character. I usually buy this flooring at Lumber Liquidators for $1.99/s.f. but their price went up to $2.89 now.
Home Depot has it for $2.39 plus I got a little bit more off the order since it was over $2500.00 we got to send it to the bid room. I’ll still have to have these floors sanded and refinished with the rest of the house once the renovation is complete but on the flip-side putting down a prefinished engineered wood just wouldn’t give you that old house feel.
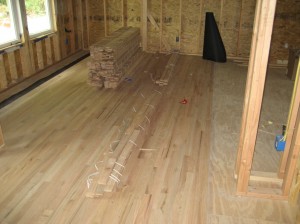
I’ve been doing extra dark stains like Dark Walnut & Ebony on my last few projects but for this house I think I am going to go lighter with Golden Oak just to change it up.
The dark floors are really trendy right now and very dramatic but they get so dusty and are a nightmare to keep clean during the period the house is on the market for sale. When the flooring got delivered the driver didn’t show up until 7 o’clock. Wouldn’t have been so bad but he dropped the pallets curbside so I had to lug all 63 bundles up 15 steps myself after a long week.
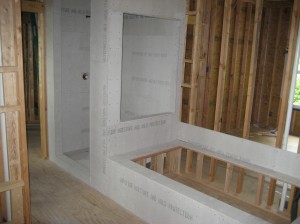
Here’s another item that I always do before the house gets drywall, I install all the HardiBacker in the areas that I have planned for tile. In the hall bath (not shown) I am doing the floor and tub surround. In the master bath pictured here I’ll do the entire new shower all the way up, inside and out of the 9 foot walls, and the box for the spa tub with a mini surround.
Before the backer board could go up I had to do the shower pan. I use the rubber membrane and a dry mortar bed and slope to the drain. It takes about 2-3 hours to complete. The backer board is easy as well, it cuts great with a skil saw and goes in with tons of screws.
You want a real stable base so your tile job doesn’t crack. I’ve seen some remodelers using that blue board the sell at Lowe’s, don’t do it, your tile job will crack in a few short months! That would suck to have your flip on the market for sale and a tile job start cracking. I’ve seen it happen, multiple times. Always use 1/2″ HardiBacker and screw it down, even if the guys on DIY Network nail it.


