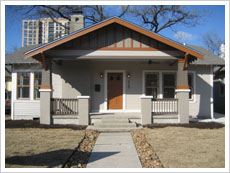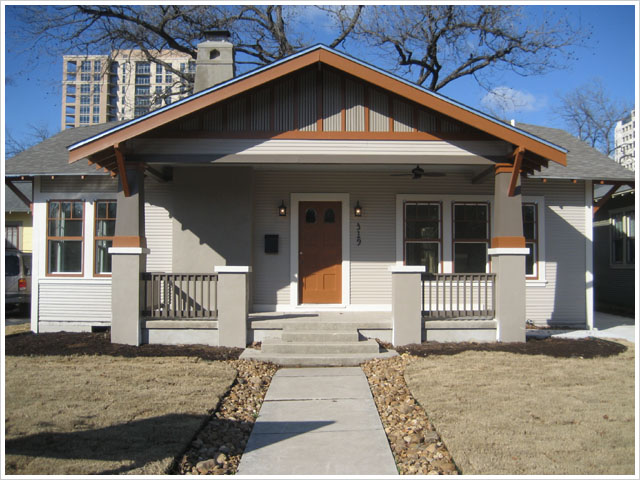
Remodeling Plans & Permitting
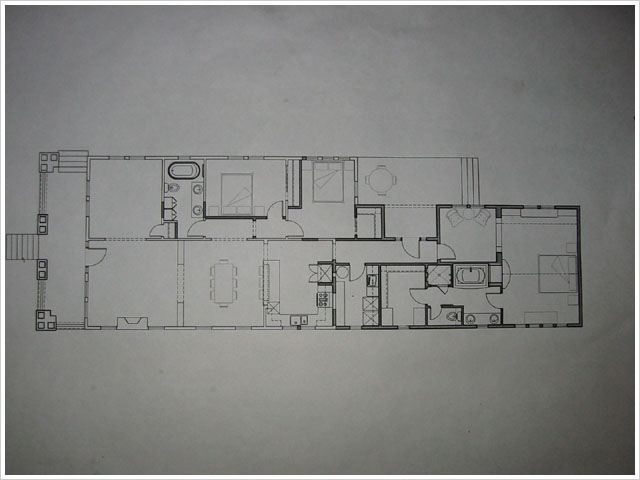
After hearing all the horror stories about how hard it is to work with the City of San Diego with regards to permitting your rehab project I have to say that it really isn’t that bad. After designing my floorplan on graph paper I hired a draftsman to put it together for me. Since my company is the owner of the house I’m able to pull an owner/builder “Combo Permit” myself without being a licensed GC.
I actually found my draftsman’s number on a bandit sign believe it or not, and he’s doing drafting work while putting himself through architecture school downtown. A real smart young guy and his price was great at $700 for a full set of plans showing all mechanicals, framing, foundation, connections, elevations and it even included him to accompany me downtown to submit the plans for approval. It’s always good to have your architect go with you because sometimes they let you make changes on the spot. Here’s my boy making changes to the 3 sets of plans during our appointment.
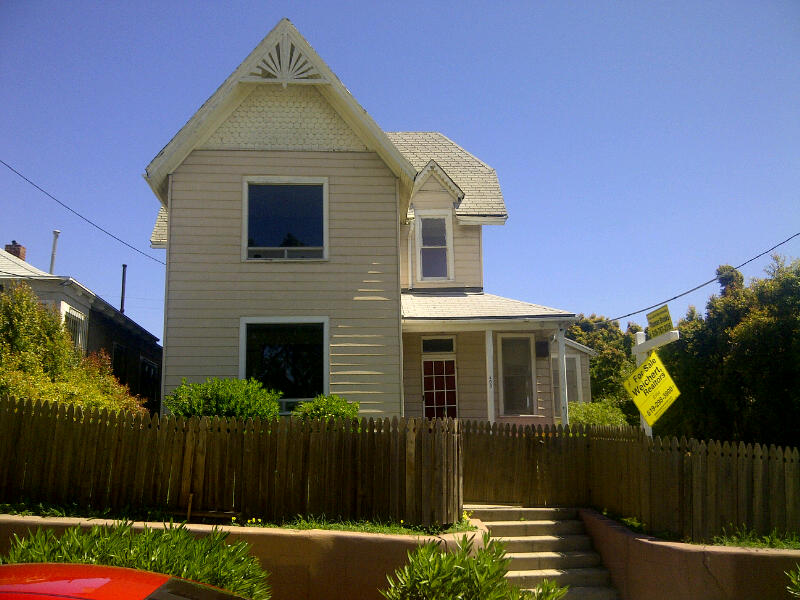
 In order to submit the plans I had to provide 3 complete sets, the County building records and 4 photos of the house, one from each side as well as the jpeg images on disc. Once you arrive downtown you check in with the receptionist and tell them you are there for an over-the-counter permit and plan check. They do take appointments but I opted to just go early in the morning and wait as they open at 7:30.
First you get sent to a preliminary desk that makes sure you have everything you need, then they send you across the building to wait for plan checking. The plan checking is very intensive and I found it to be completely opposite than in Texas. Here they look at every little detail, framing connections and sizes, mechanical placement, setbacks, elevations, demo plans, structural, and even smoke alarm/CO2 placement.
Additionally, there are all these other disclosures you have to show on your plans, you even have to designate trash areas, concrete clean out areas and account for storm water run off with regards to keeping your debris on your lot in case of a downpour. In Texas to the contrary, the City didn’t even want to look at the plans but rather left the responsibility up to the inspectors as they went through for rough-in and final inspections to make sure everything is correct.
It’s a little more red tape up front here but at the end of the day its easier to build it once you have such detailed plans for all your subcontractors to refer to. All in all, we had a great experience with our plan checker and even learned that we can request her in the future if we want to. On the second visit downtown we got stamps on the plans showing approval but now we have to wait the mandatory 10-day historical department review.
The only item on my plans that’s still unclear is with regards to what type of siding they are going to request for the new rear portion of the house. Total cost for the permitting and plan check was about $2700. A far cry from what would have cost $300 in San Antonio.

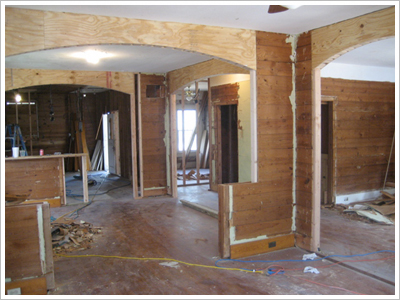
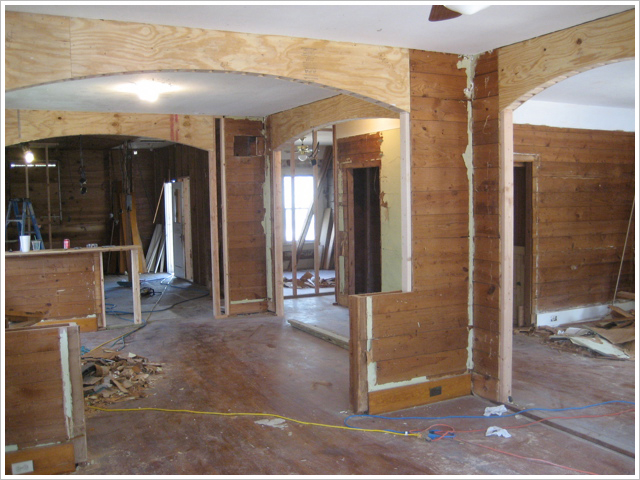
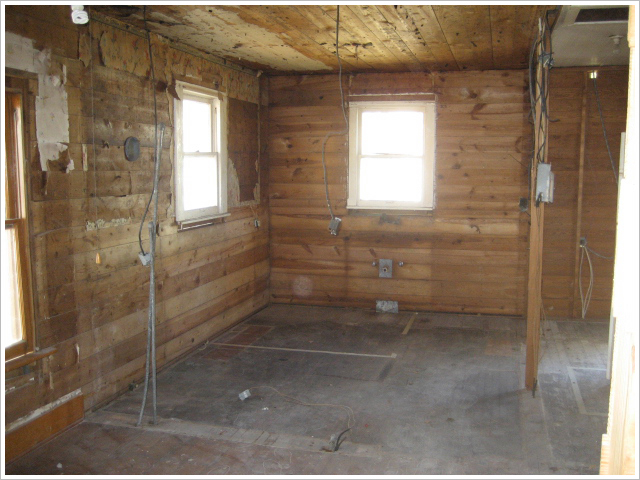
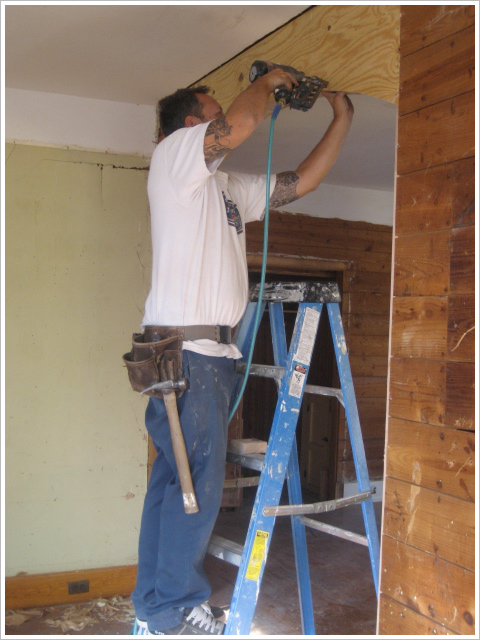
While we wait for the historical department approval I’ll have my foundation guy start doing some prep work so we are ready to start leveling the house the day we get the permit. With the arrival of dumpster #4 yesterday, all of the big demo work is done minus pulling nails and some small framing stuff which we’ll do at the time I frame the master suite.
I’m still spending a lot of time getting bids from sub contractors, its always one of the most important parts of any project but once I get my team in place on this first project, then I can just improve from there. It’s a lot of work acting as your own GC and now I’m essentially starting over without all my valuable San Antonio contacts but with a good team of subs I’ll be able to really stretch my budget thus enabling me to compete in this competitive market.