Modern Landscape Design

Modern Landscape Design

For this project I decided on a modern style landscape design to tie in with my modern architecture attribute. The clean lines and open spaces of my concrete work will create a contemporary outdoor space.

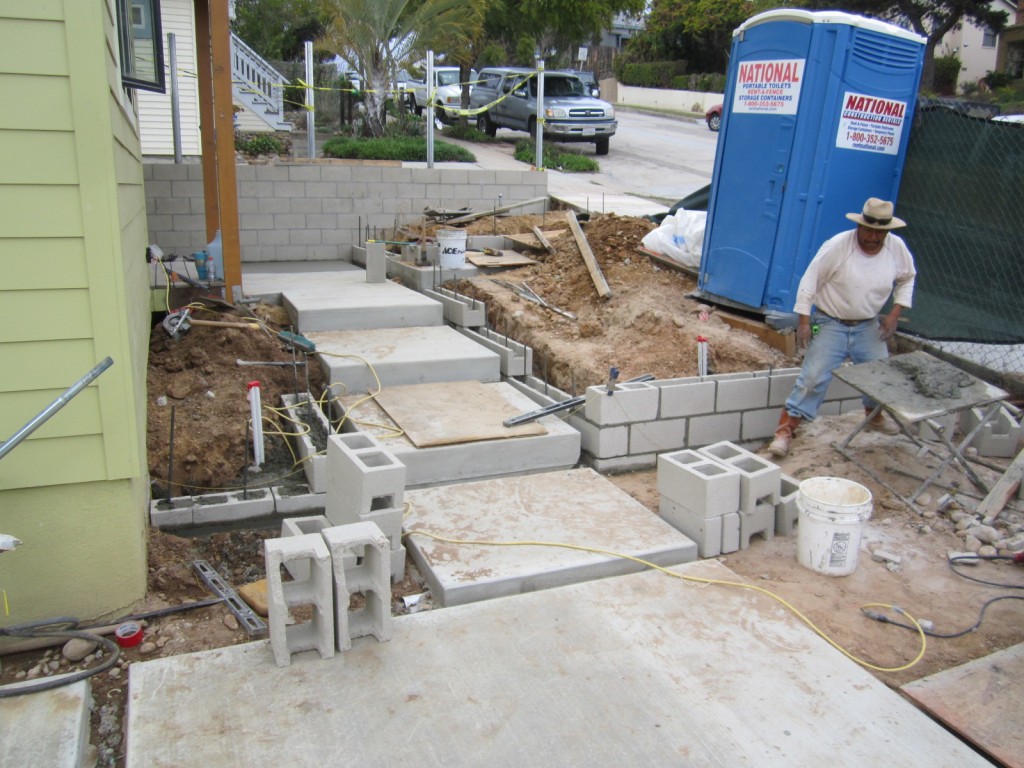
I came up with a flowing design of terraced geometrical shapes, grid patterns in the concrete flat work, and the extensive use of unfinished cmu block to give an urban feel.

I’m trying to create more of an extension from the house and outdoor living spaces rather than a traditional lawn and garden.

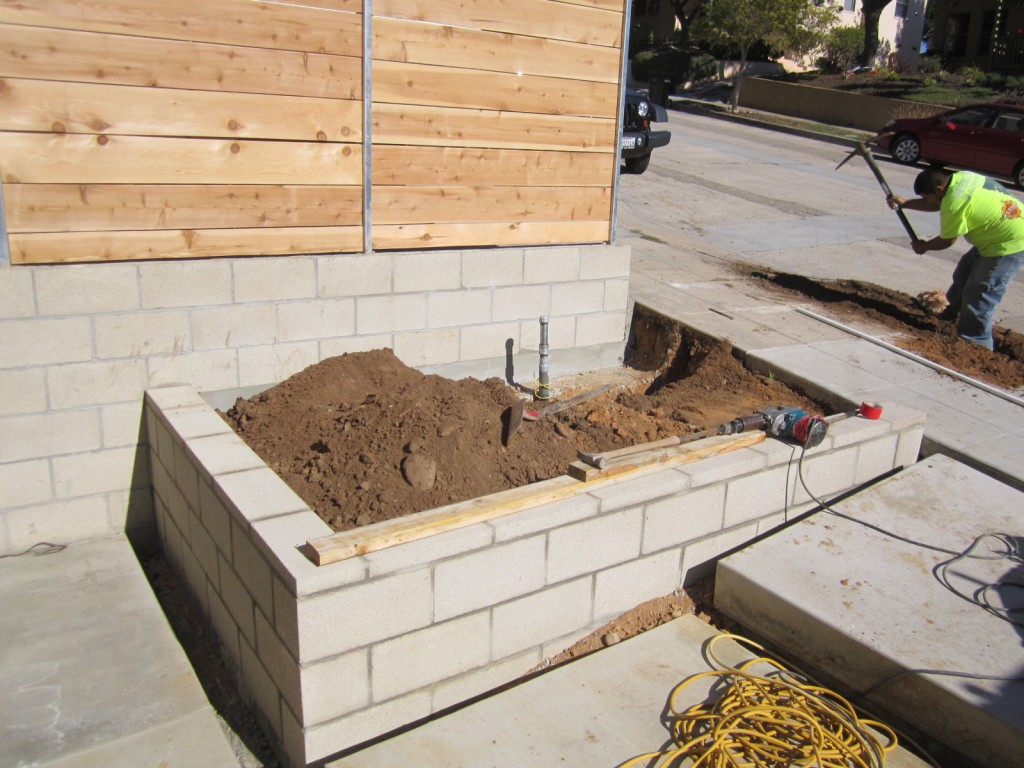
When constructing my modern privacy screens I continued the cmu block wall as a base and used galvanized Postmaster steel posts which then support the Cedar 1 x 8 boards.

These posts are great, they are pre-drilled and will last for years. I kept the spacing at around 5 feet to keep the boards straight and I’ll stain them after they dry out in a few days.

The finishing touch will be all native, drought tolerant plants which I have carefully selected. Of course I ran sprinklers for very moderate watering  but the whole design will be almost maintenance free and save water.

Mid Century Modern Renovation

Mid Century Modern Renovation

My 1962 Leonard Drogin MCM remodel in the San Diego neighborhood of Bay Park is really coming together!
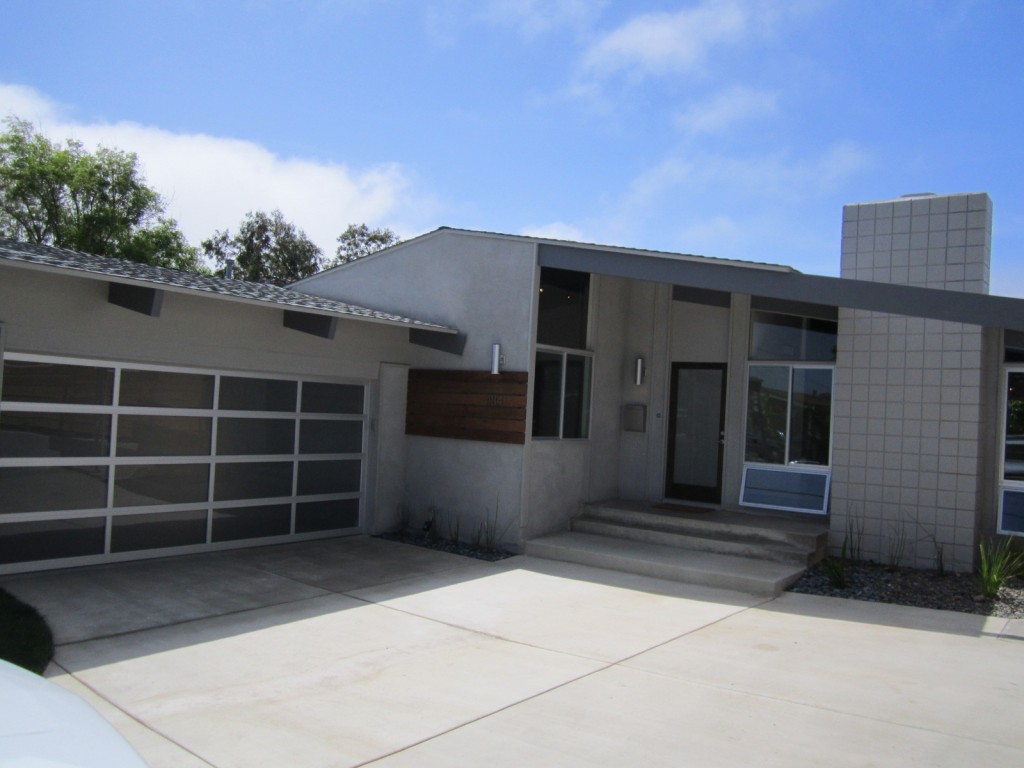
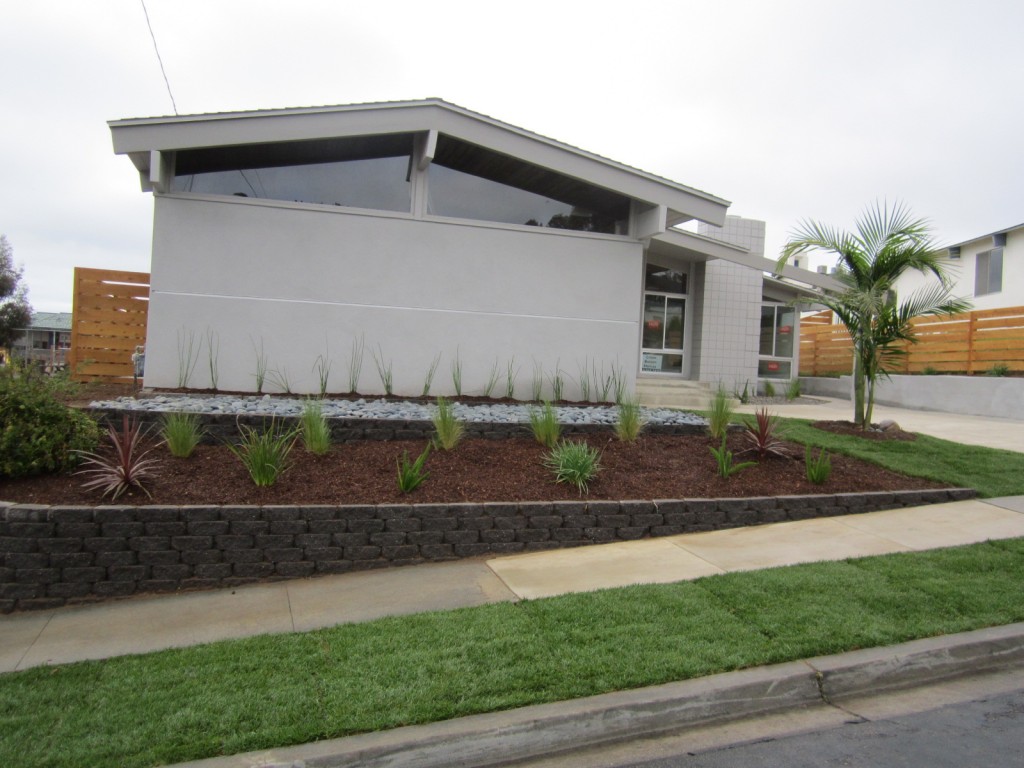
 

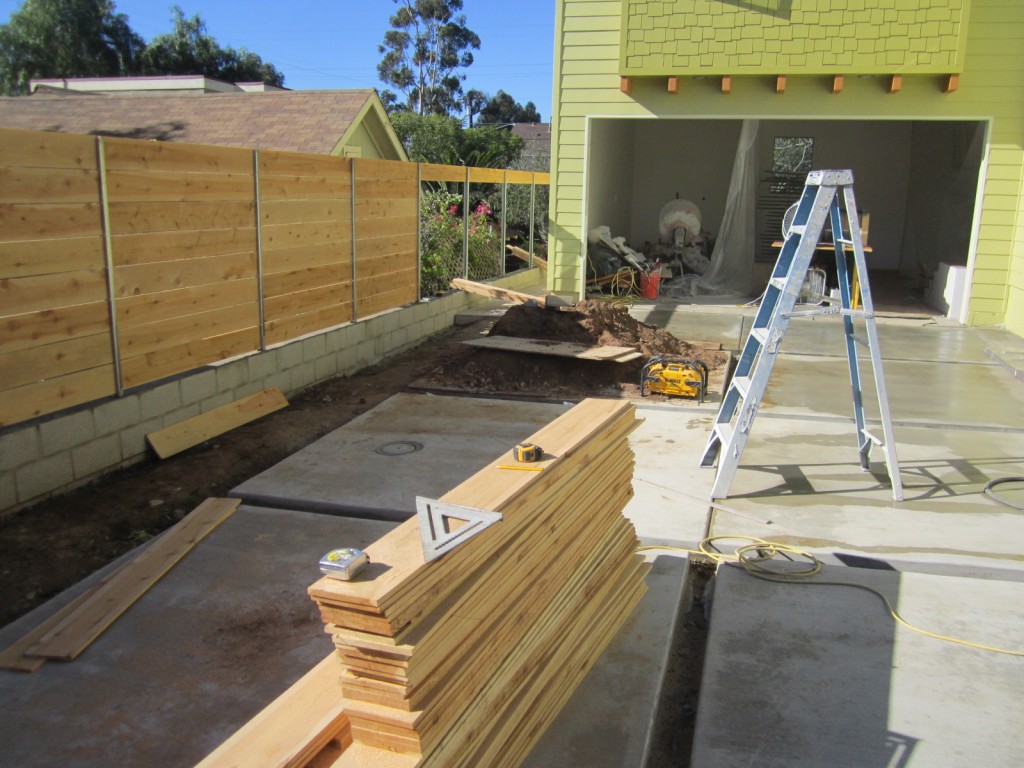
Since my last blog post we totally transformed the outside of our Atomic Ranch House/Mid Century Modern project. I built a modern horizontal wood fence for the first time, it was way more labor intensive because the boards were all custom cut and had to be pre-drilled and screwed rather than using a nail gun.

I used 1″x8″ cedar for the fence boards and 2″x2″ ledgers on my posts to secure them. I didn’t use pressure treated posts because I wanted to stain them to match the boards so the ends had to be treated before we set them. When I set the posts I also kept the span under 7 feet so the span wasn’t too long which would let the boards warp out.

I sprayed a Behr semi-transparent fence stain in Natural color to seal the wood. Its looks great, kind of a modern style privacy screen rather than a fence and because the yard isn’t that big it provides privacy while still not making you feel boxed in. The fence is classy and sleek, the horizontal lines totally compliment the architecture I feel. After building the fence I had the stucco guy come back and do the retaining wall along the driveway to match the house as it was sticking out like a sore thumb after everything else looked so great.

Out front I had to terrace the yard a little because of the challenging hill we had to deal with. My favorite look with modern house design is the river rock combo with the Horse Tail plants. These are the reed type that I planted along the front of the garage and house. I added just one obligatory Queen Palm on an island to give a tad of privacy between the street and the front door. 

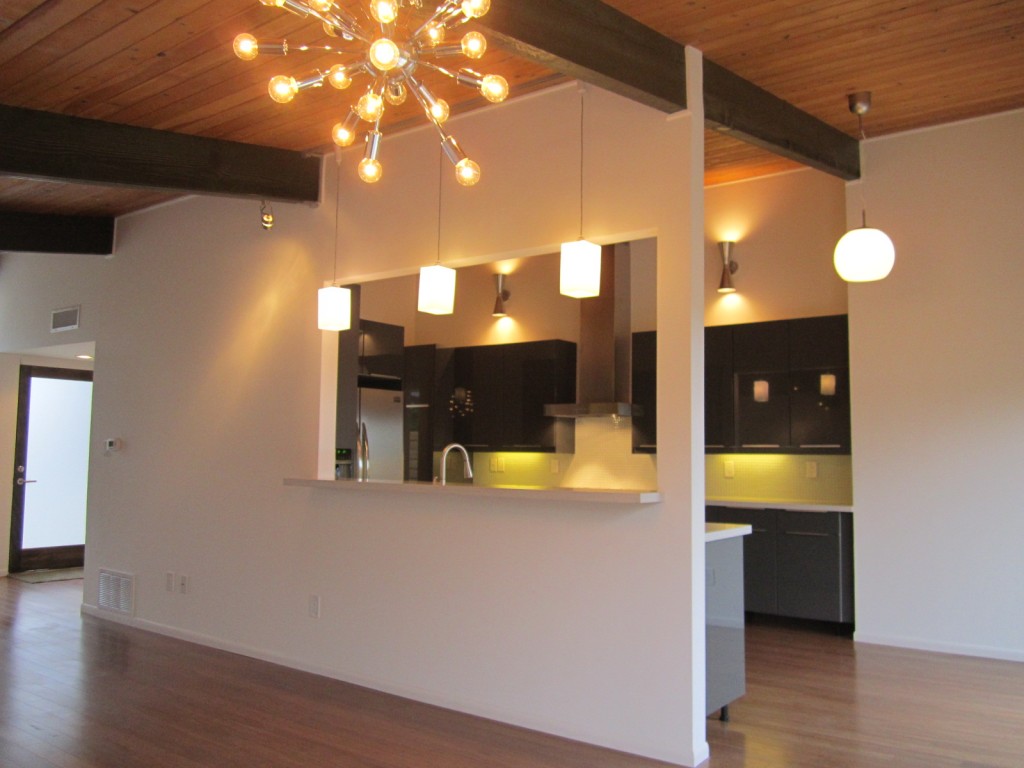
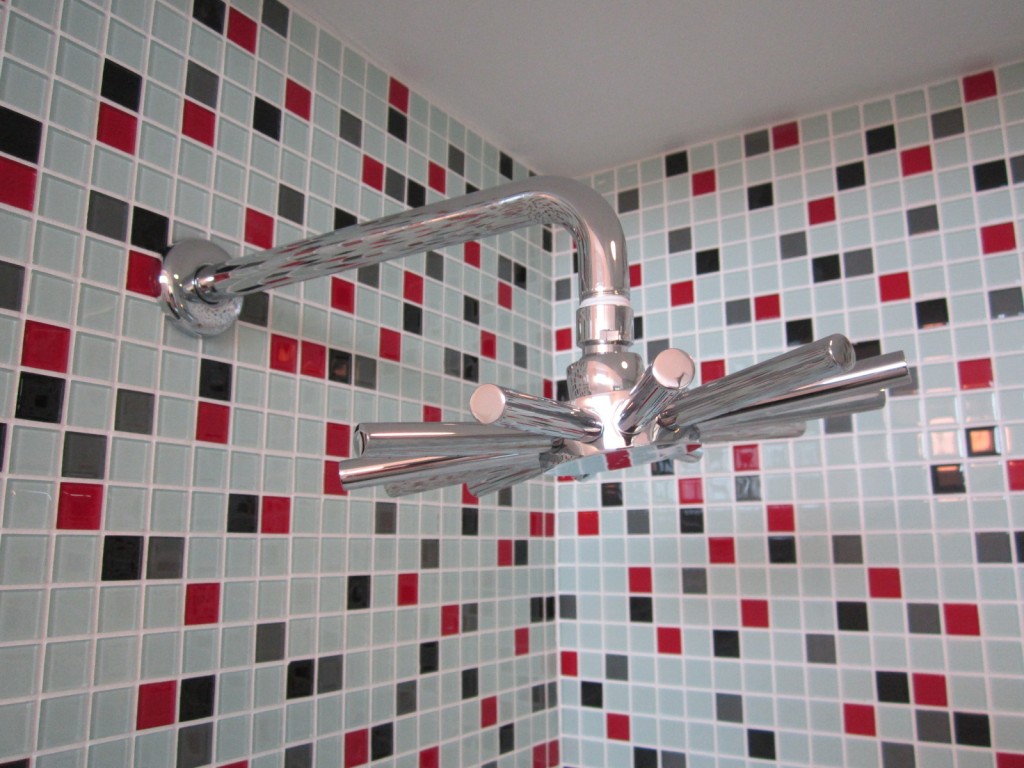
Here’s another sizzle feature, check out this cool satellite shower head I put in both bathrooms. The spacey design looks like it belongs in orbit with my other light fixtures and I felt totally goes well with the MCM design.
I’m down to this final punch list of items that actually fit on one page so we are getting there. I should be close to on track for a March 30 completion as we are in week 10 right now for this rehab. There are still more fun things I’m adding so stay tuned, a couple more weeks and you’ll see all the bells and whistles. See the final finished pictures here.
Ladyscaping

We’re really wrapping things up at The Painted Lady, I built 300 feet of fencing as an ice breaker for the landscaping package. Over the past week or so I’ve been realizing what a huge yard we have! In order to provide a complete package to a buyer we always go the extra mile with fencing and decking when possible. In the rear I went with a dog eared cedar 6′ standard privacy fence and a 20′ wide driveway gate which will soon be solar & automated. I stained it with 2 coats of my favorite Redwood semi-transparent color from Behr Ultra, It really looks tropical and plays well with all the green tones in my color palette. Up front I built a classic Victorian picket fence and painted it the same Sherwin Williams Rockwood Green as my house trim color. I brought in some palm trees, 3 yards of river rock, 8 yards of mulch and 5 pallets of sod to give her the love she needed for so many years. The sod is from Hydro Scape, a better place than Home Depot and is called Medallion Bonsai Fescue. Notice that we also made the small rear deck off the master suite, got gutters installed and hand made a really cool period correct front porch decoration for the handrail. Once these decorative gingerbread features are all painted everything is really going to come together.

After we’re done outside its down to what I call the final “punch list” of random items inside. I’m pricing the house around $499,000 and we magically have a really nice buyer already lined up. She’s so excited and has been back multiple times and loves the house more than we do. I hope it works out for her, so we’ll see if a deal can be inked once we finish up. There’s nothing like this on the market and we’re offering a tremendous value for the money as usual, having it hit the open market if this buyer doesn’t materialize might also be a good thing. I have a local historian at SOHO (Save Our Heritage Organization) researching the history of the house as well, there might be a cool story to share when we find out who built her and what the original owners might have contributed to historic San Diego. Stay tuned for the dramatic final pictures and story of everything we did during the restoration to this 1909 Victorian Gingerbread.

Concrete Jungle

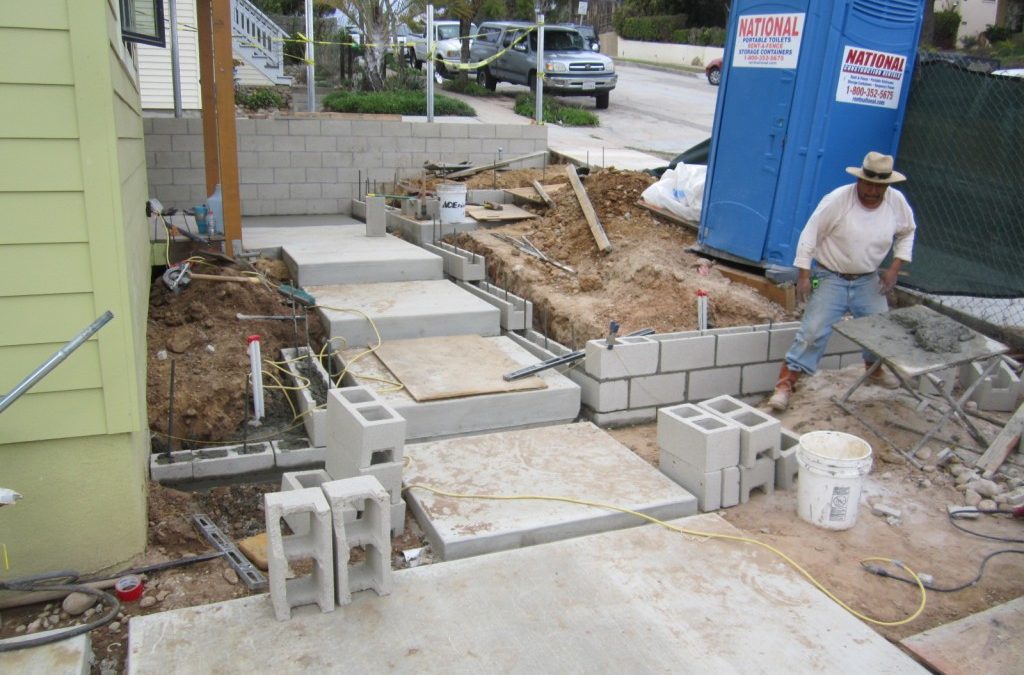
What’s an urban restoration project like without adding just a tad more hardscape to blend in with the mass expanses of paved metropolitan living? There is always a danger of adding too much concrete and having your house look like a parking lot but I think I pulled it off and managed to give the new owners a place for 4 cars to park securely while also enhancing the landscaping design with the sweeping walkway around the side yard. After receiving multiple bids in the $5 – $7  per square foot range, I managed to pull off the 22 yard pour for just around $3.75/s.f.

There was a block wall that was cracked and leaning over out front so we formed and poured around it after some reinforcing with rebar. Once I crack off the forms we’ll give it a swipe with spec mix for a sanded stucco finish to match the foundation walls. I thought this was a good quick fix as opposed to demolishing everything and having someone stack a whole new block wall which technically would also have to be permitted with the City. Inside this week, we also stripped all the paint from the 100-year-old staircase after deciding it will look better in its natural redwood state rather than painting it with all the trims.

Landscaping Fun


As my hardwood floor guys got started sanding this week they kicked me out of the house so I was relegated to landscaping duty. I called my good bud Dan who’s always happy to give me a hand when he’s between projects so together we really got the neighbors talking. After finishing the fence project and multiple dump runs we finally got to the fun part of laying out the beds. I opted for river rock on this house for several reasons, one being that there are alot of neighborhood cats that evidently have claimed rights to my yard or possibly even get a kick out watching us wipe our feet off, so I didn’t want to make it easy on them with big new mulch beds. Additionally the river rock goes really good with our style home, in California we would have also mixed a few palms for a tropical bungalow feel but of course that’s not possible here in South Texas because palm trees wont survive the freezing winters. After then laying the 4 pallets of St. Augustine sod down Thursday, our welder showed up and installed another sizzle feature for the property, our solar powered automatic driveway gate. No electrical connections here, a solar panel on top of the gate charges the battery which operates the gate motor. This is such a cool feature and will pay off huge for potential buyers.

Always wanting to change things up a little, I decided to go light on my floor stain as recently we’ve done several rehabs with very dark wood floors. The issue with going with a light color is that it will show any past pet stains. My floor guys brought a new product that I wasn’t familiar with, Zinsser Wood Bleach. It comes in a 2 part kit and after following the instructions we watched the old stains bubble up and disappear. It seems to work killer except it took a bit of the red tone out of my red oak wood floor as well but he assures me that when he comes back down with the new stain he’ll be able to play with it a little and hide most of the variations. I cant wait to see the floors done, remember I put down all new wood in the kitchen and back through the addition so they should be gorgeous. The shower glass and appliances arrive next week pending floor completion, stay tuned for more fun!