How To Install Board And Batten Trim

How To Install Board And Batten Trim

It’s clear everyone is falling head over heels for the farmhouse style and for our Modern Farmhouse we wanted to do Board and Batten Trim in various places inside and out. This is about 500 bucks of MDF and a half days work but adds tons of character to your project. This DIY project is very easy to handle with a medium level skill set and basic tools.

Custom Board and Batten inside our Farmhouse already is making a huge impact! In our case we already had smooth textured walls so we only had to do the trim details,  if you have heavy orange peel textured walls you can use sheets of Masonite first and then build the trim on top for a smooth look.

I did 3 different versions of designs I thought would go well in this home. Other cool Farmhouse interior trim ideas would include Ship lap MDF siding which we will have to save for another project.

Board and Batten

Here is what you will need for this DIY Board and Batten project:

  • 2 1/2″ pre primed MDF strips
  • 3 1/2″  pre primed MDF strips
  • 5 1/2″ pre primed MDF strips
  • Construction Adhesive
  • Finish Nail Gun with 2 1/2″ 15 gauge nails
  • Paintable Caulk
  • Tape Measure
  • Level
  • Chop saw
  • Wood Filler
  • Table saw (optional)

Board and Batten interior wall on Modern Farmhouse


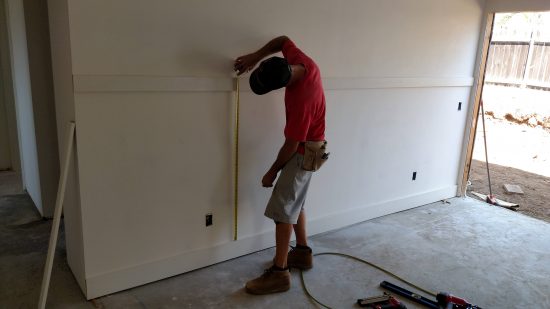
First we calculated what looked good with spacing, here I went with 20″ on center.  I used blue painters tape to get an idea of what it would look like before committing to the layout. Here is a tip, the battens will not land on studs so we used finish nails and Liquid nails adhesive to hold them to the wall. The nails just keep them in place until the glue dries.

IMG_20180905_140229196

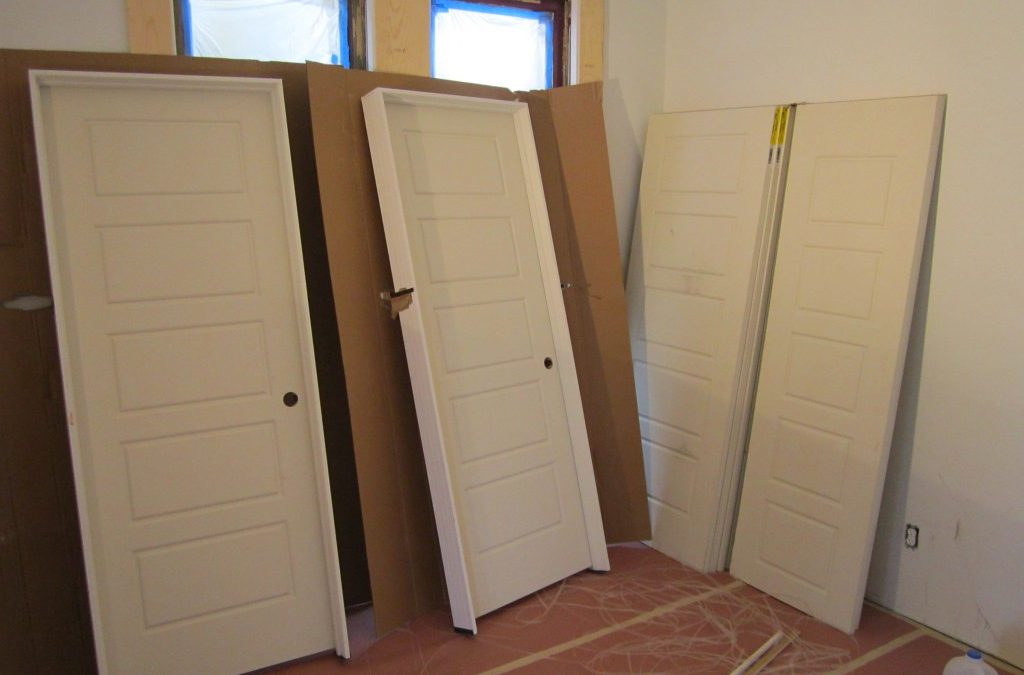
All this pre-primed MDF trim is available at your local home improvement store. It has crisp sharp edges, make sure and don’t buy the soft edge version. With a level first set your top piece in place and adhere it. Next we did the 6″ baseboard.

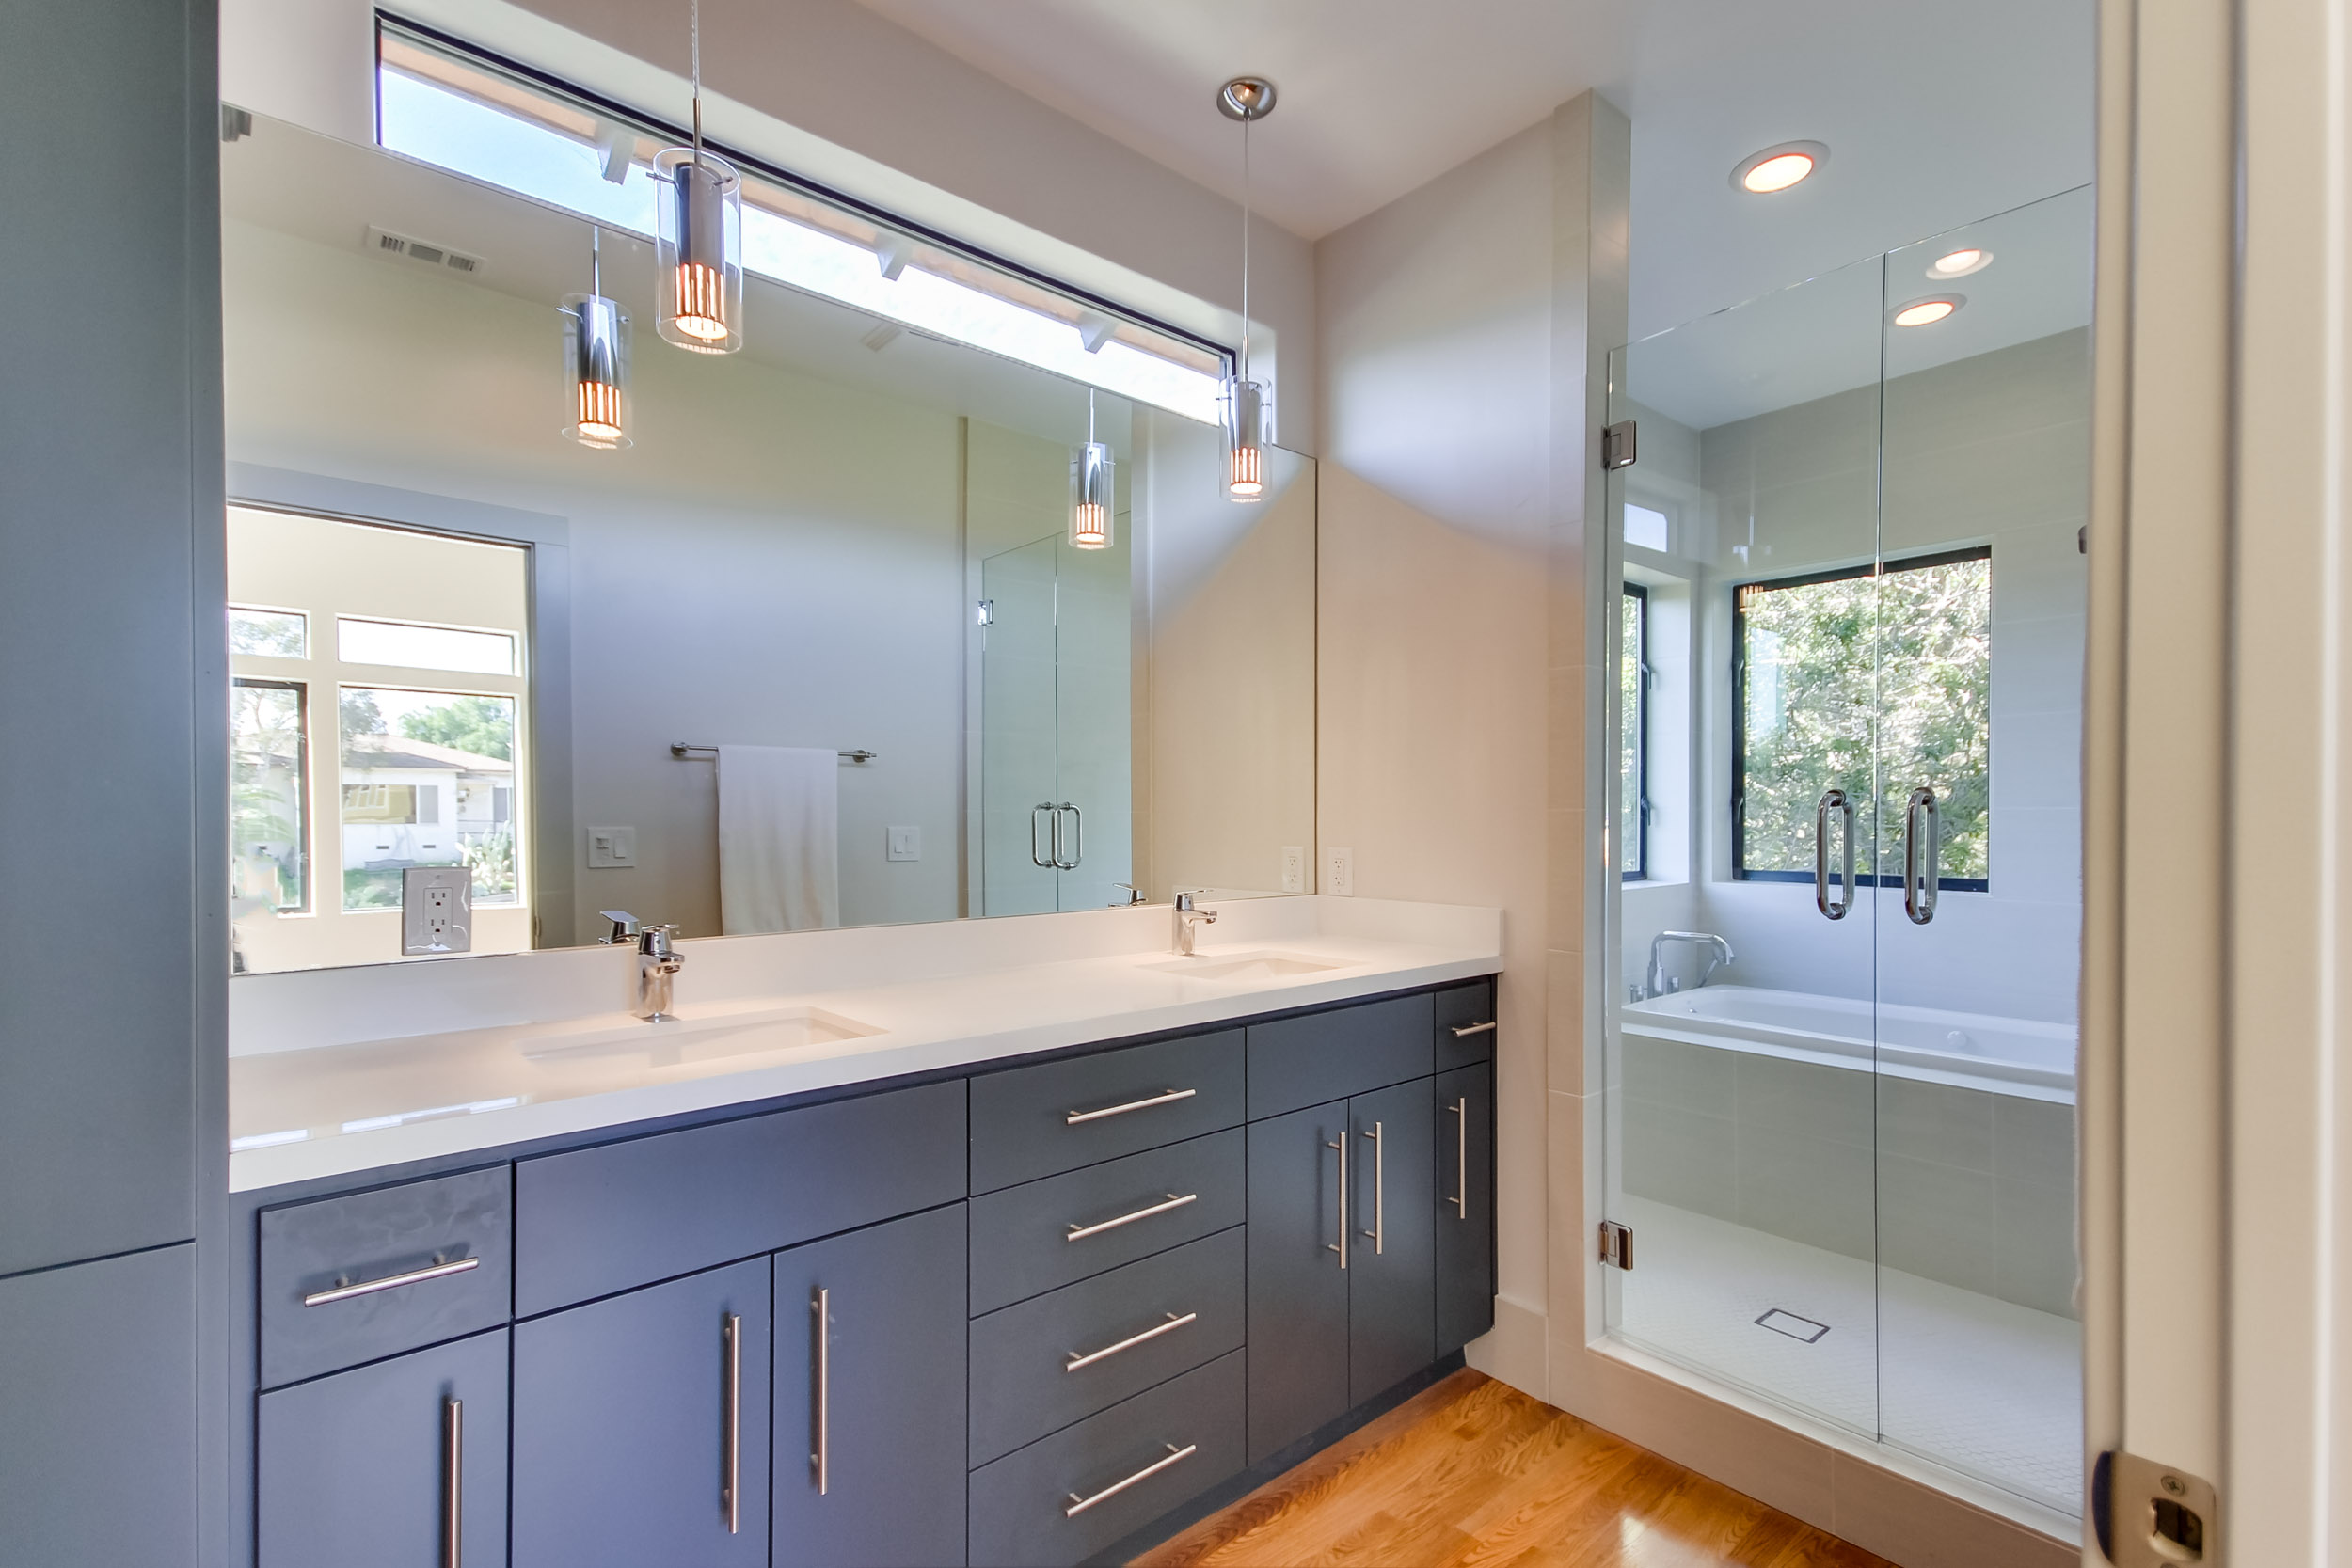
Cut each batten individually one at a time to get a tight fit. These battens are 3.5″ wide and the baseboard is 5.5″.  The top rail we ripped another strip at about 1.25″ for a small shelf detail. We will paint the Board and batten semi gloss with then the walls eggshell. In my case its all going to be white but will be a great detail once we are finished.

When you are done use DAP putty to carefully fill seams and nail holes. Each Batten should be caulked along both vertical sides!

IMG_20180905_150633058

The side of the staircase was a perfect place to do a Board and Batten Feature Wall, here I went with more narrow battens at 2.5″ wide and ran them all the way up to the ceiling. In the dining room picture below I changed up the design a bit also and added the extra rail.

IMG_20180905_125842183

The exterior board and batten was done by first removing existing siding and wrapping the house with house wrap, commonly called Tyvek. We then hung 4×8 sheets of Smooth Hardie Panel. Make sure and use Z Bar flashing where the horizontal seams of the Hardie Panel meet to prevent water from getting in.

It’s best to land the seam on the existing 16″ on center stud spacing and then use the battens to hide the vertical seams. We opted for 1 x 2.5″ Hardie Trim for the Battens and spaced them 16″ on center. Make sure and caulk everything good before you paint.

If you changed the spacing and didn’t land on existing studs you could screw and glue the battens if needed. We are really excited about the transformation, these small details are going to go a long way on the finished project.

The way this Board and Batten exterior siding plays off the new Shed Dormers we built is really making this Farmhouse look comforting and welcoming.

IMG_20180824_140546547

IMG954602

Construction Rough In

Construction Rough In

Just over 4 months since I poured the foundation on our Modern Bungalow, we are making progress over in South Park, walk through with me and let me know what you think. The grey interior colors might appear a little soft but don’t let that fool you.

Once I get the warmth from the hardwood floor refinishing, and my bold surprise cabinet choices, it will all work. I’m moving straight into tile now and concrete flat work outside. My electrician is trimming out and we just passed the meter inspection Friday so I can call SDG&E now to get the power moved from my temporary pole to the house. Construction rough in is complete.

Have a Happy Thanksgiving and thanks for following!

Got Trim!

Got Trim!

My special order interior doors from Home Depot came in so I jumped right into trim carpentry all week so I could get one step closer to painting the inside of the house. As you saw last week, my hardwood floors went in first, after protecting them with rosin paper I then trimmed out the entire house on top of the floors (baseboards, doors and door casings). That way you don’t have to notch the floors around door jambs and casings or undercut everything and you actually get the wood floors under the baseboards for a better finished product. I am using the same style door as on the Target House called “Riverside” from the Masonite Anniversary Collection. They are a 5-panel raised profile that look good with historic homes. These hollow core MDF doors are cool and are fit within my budget at $80.00 each for the complete pre-hung door with jamb. I also bought matching door slabs for the bedroom closet sliders so everything is consistent. You get to choose the finish on your hinges so I ordered chrome again so I can use brushed nickel knobs and still match modern chrome bathroom and kitchen hardware. They come pre-primed so after everything is installed, caulked and holes filled I will spray them along with all baseboards, window trims and closet shelving in place then lastly, apply the wall color with brush and roller.

For those of you do-it-your-selfers out there, here’s a good trick for ya. Install one side of the door casing with the door on the ground, then tip the pre-hung unit into place and secure it with the finish nailer. Afterwards go to the other side and install the door casing. This is way faster and easier than hassling with shims and battling it for an hour to get it straight. This is how the pro’s do it so give it a try next time you’re hanging doors and you’ll never use shims again. For my door casings I used square profile MDF in a 1 x 4″ to match the original period mouldings that would have been in the home.

I had to go with the huge 1 x 8″ baseboards on this house, I’ve used them before but with the giant room sizes and high ceilings it was a clear choice, not to mention its close to the size that were originally there. After asking all around town I finally found out where everybody gets their trims and its not Home Depot. Builders Moulding Supply in El Cajon has just about any style and size moulding you could want, that’s all they sell and you get it in bulk 16 footers right on spot from their warehouse at a price 30% less than the big box stores. I spent about $1,000 for everything I needed for my trim job minus the closet build-outs which I’ll use pine for because it seems more durable and holds more weight then the MDF. I was pretty happy to see that they also come pre-primed because my old supplier used to only offer them raw. After everything is painted I’ll peel up the paper on the floor and lastly nail in the shoe moulding on the bottom of the baseboards to complete the historic look I’m going for. We’re getting alot of attention at the house now, several interested parties stopped by this week asking when it was going to be done. I’m pushing for late September but its going to be tight especially because I’m doing an equity grab and not paying out a bunch of labor costs in the final stretch. I figured either way it wont be prime selling season so I might as well save the money. The good thing about the timing is that If I get into the next project soon I can stay busy this winter and hit the Spring selling season perfectly. There are so many things about this project that I write off to warming up in San Diego, I’m ready now to dial in my system on the next house. It’s been 100 degrees for months in Texas, it’s been nice to finally be home and we’re having fun!

Happy 4th! Video Update

Happy 4th! Video Update

Happy 4th! Here’s a construction update for our big rehab, the Target House. It rained all week from Hurricane Alex so we got skunked out on the exterior prep for paint but at least I saw some progress with the interior trim-out that’s now complete. I used a cool new 5 panel style door from Masonite called “Riverside” and a complete custom MDF trim out. Walk through the project with me below and see how our progress is coming along. There’s a house for sale on our street that just went under contract, cant wait to see the sales price as that will be the nearest comp. It’s listed for $300k but its hardly updated at all. With this in mind, I think our list price will be close to $399k for this project when its completed later this summer. In other news, our House Flipping Blog got chosen this week for “Top 20 Real Estate Investing Blogs”over at Biggerpockets.com. Thanks to Joshua Dorkin for the recognition! PS, keep the comments/questions coming as well! Thanks for following along with me on our 1923 Arts and Crafts Bungalow renovation.

Hot & Cold

Hot & Cold

It was nice to get in a full week on the project now that the other house sold. I finished up the front porch by making new stairs and replacing the siding skirt where needed. We got a comment from Mike asking what I was going to do about the column base overhanging the porch floor, I’ll just have to live with it as its only over by a few inches and doesn’t strike me as really looking that odd since they overhang the top too. The posts that hold up the porch are existing 6X6’s. Their placement was really far out to the corners so in order form me to have the tapered columns I had to have the bases hang over the floor a bit. If I had gone back with just square posts I don’t think it would look as cool so I’ll live with it.  The 16 degree flare on the skirt looks real cool with the 117 siding.

My firebox arrived this week as well so I got to install it. Of course the dimensions I got online for the rough-in framing hole didn’t work out so I had to reconfigure this wall a bit on the fly. It’s a double sided see-thru gas fireplace that I’ve put between the jacuzzi tub in the master bath and the master bedroom. Locally you’d spend $5,000-$8,000 for something like this even at a wholesale builders supply so I was excited to find them online for $1295.00 from Ebay/Discount Fireplace Outlet. With the vent pipe and everything you need, the total including tax and delivery was about $1800.00. It’s easy to put in, once you have the box framed in there’s just one gas line that I’ve got coming in underneath and then the vent through the roof. The unit doesn’t need electrical as there’s an ignitor and low voltage switch that you mount on the wall. This is a real cool feature for what I spent, we’ve designed the whole master suite around it, can’t wait to see it with all the tile around it and the 6′ tub in.

I found a new HVAC guy last week who’s already got started roughing-in my new 5 ton central air/heat system. It’s a horizontal gas furnace of course (electrical is not smart energy) with a A-coil like I always use. Since this house is so long we’ve got a real long supply trunk line with 11 drops and 3 return air grills. Yellow Page retail prices in San Antonio for a total new install like this would run over $2,000/ton, or $10,000. My regular sub-contractor was bidding $6,500.00 for this house which equates to $1,300/ton. Like I’ve mentioned before, it’s common to experience price creep with subs, you always have to keep hammering them or switching because they slowly raise their prices on you. So here’s the good part; my new guy is only charging me $4400.00 complete. That’s only $880.00 per ton my friends! I’ve already turned him on to another investor friend of mine, this guy is hungry for work and I saved over $2k by shopping around and walking away from old faithful. In my business any savings along the way goes straight to the bottome line.

San Antonio Home Sales of single family residences were up 20% in April when compared to the same month in 2009. Great news but undoubtedly this is directly reflective of the Federal Tax Credit that’s now expired. In typical cheerleader fashion, the San Antonio Board of Realtors has come out to predict “these home sale increases should hold through the Summer” although I have different thoughts..especially knowing that mortgage applications are taking a dive in May.