
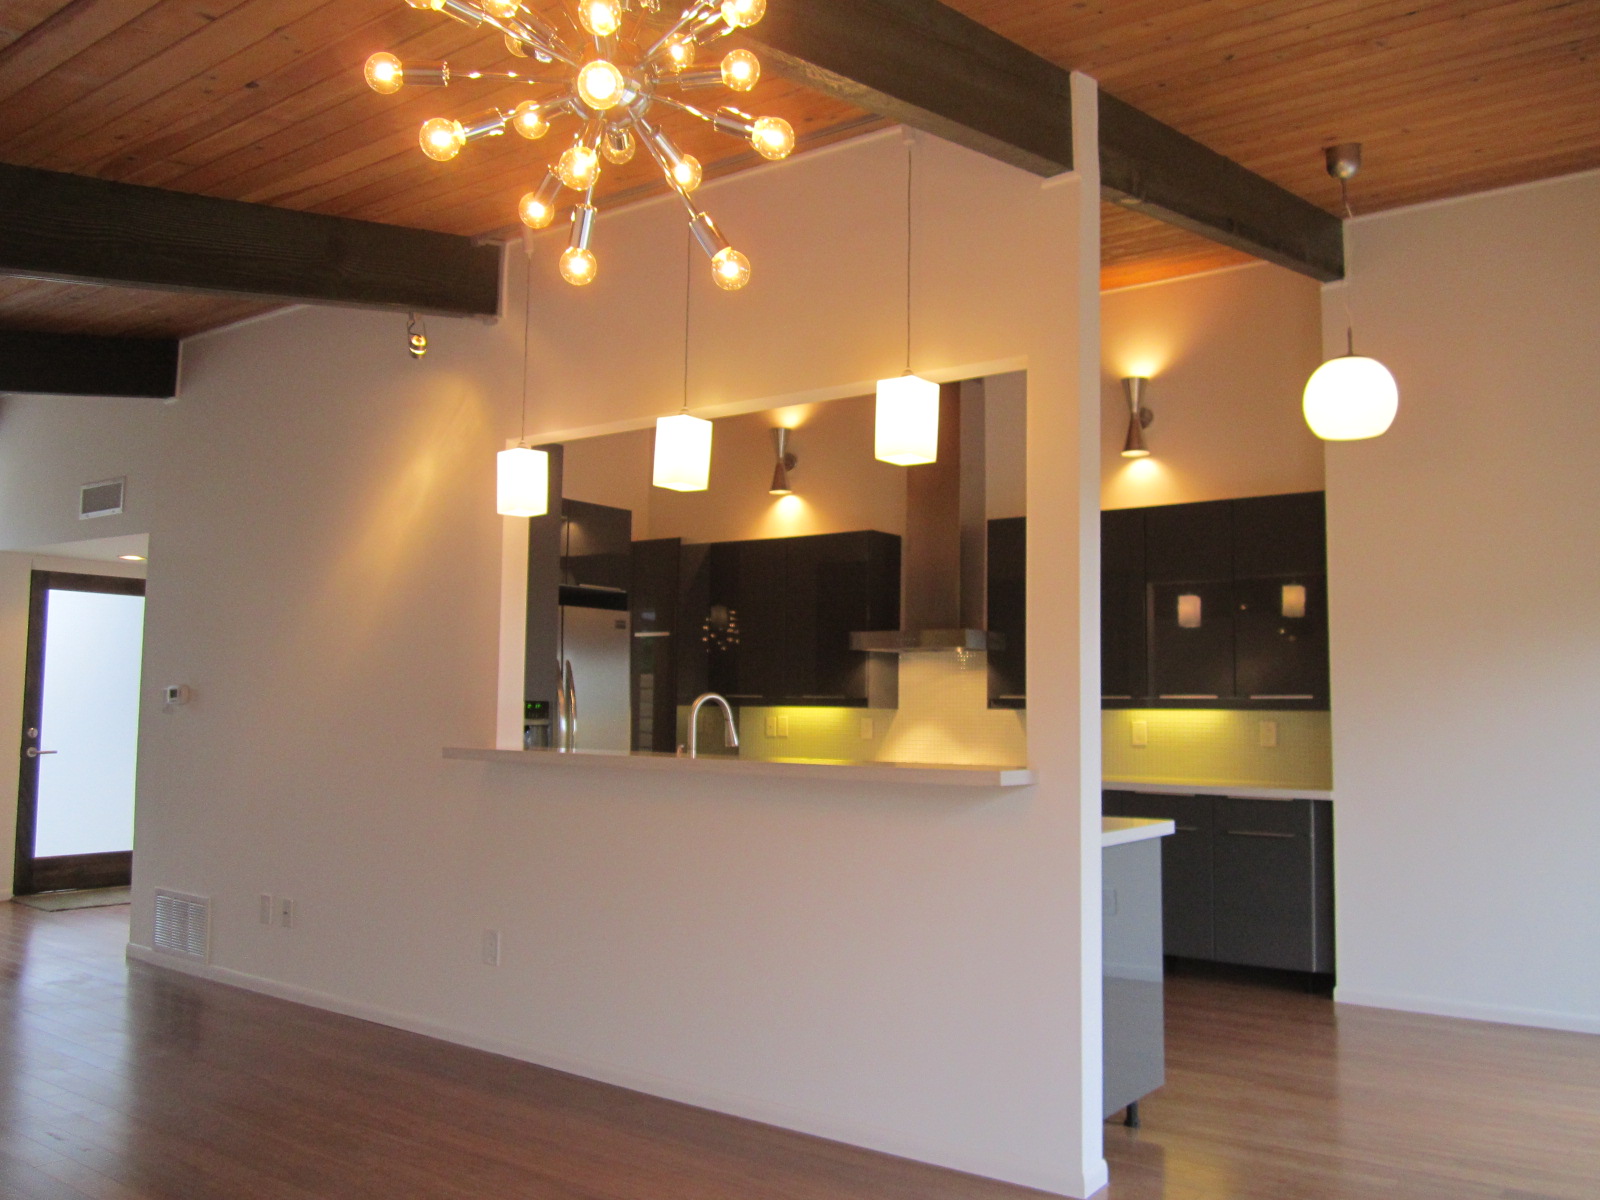
The Sputnik Has Landed

Ok I admit it, this is the fun part. Well, its actually all fun but once you get past walls and floors you get to put the small details that really bring your design together. I am proud to say that I haven’t bought any of the fixtures, plumbing or electrical, for our Mid-Century Modern renovation from the big box stores.
With the exception of the tub and 2 Kohler toilets everything I researched and bought online. You can find great deals and usually get free shipping as well. At the end of the project I’ll do a list of where all the fixtures came from and how much they cost for future reference. You can see the brushed aluminum mid century hourglass shaped wall sconces in the kitchen, the 12″ white globe and of course the Sputnik pendant light.
The kitchen cabinets are Abstrakt from Ikea, once the side panels and doors arrive these plain white boxes will transform into a futuristic flat panel high-gloss dark grey masterpiece. My new kitchen lay out is fabulous, it worked out to 24′ of linear counter top space plus a 7′ bar top and a stand up food pantry to boot. The sink wall itself is a 13′ straight shot of open counter.


Furthermore, the bedrooms received modern style brushed aluminum frosted glass closet doors. Not only do these tie into the frosted glass and aluminum outside but they are just plain cool. Accent lights inside the closet would have been keen but maybe we’ll do that on the next project. These doors were special order from Home Depot.
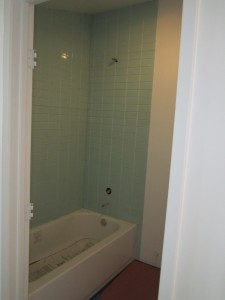
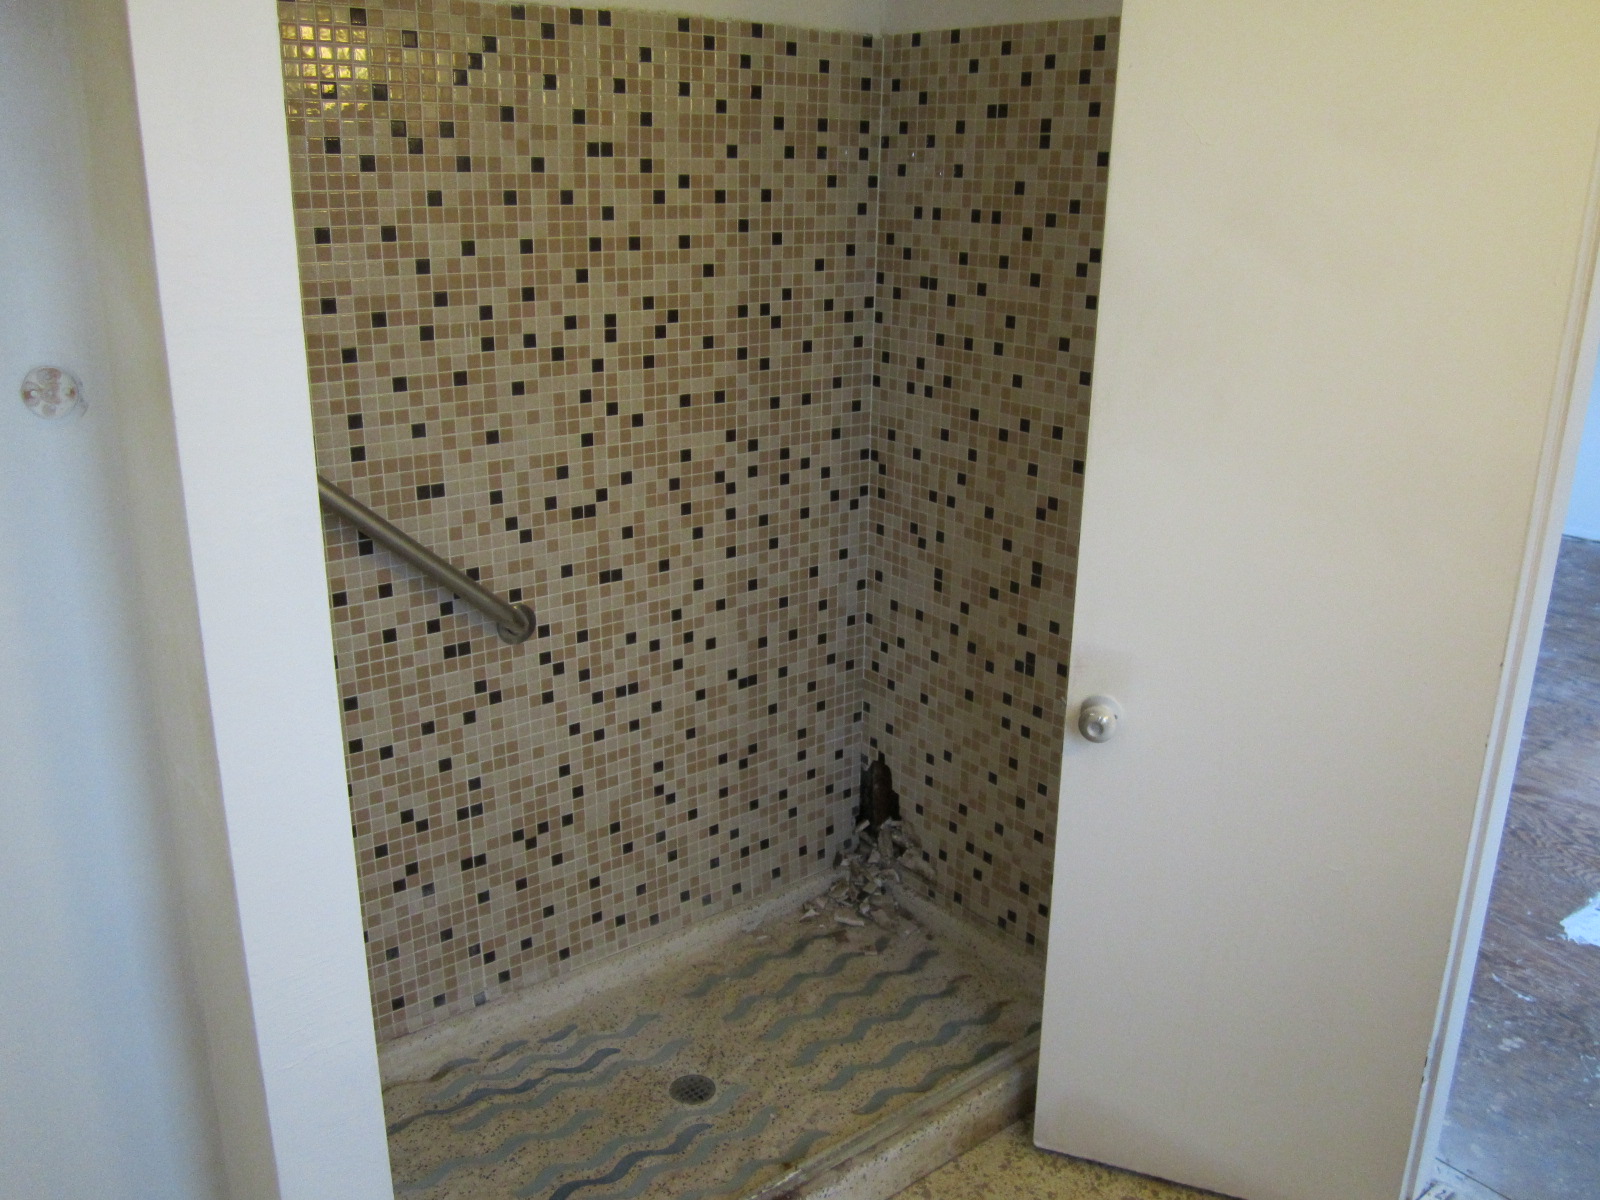
I also got all the tile finished and set the Godmorgan high gloss grey floating vanities. On top I went with Kohler Vox square vessel sinks. I’ll do the Pure White Caesarstone counters that will contrast those dark cabinets well at the same time the kitchen counters get done.

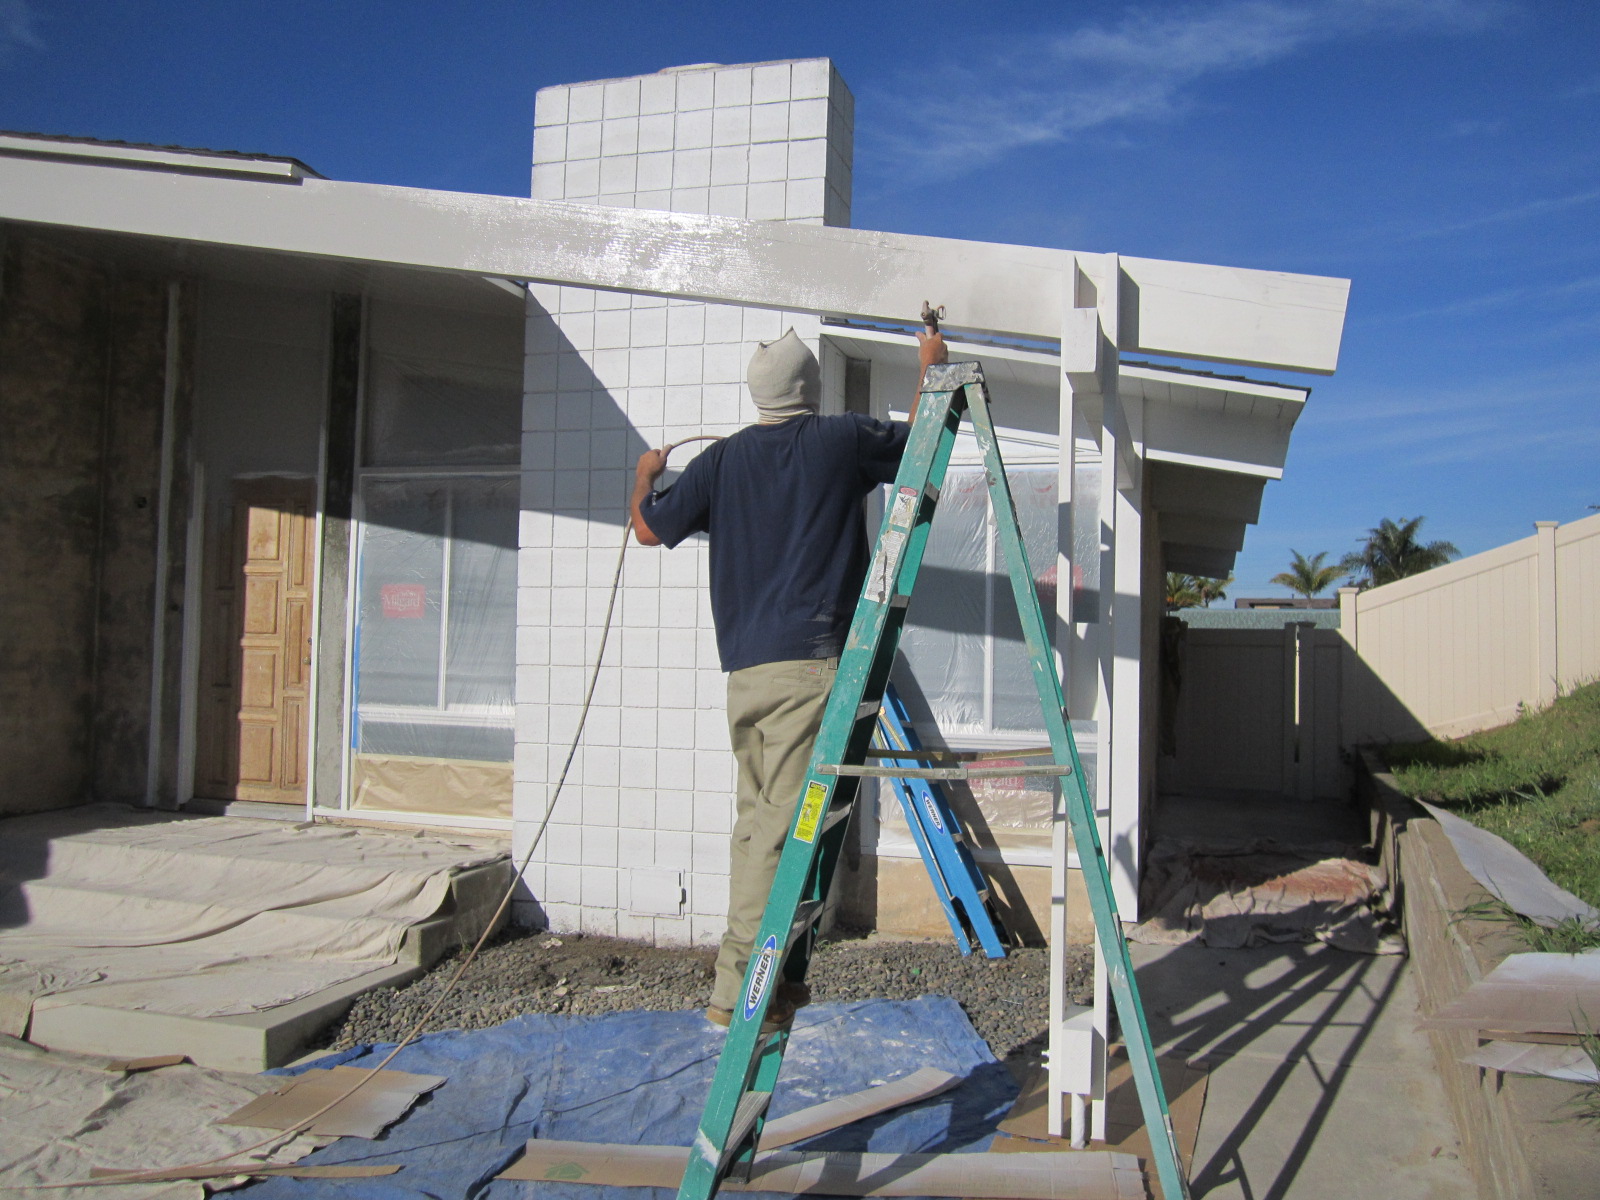
One of the main features on my design to get the Mid-Century Modern look was this Amarr full view frosted glass and aluminum garage door. Cant you picture it softly lit up at night from inside the garage when you are having guests over? My electrician told me that it make the house look like a Ferrari should be parked in the garage.
A very cool item for sure that I got a great hook up on from my neighbor who owns a garage door company. I also put a key pad outside so when you go bike riding or jogging you don’t have to bring your keys with you. You’ll notice that when we did the new stucco I added a 1″ wide horizontal aluminum channel that now ties in on the front of the garage.
The San Diego real estate market is hot right now. There’s virtually a shortage of good homes and all time low interest rates. You cant find a Mid Century Modern renovation anywhere like this for sale, so its safe to say I’m in a good position. Many home buyers will of course like the house but not even get the whole concept.
The smaller, educated group who follow design trends and know how hot MCM is right now will certainly be willing to pay a premium for something like this already completely done. Stay tuned as we move into landscaping and more modern touches outside.


