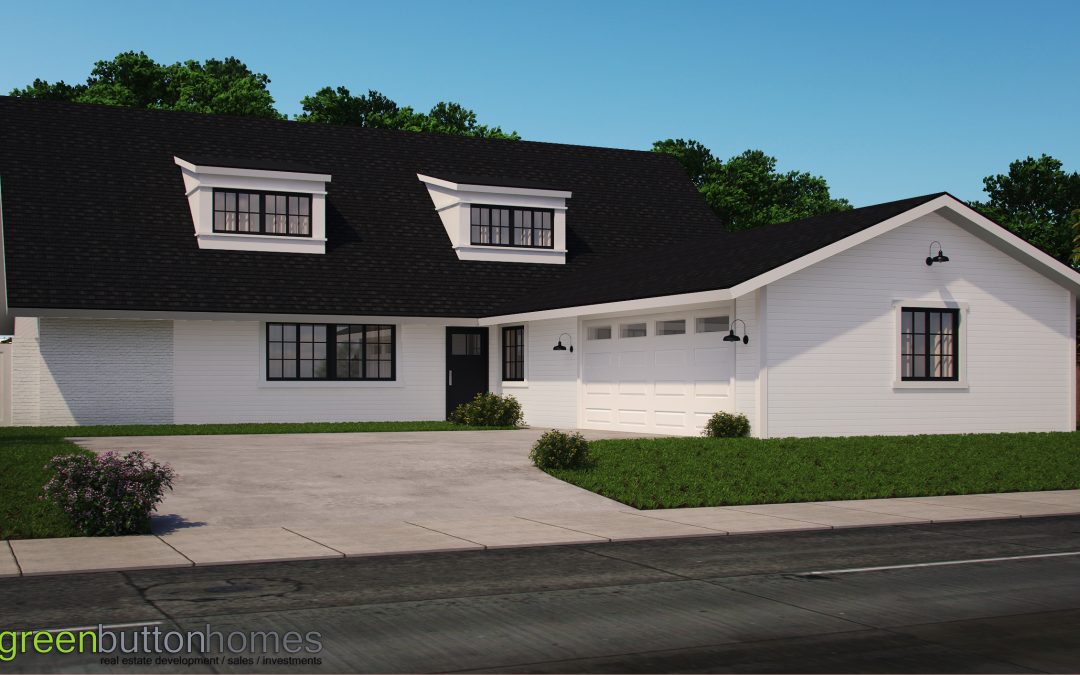
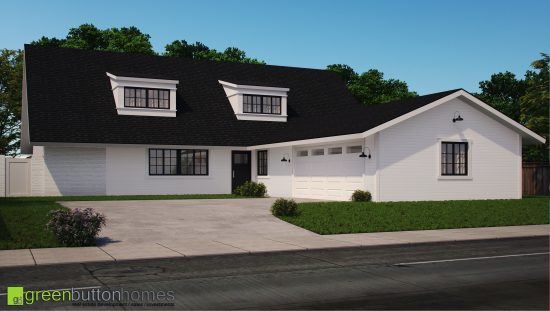
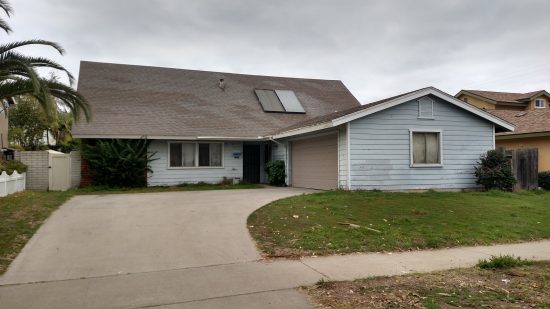
It’s clear everyone is falling head over heels for the farmhouse style and for our Modern Farmhouse we wanted to do Board and Batten Trim in various places inside and out. This is about 500 bucks of MDF and a half days work but adds tons of character to your project. This DIY project is very easy to handle with a medium level skill set and basic tools.
Custom Board and Batten inside our Farmhouse already is making a huge impact! In our case we already had smooth textured walls so we only had to do the trim details, if you have heavy orange peel textured walls you can use sheets of Masonite first and then build the trim on top for a smooth look.
I did 3 different versions of designs I thought would go well in this home. Other cool Farmhouse interior trim ideas would include Ship lap MDF siding which we will have to save for another project.
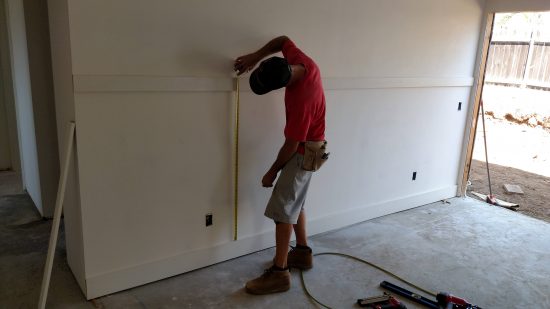
Here is what you will need for this DIY Board and Batten project:
- 2 1/2″ pre primed MDF strips
- 3 1/2″ pre primed MDF strips
- 5 1/2″ pre primed MDF strips
- Construction Adhesive
- Finish Nail Gun with 2 1/2″ 15 gauge nails
- Paintable Caulk
- Tape Measure
- Level
- Chop saw
- Wood Filler
- Table saw (optional)
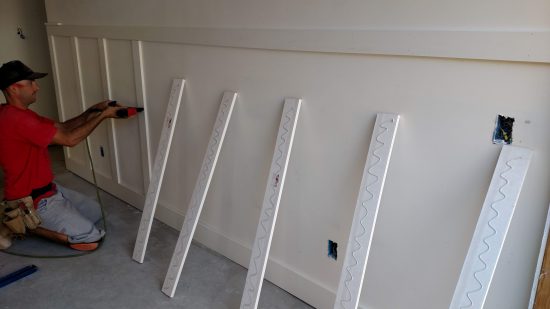
First we calculated what looked good with spacing, here I went with 20″ on center. I used blue painters tape to get an idea of what it would look like before committing to the layout. Here is a tip, the battens will not land on studs so we used finish nails and Liquid nails adhesive to hold them to the wall. The nails just keep them in place until the glue dries.
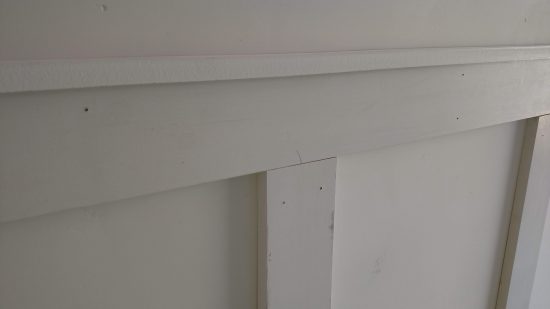
All this pre-primed MDF trim is available at your local home improvement store. It has crisp sharp edges, make sure and don’t buy the soft edge version. With a level first set your top piece in place and adhere it. Next we did the 6″ baseboard.
Cut each batten individually one at a time to get a tight fit. These battens are 3.5″ wide and the baseboard is 5.5″. The top rail we ripped another strip at about 1.25″ for a small shelf detail. We will paint the Board and batten semi gloss with then the walls eggshell. In my case its all going to be white but will be a great detail once we are finished.
When you are done use DAP putty to carefully fill seams and nail holes. Each Batten should be caulked along both vertical sides!
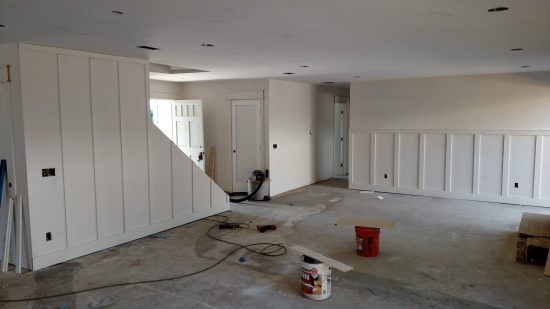
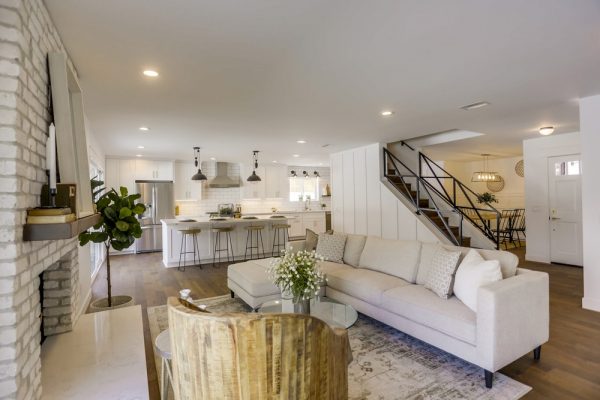
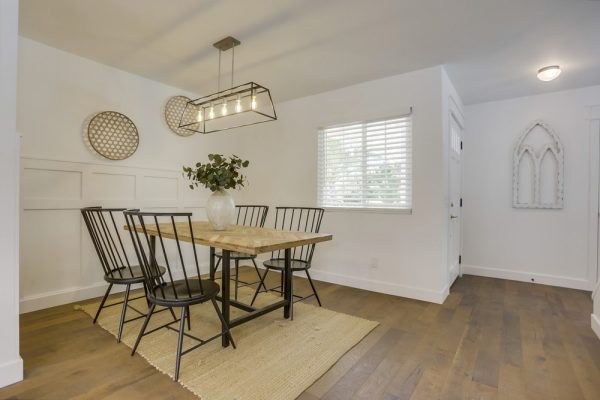
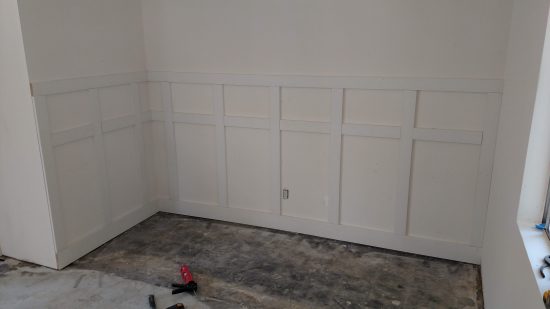
The side of the staircase was a perfect place to do a Board and Batten Feature Wall, here I went with more narrow battens at 2.5″ wide and ran them all the way up to the ceiling. In the dining room picture below I changed up the design a bit also and added the extra rail.
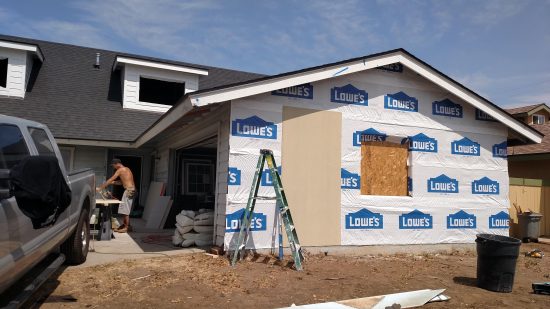
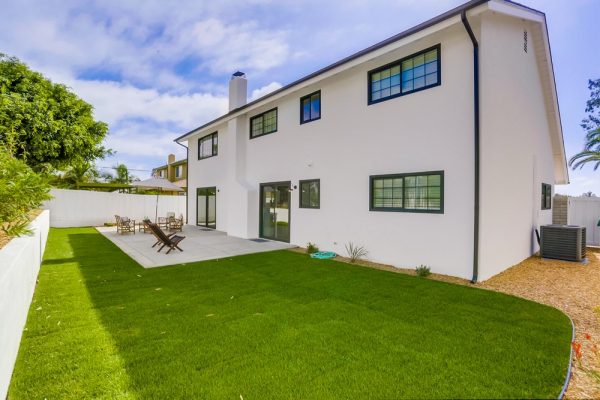
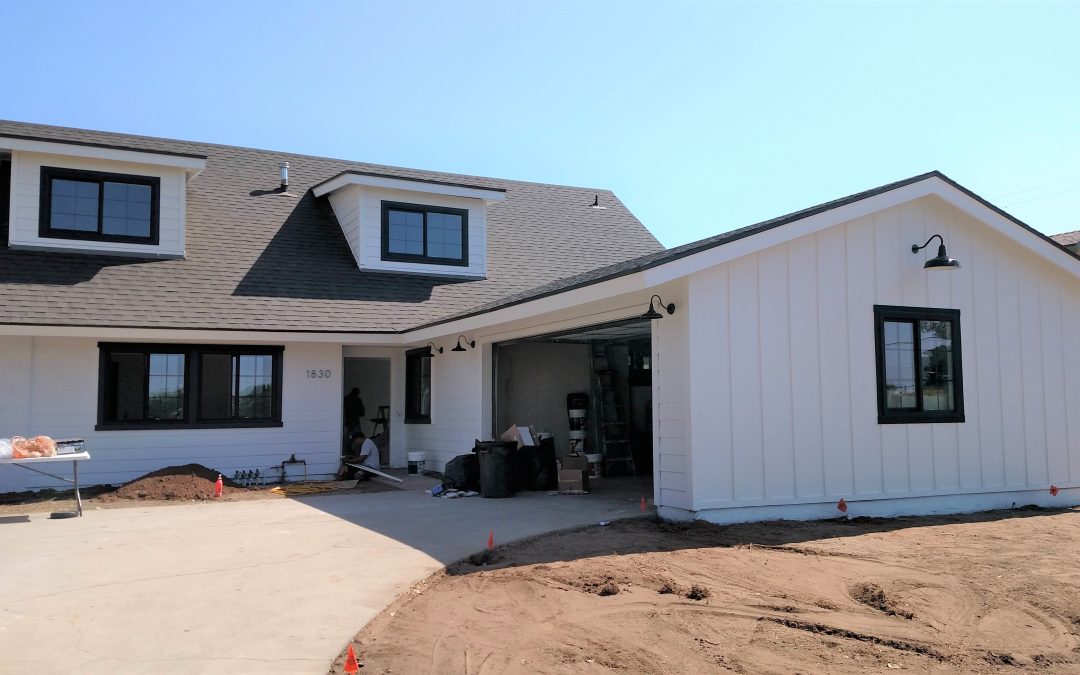
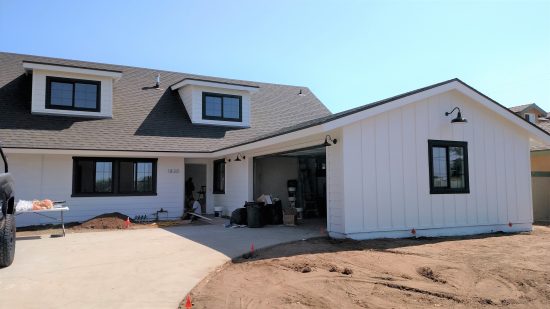
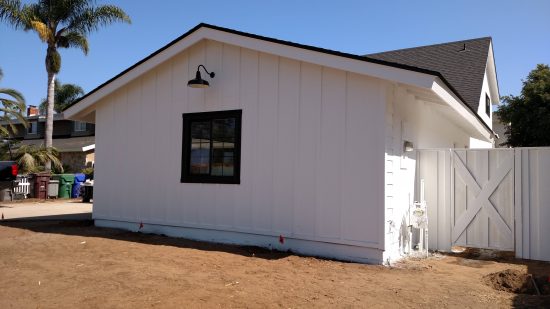
The exterior board and batten was done by first removing existing siding and wrapping the house with house wrap, commonly called Tyvek. We then hung 4×8 sheets of Smooth Hardie Panel. Make sure and use Z Bar flashing where the horizontal seams of the Hardie Panel meet to prevent water from getting in.
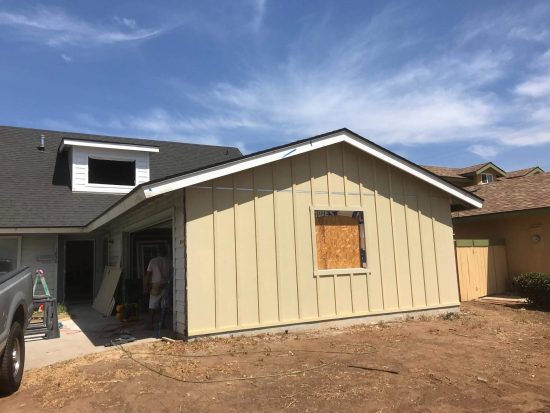
It’s best to land the seam on the existing 16″ on center stud spacing and then use the battens to hide the vertical seams. We opted for 1 x 2.5″ Hardie Trim for the Battens and spaced them 16″ on center. Make sure and caulk everything good before you paint.
If you changed the spacing and didn’t land on existing studs you could screw and glue the battens if needed. We are really excited about the transformation, these small details are going to go a long way on the finished project.
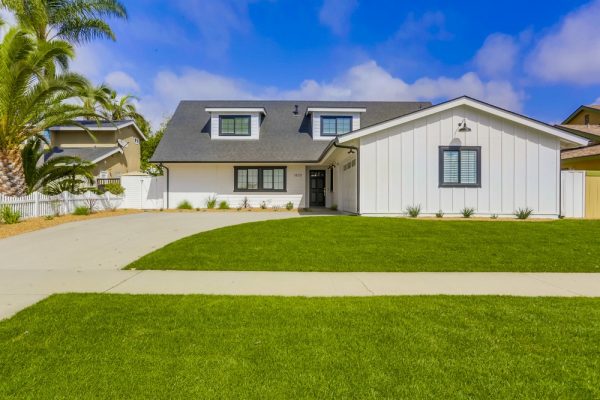
The way this Board and Batten exterior siding plays off the new Shed Dormers we built is really making this Farmhouse look comforting and welcoming.
