South Park Second Floor

South Park Second Floor

We moved into second floor framing on my South Park new construction house this week, it was way faster than the first floor even though there are more walls. We are up pretty high now but still within the 30′ height limits from the City. It only took a day and a half to frame everything on the second story, although there is still a lot of pick up carpentry work to be done everywhere and we still need to do the stairs.

This is the upstairs shared bathroom front corner of the house. You can see below the 3 small windows facing the street, this is one of the neat and unique features on this house, we framed a second 2×4 wall inside the 2×6 exterior wall for the windows to facilitate the window recess as seen in the architectural rendering.

The roof trusses come on Tuesday from Ramona Lumber Company, we’ve slowed down a bit because I was told it would only take 3 days to get the trusses from the date ordered but it ended up taking 6. Its key to remeasure the actual second floor before you order trusses as things can change by a few inches and the trusses have to rest perfectly on these second floor walls. My goal is to put the roof on this weekend, we’ll see. Mechanicals can start now, I always do plumbing first then HVAC and electrical. The fire sprinklers will be the last to go in before rough inspection. Windows are arriving around the 28th.

Modern Bungalow Framing

Modern Bungalow Framing

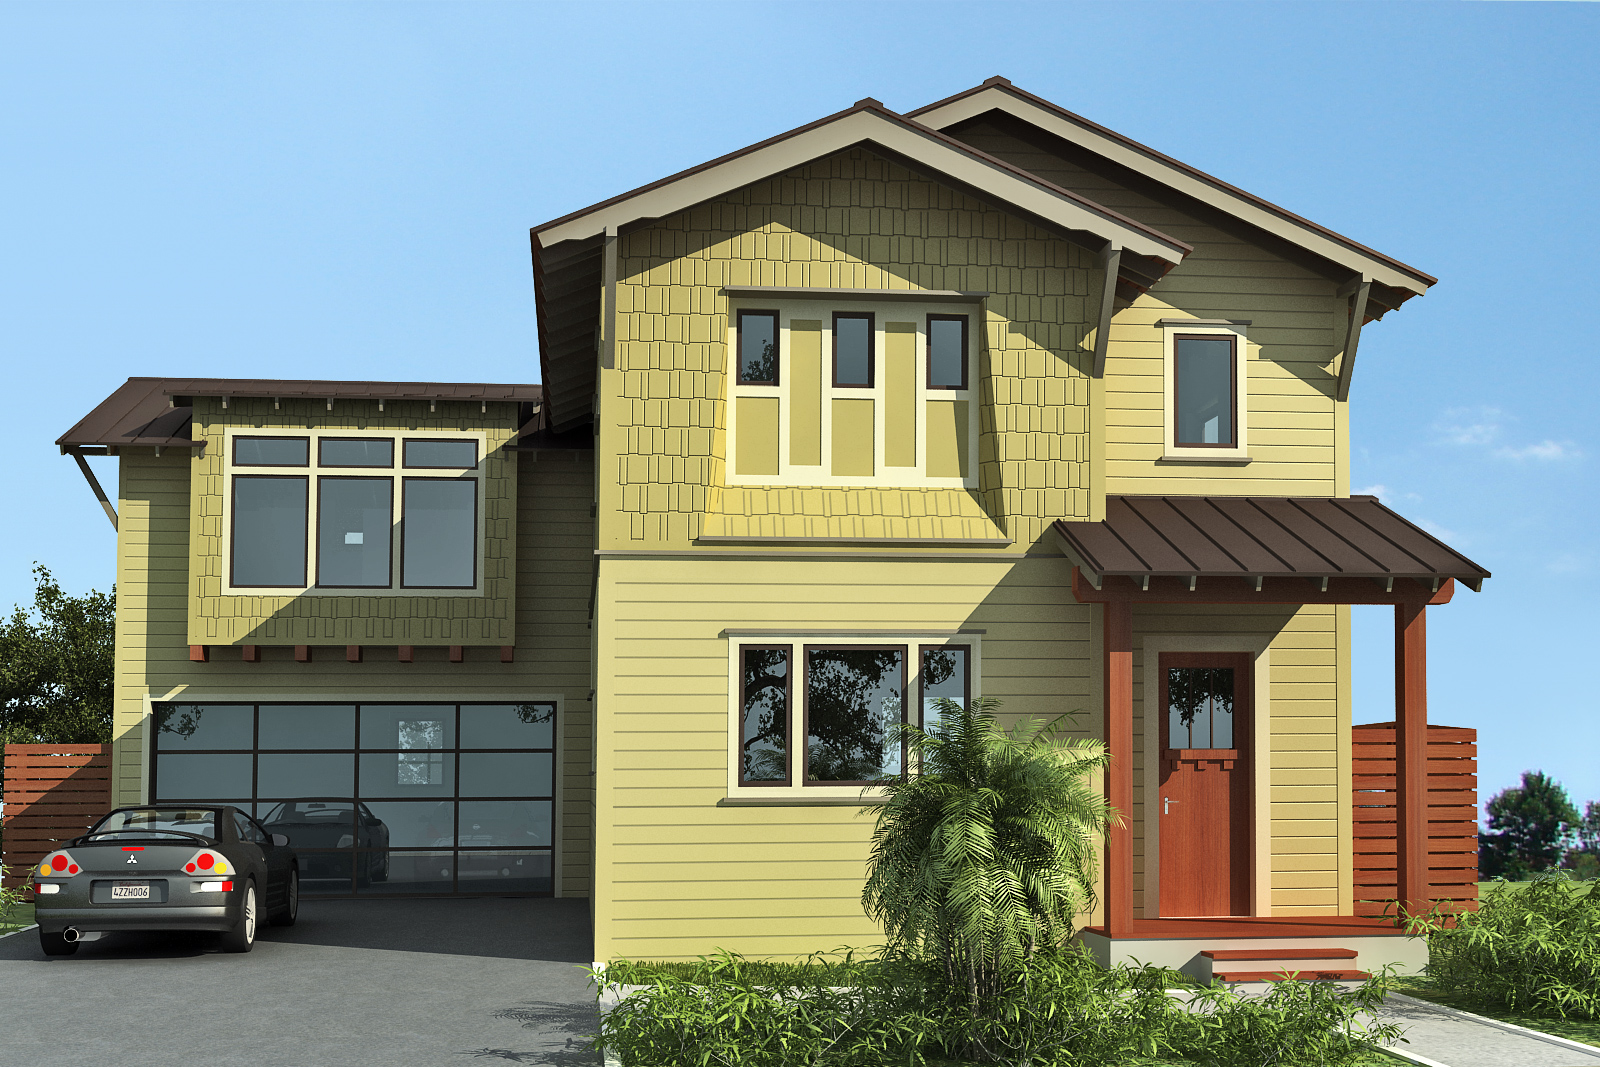
Huge progress this week in only 4 and a half days of framing, the Modern Bungalow is starting to take shape now with the whole first floor and garage framed up. I haven’t seen anyone doing this in San Diego, my architect is doing these in Austin, Texas and this is the hottest new construction style for the old metro neighborhoods.

The house will still have the classic lines of a bungalow but mashed with modern construction and design features. Everyone loves bungalows but this twist is going to give you the best of both worlds with contemporary style being the most popular right now in the home design world.

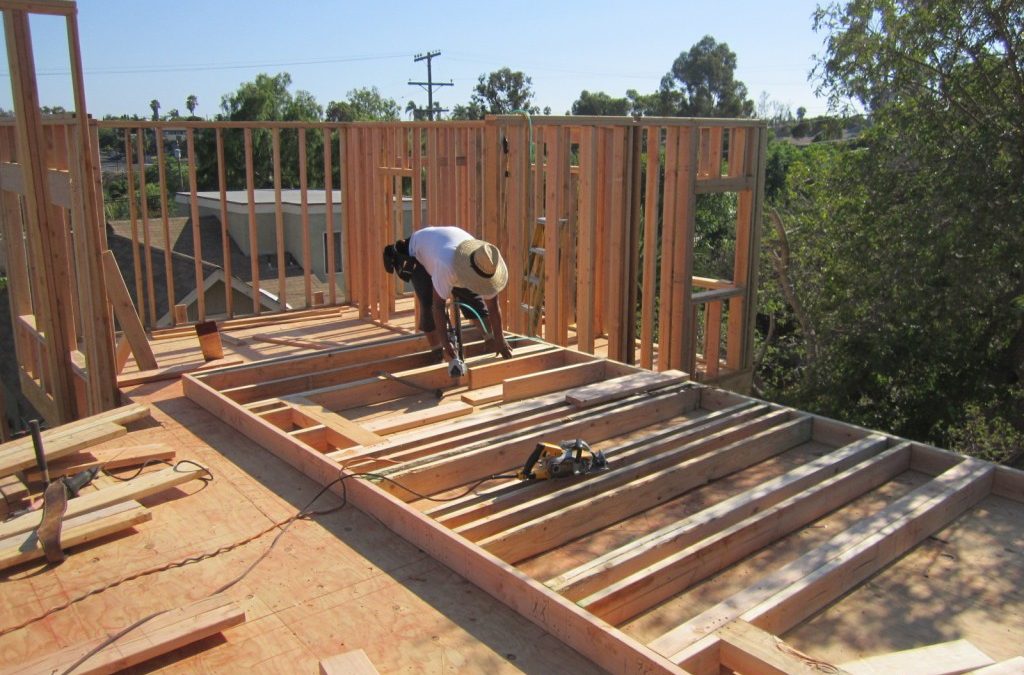
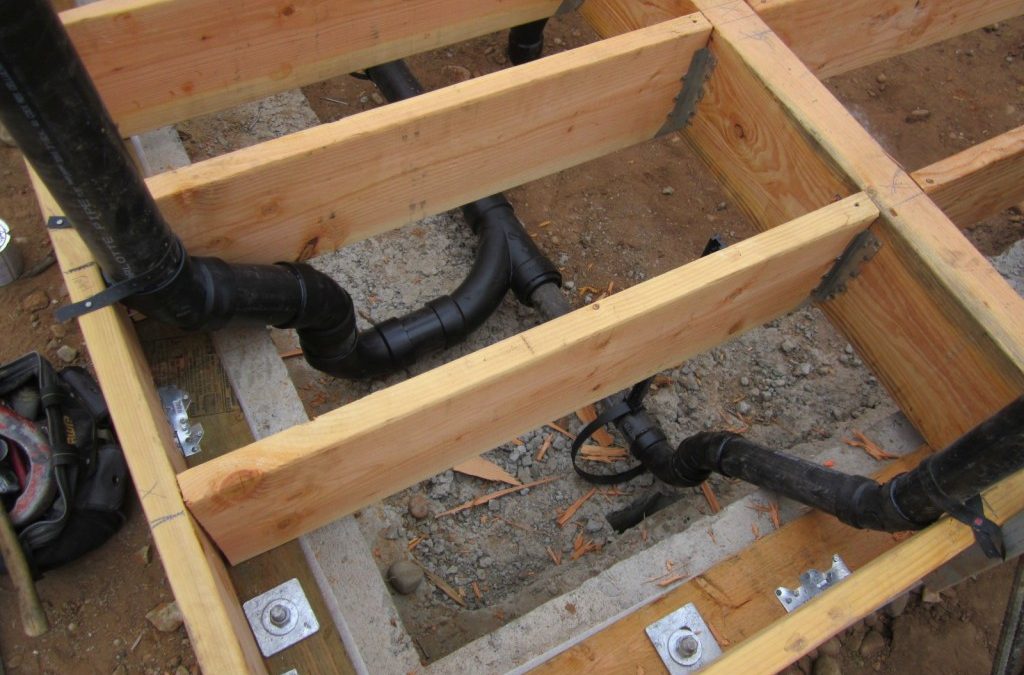
The underground plumbing, floor system and insulation inspection went a little better the second time on Monday, my regular inspector said everything looked good and he wouldn’t have made me change the sanitee fitting to pass. 3 more signatures on the card and we were able to get the 3/4″ T&G CDX subfloor down.

We put up the North living room wall first and then the front, or East kitchen wall. Notice the 10 foot ceilings downstairs and the 8 foot door heights. We also made all the windows a little taller and lined them up at the 8 foot door height as well. The doors and windows are as high as most peoples ceilings, it makes the house feel so much more expansive.

My framers thought I was crazy and never even do 8 foot doors, normally its reserved for McMansions and is popular in Phoenix and Texas so its probably safe to say this is a first for South Park. The coolest thing ever is walking in the front door and looking straight back at the green canyon through the custom 9 foot wide by 8 foot high patio slider doors.

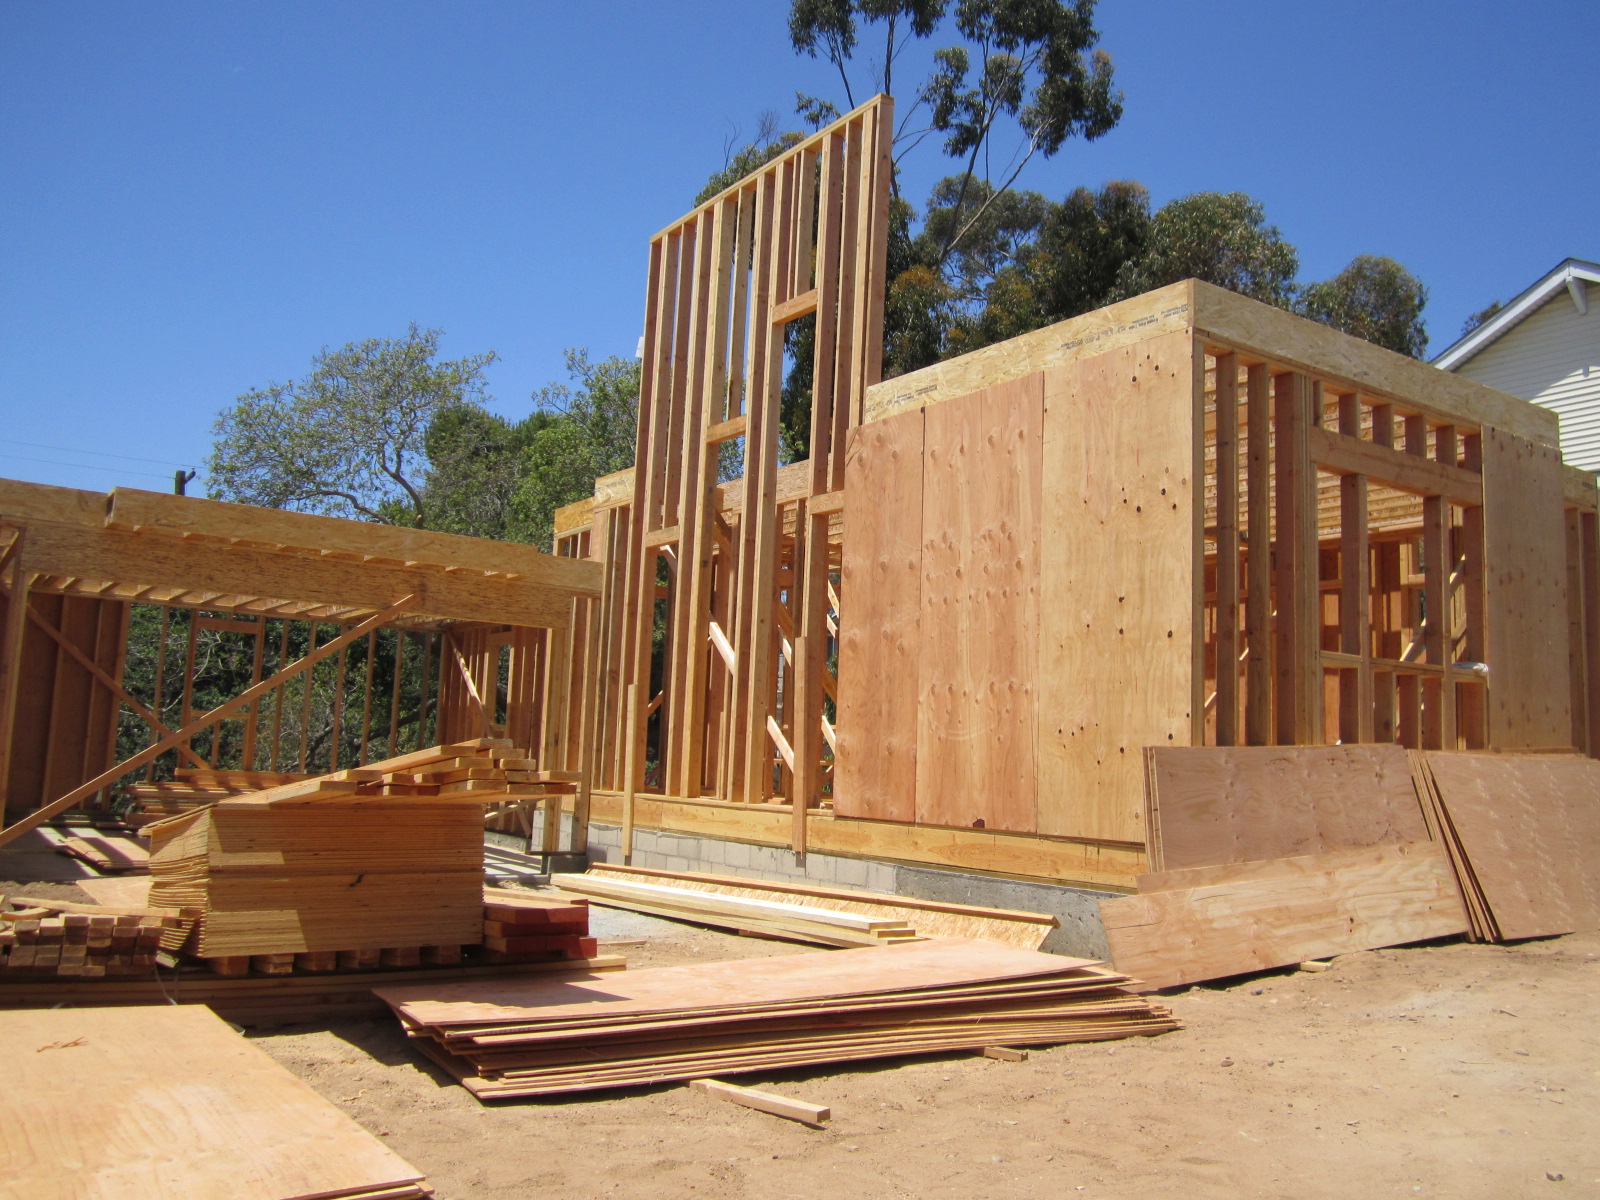
The highlight of the week was lifting up the 19′ balloon wall. Its the exterior wall on the driveway side of the house that reaches all the way to the roof trusses because there is a stairway in this location. You can see the 3 headers that follow the staircase up.

It took 9 guys to lift the wall in place it was so heavy with my over sized material. For this house I’m using 2×6 framing for all exterior walls instead of standard 2×4. Besides being structurally superior, this will give me room for a greater insulation barrier for huge energy savings and provide better sound proofing from the nearby flight pattern.

Some builders move spacing on wall studs out to 24″ when they go to 2×6 but I left them at 16″ on center. A friend of mine who works for a large National home builder called it a energy saving fortress.

In order to do the wide open modern floorplan, I used Parallam beams to span the 22 foot living room and then hung the joists off the beams. You can see us here lifting the largest beam up which measures 7″x14″x22′

Upstairs I used engineered I joists from Trus Joist. These TJI joists are the highest quality available and resist warping, twisting and shrinking to prevent bouncy or squeaky floors.

Besides allowing greater spans from the engineering, one nice thing is you don’t have to crown the wood, they are all perfectly straight and will give a perfectly flat floor upstairs. I’ll fir down each joist so the 14″ beam wont show when we drywall the ceiling in the living room.

In the shear wall locations I’m also using CDX instead of OSB. You can see how large the house is looking here with just the first floor up. It’s going to dwarf the 2-story bungalow next door. Seeing this huge 2-car attached garage and wide driveway is also very atypical for the neighborhood, of course I did a 8′ high garage door to accommodate my truck. 

Notice also here how the 9′ high garage ceiling height is lower than the second floor, this is where steps lead down to the master suite from the secondary living space to provide a little more interest and privacy. I’m so happy with this cutting edge design, there’s going to be so many cool things going on when its complete to make this a real cool property.

We are ready to start the second floor framing this week, there are more cool design features that I cant wait to see take shape. I planned on 2 weeks for rough framing but it will probably stretch out a little longer with all the small pick up work to be done at the end.

You’re The Boss

You’re The Boss

In any other state I could have been all the way up to the second floor framing this week but here in San Diego the City inspector wants to see your floor system framed up first, verify the hold downs and framing, then come back and inspect the underfloor plumbing lines, then come back again and inspect the insulation. You lose a day in between each inspection so this would have dragged out for a week. It really makes sense to do it this way because its easier to do the under house plumbing now, rather than crawling under the house later to do it but the reason the inspector wants it done in this order really just comes down to the fact that he’s not crawling under the house no matter what.

After framing up the floor system in a day I had my plumber come and set all the under floor ABS waste lines and fill them again with water to make sure there’s no leaks. Lastly the insulation got dropped in on nylon netting we strung between the floor joists. Its a real trick way to insulate the floor on a new construction raised foundation house. I’ve used wires in the past but the insulation always ends up falling down in some places. Once we pass then we just sheet over it. The threaded rod you see sticking up is for the Simpson HDU hold downs that secure 4X6 posts in the exterior walls all the way down into the concrete foundation footing. This is to securely hold the structure on the foundation in case of an earthquake and they are strategically placed in shear wall areas by the engineer on the plans.

Of course I had a better idea. I tried to speed things up by only calling once to have him come do all 3 inspections simultaneously. I had the insulation pulled back along the sides so he could see the framing, plumbing and hold downs thinking this would be fine, unfortunately he wasn’t really that excited about my idea. My regular inspector didn’t show up but rather a Senior Inspector who happens to be very thorough and whom I’ve dealt with before. He almost gave me the signature required in order for me to sheet the floor with CDX and start putting walls up, but he found one plumbing fitting that he said wasn’t correct so he’s coming back Monday after we change it and also wants me to pull more of the insulation back for a better look. Uggghhh. My plumber swears the fitting he used is allowed, its a Sanitee on its back for a 2″ vent pipe. The inspector wanted a sweep which is weird cause its only a vent, not a waste line. Who knows but I wasn’t going to argue with him, I told him he’s the boss but I kinda want to check the code book now though just out of curiosity.

The senior inspector asked who the general contractor was. Hesitantly, I told him I was an owner/builder. Seeming surprised he said it looked better than most jobs and kept congratulating me on doing such good work. Maybe he was just trying to make me feel better because he could see it on my face that I was bummed not being able to start putting up the walls. He knew I was totally ready to go, as he was doing his inspection I received the first delivery of truss material for the second story. I should pass on Monday and we’ll be back in action. I’m a Chevy guy but how cool is this early Ford extra cab delivery truck from La Mesa Lumber?

Real First Week MCM

Real First Week MCM

This was the real first week inside our MCM renovation now that the concrete guys are out of the way. The first thing I did was to get my roofer started, it turned out to be a little larger job than anticipated, 3 layers of tear off instead of what I thought was only 2. I put a GAF lifetime roof on and used a lighter color, Birchwood this time. Its going to go well with my grey tones on the exterior. While the roof was getting done we also finally did the demo inside.

During the week I also did some minor framing changes as previously discussed. An opening between the kitchen and living room was the most dramatic but from a functional standpoint the bathroom changes were probably more important. Both bath doors got enlarged and moved over to accommodate larger vanities and I ended up vaulting the hall bath lid to give a larger feel. The wall between the hall bath and the utility room also got moved over 6 inches to make enough room for the tub with the new door opening location. I also changed all the rotten sub floors in the wet locations. All this is stuff that you’ll never see but its really more important than the nice stuff that covers it up. The electrician and plumber also got started roughing in the new mechanical upgrades, a new 200 amp service and the water heater relocation to the garage to make more room for the kitchen cabinetry.

Primarily, to get the ceilings ready for my new stain I had my sandblasting guy, who normally does exteriors for stucco prep, come and blast the tongue and groove cedar and exposed beams. They came out killer now as you can see. I’m still pretty sure I’m going to go with a transparent green stain but I’ll do a test area and see how it looks. Its so clean now even just a clear coat would be cool but it might look too “rustic mountain cabin” for my taste..

Over in South Park we had the big time survey done by Mike Curren for the site plan. This survey measures your lot by satellites down to the fraction of the inch and he marks the property lines. He also established the benchmark for grade for use on the building plan elevations. This way there is no question when we go to submit plans to the City. After playing with several floorplan options this week it became apparent we have to go 2-story to get the square footage I need as well as a garage. We also got the necessary Soils Report performed this week. I had to have a hole dug 2’x3′ and 4′ deep. Then we hired Soiltesters to come out and do the test. I was worried that because of the canyon location and slope of the lot that we could have had fill in some areas which would cause us to use deeper footings, but as it turns out the fill is only 18″ deep. The soil report will call for the new footing to be at least 12″ into native soils, which are the sandstone that is redish in appearance. You can see in the hole I dug where the soil changes color about 18″ down. This guy looks like a soil tester doesn’t he? We are still working on the floorplan, I’ll share the preliminary version as soon as we get close. Finally we get to build a house for ourselves! Thanks for following!

Painted Lady Week 6

Here’s a walk through to show the progress of The Painted Lady at week 6. After waiting 4 weeks for historical board approval we finally got the green light so we started calling for inspections. It was quite interesting to say the least, initially we failed both the foundation and framing because of a few small issues. The trench for the foundation was 2″ too shallow,  the plans I drew noted a 24″ deep trench which is overkill because a 2 story house only requires 18″ deep footings but I wanted to beef it up a little.

I also upgraded the rebar size from the nominal 1/2″ as code requires to 5/8″ just do make it stronger. None of this mattered when the inspector showed up, he failed me anyway for lack of the 2″ to make it match what the plans called for. On the framing I was missing a few nails as the plans called for. I knew it wasn’t a big deal to make these few changes so it really didn’t bother me to fail. We fixed them quick and called the inspector back out 2 days later.

This is when I learned that nothing is going to just get signed off on that quick. When he arrived it took him all of about 10 minutes to measure the trench depth and check for the framing nails. He then proceeds to tell me that he can only pass me on the foundation but I’ll have to wait to pass on the framing. Really, didn’t you just look and see I made the corrections?  I’ve heard that they commonly show up and will only sign off on one or two things due to time restraints. The framing inspection includes about 4 categories; roof, floor, wall construction and sheer panels and could take up to 40 minutes in theory. Although he already verified everything was o.k. he only passed me on the roof portion “so I could stay busy and put my roof on.” 

As you can imagine there’s not much new construction going on, so last year half of the inspectors got laid off so I don’t think morale is at its highest level.  With half of the staff now the inspectors are covering twice the territories so there’s not much time when they show up. When dealing with inspectors always tread lightly, give respect and remember not to rock the boat. The best rule is to close your mouth and just listen.

This is exactly why most rehabbers look for the cosmetic flips or sneak by without permits.  Next week will be big, plumbing is now completely done, hvac done and electrical 75% done. Monday we are finally pouring the foundation after waiting forever for the City. Even with the slow downs I’m still pushing,  small set backs are just part of the business.

Several other cool things in TomTarrant.com land for this week;

1. There is a new contest at REIClub.com that I am nominated for. It’s another Best Real Estate Investing Blog shoot out. I’m up against some really popular sites so please go and cast your vote for me. Voting doesn’t begin until Monday, June 13 and goes through midnight on Friday June 17. This one is big, I could win a $250 Apple gift card which my wife would love. I need your help on this one guys, if you like the info I share here for you, please take a second and go vote for me!

http://www.reiclub.com/realestateblog/best-real-estate-investing-blogs-2011/

2. Joshua Dorkin over at Biggerpockets.com asked me to do an off the cuff Skype video interview for him where we’ll cover general real estate investing stuff and info about my house flipping business.  Make sure and go by his site next week and look for the interview. I’ll probably spill all the secrets you’ve been wanting to know.

http://www.biggerpockets.com/renewsblog/real-estate-interviews/